Form
Forms can be used to quickly collect information and synchronously save and organize the data results. You can use a form to collect product requirements and contacts, track sale progress, etc.
Basically,you can create different forms based on one datasheet and send them out to different people to collect different information, and all the data collected will be automatically saved together.
Creating a form
Creating from file Explorer
- Click the "+Add" button on the Explorer
- Select "New Form" on the dorpdown menu
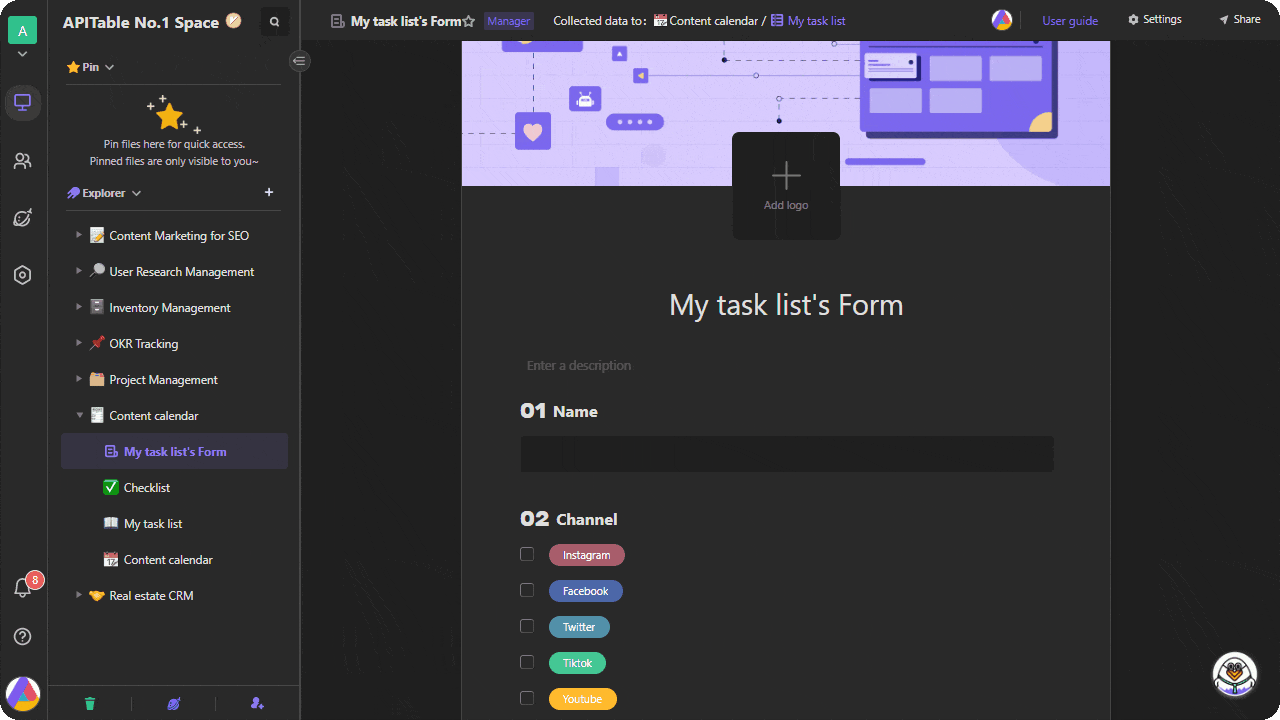
- Select a datasheet to save the data
- Choose the view where you will be collecting data. A preview of the form will be generated automatically on the right side.
- Click "Create form"
Creating from view
Steps of the first method:
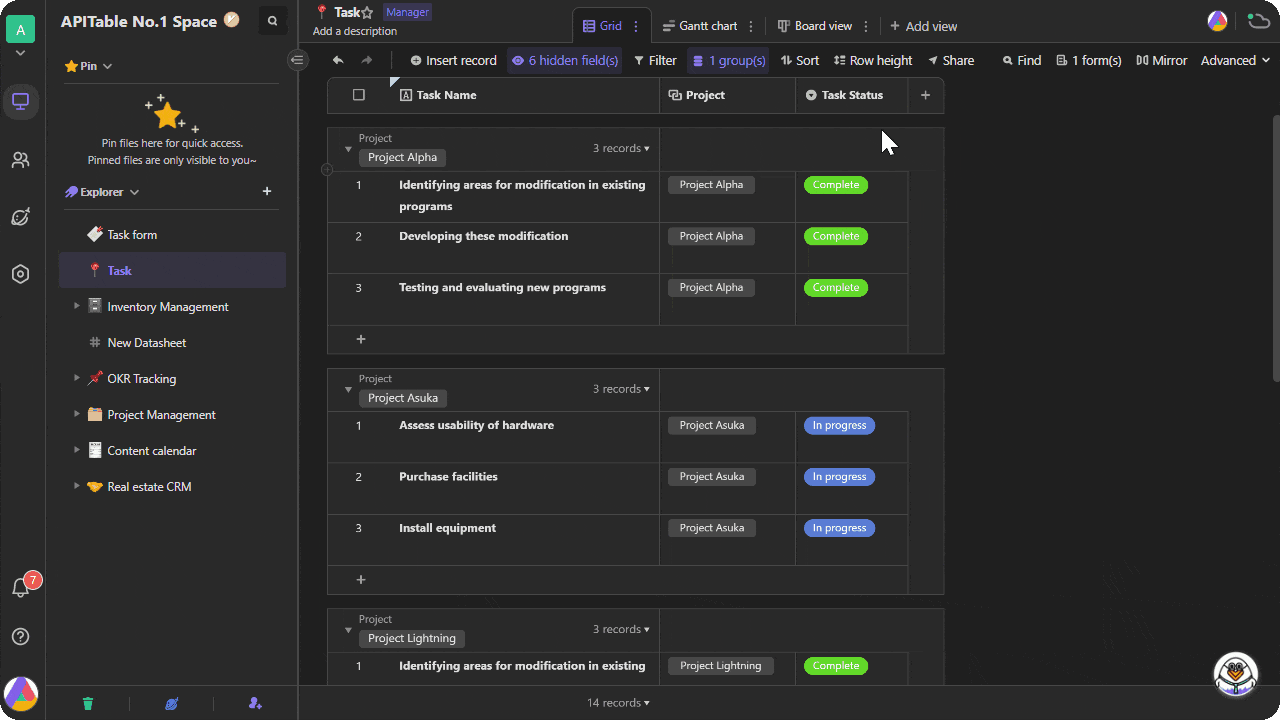
Select one of your views which you would like to build a form based on, on the top view bar.
Right click to open dropdown menu and select "Create form from this view".
Previous steps will bring up the form. The fields on your form are automatically populated based on all the fields in the view you select, and the order of the form is exactly the same as that of your view.
Steps of the second method:
- Select one of the your views which you would like to build a form based on, on the top view bar.
- Click the "Form" button in the upper right corner of the datasheet interface.
- Click the "Create form from this view" in the window appearing.
- Previous steps will bring up the form. The fields on your form are automatically populated based on all the fields in the view you select, and the order of the form fields is exactly the same as that of your view.
Form settings
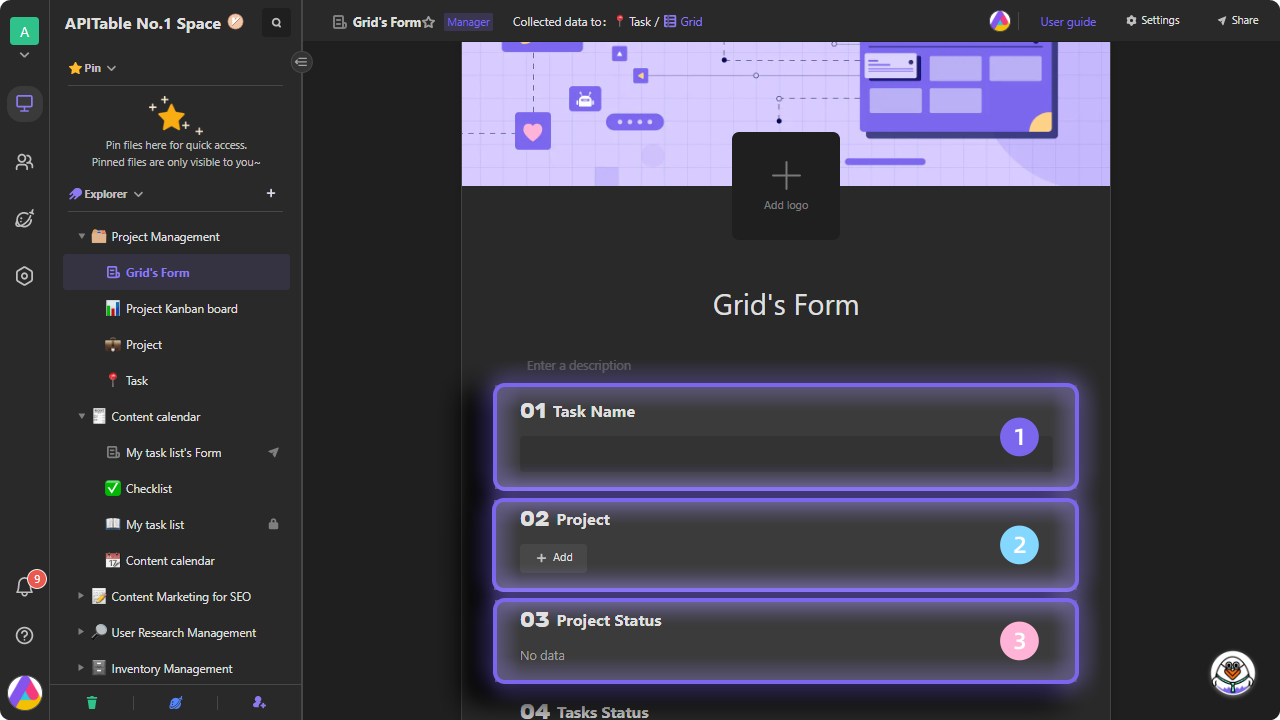
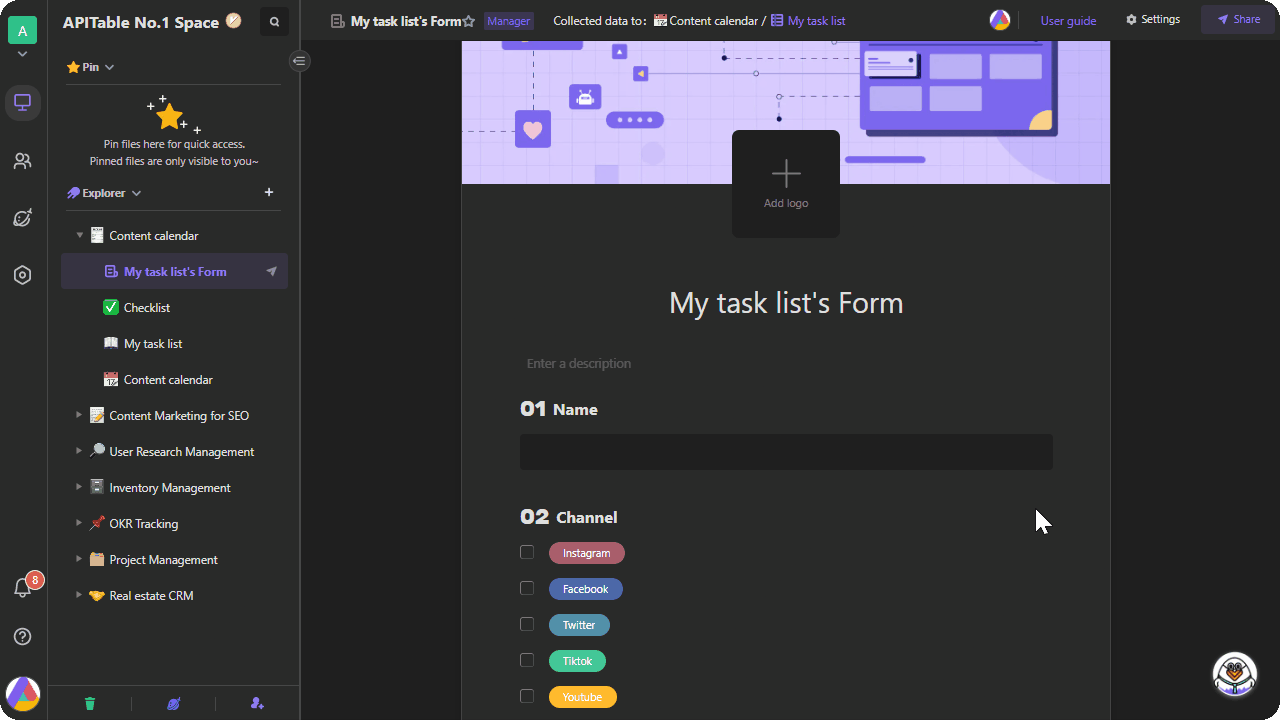
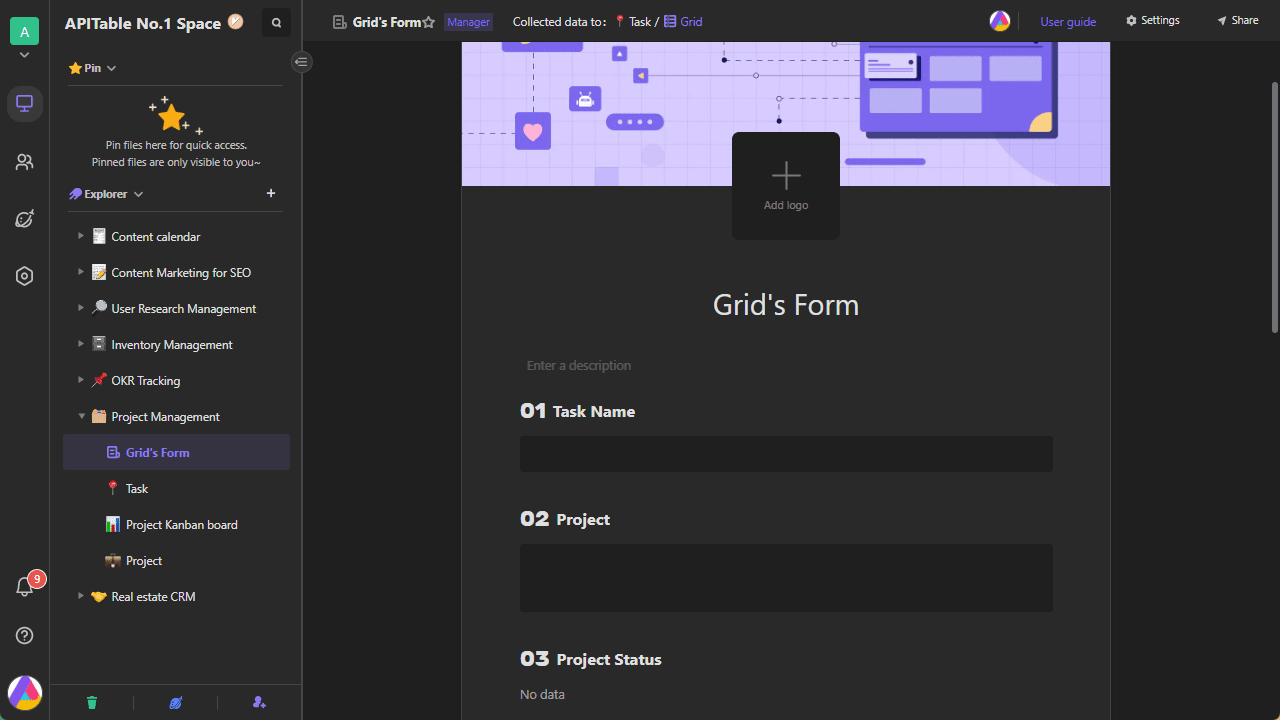
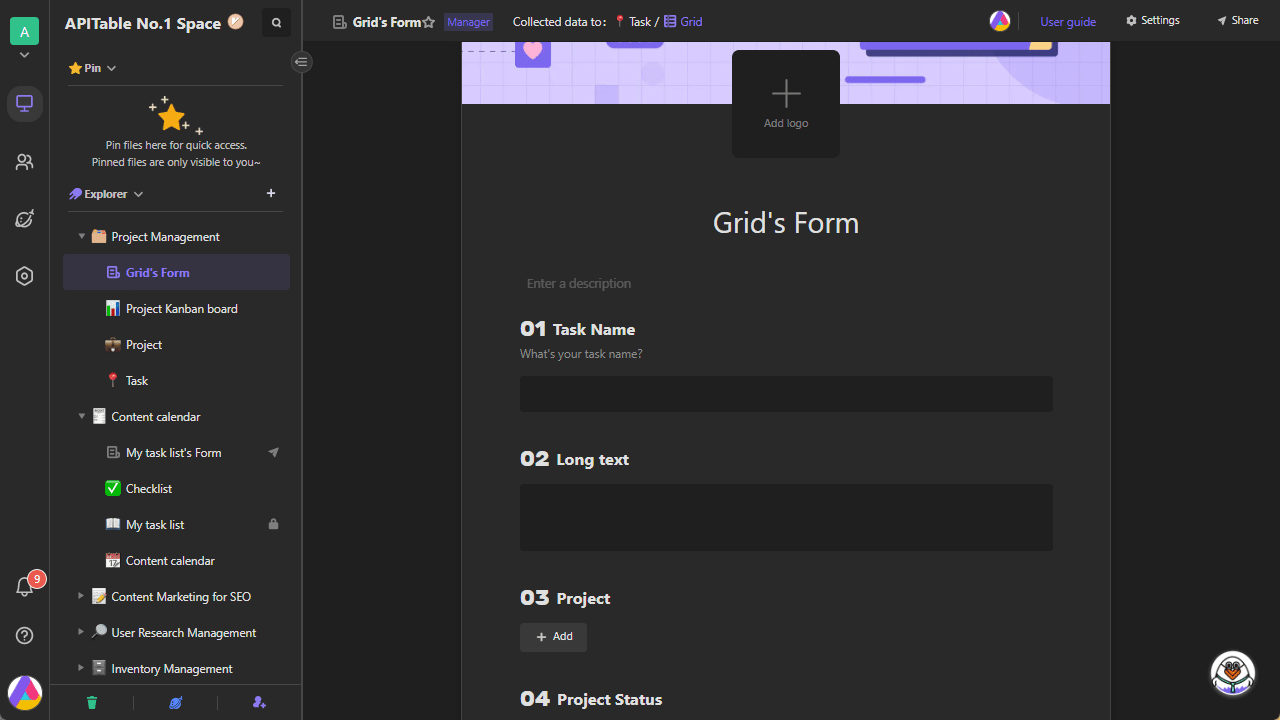
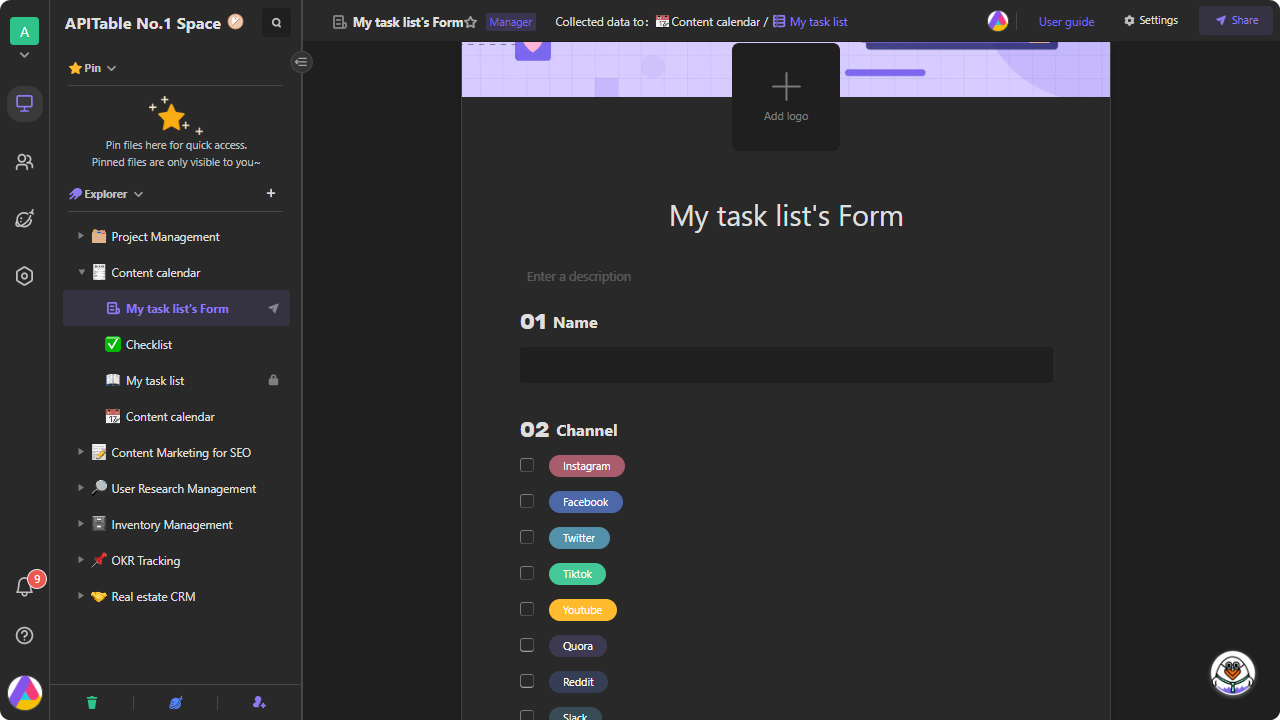
The number and display order of the fields on your form are consistent with those in selected view.As images below, the left-to-right fields are mapped as the top-to-bottom fields on the form.

Reordering form fields
If you need to reorder the form fields, you need to do it in the corresponding view.
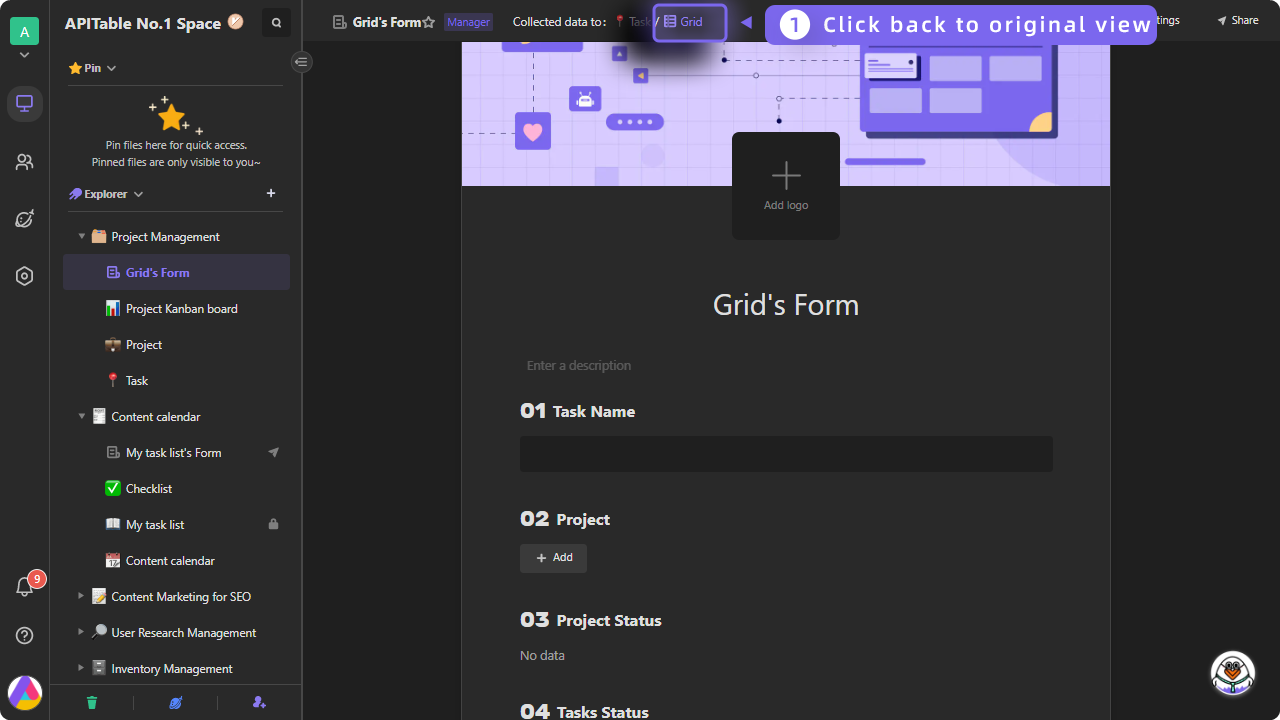
- Find the view icon on top of the form to go back to original view that your form is based on.
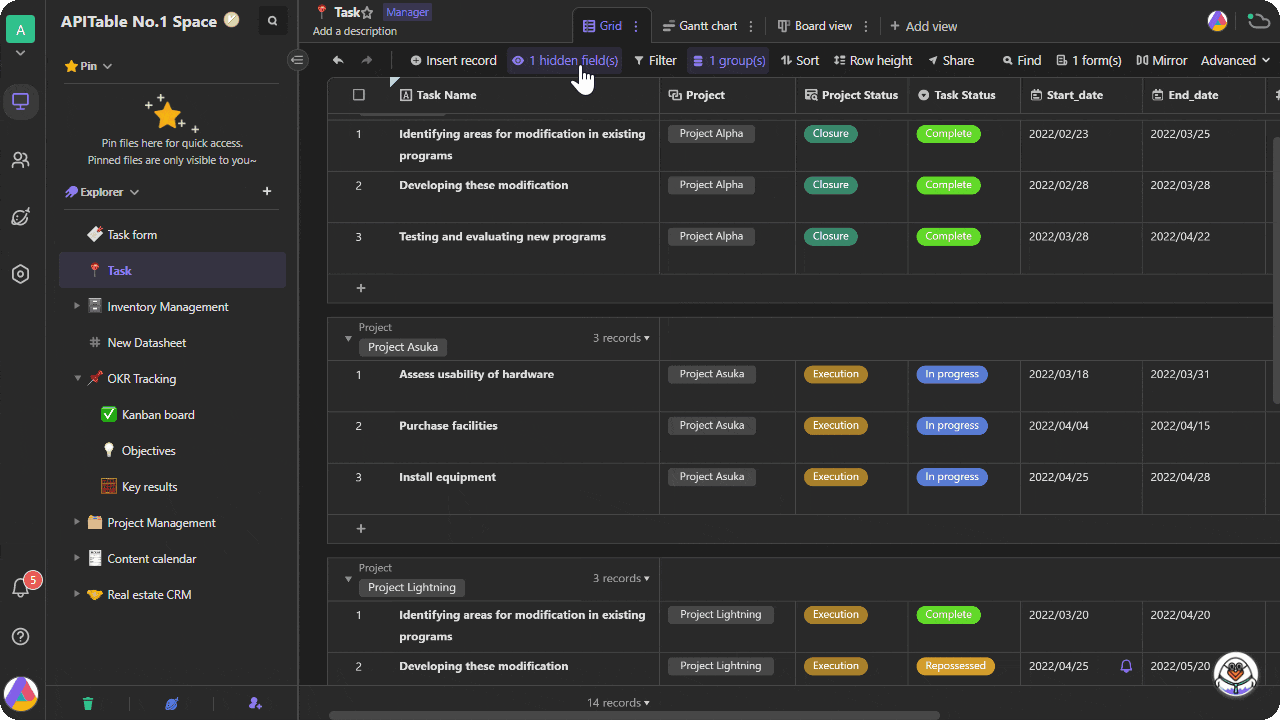
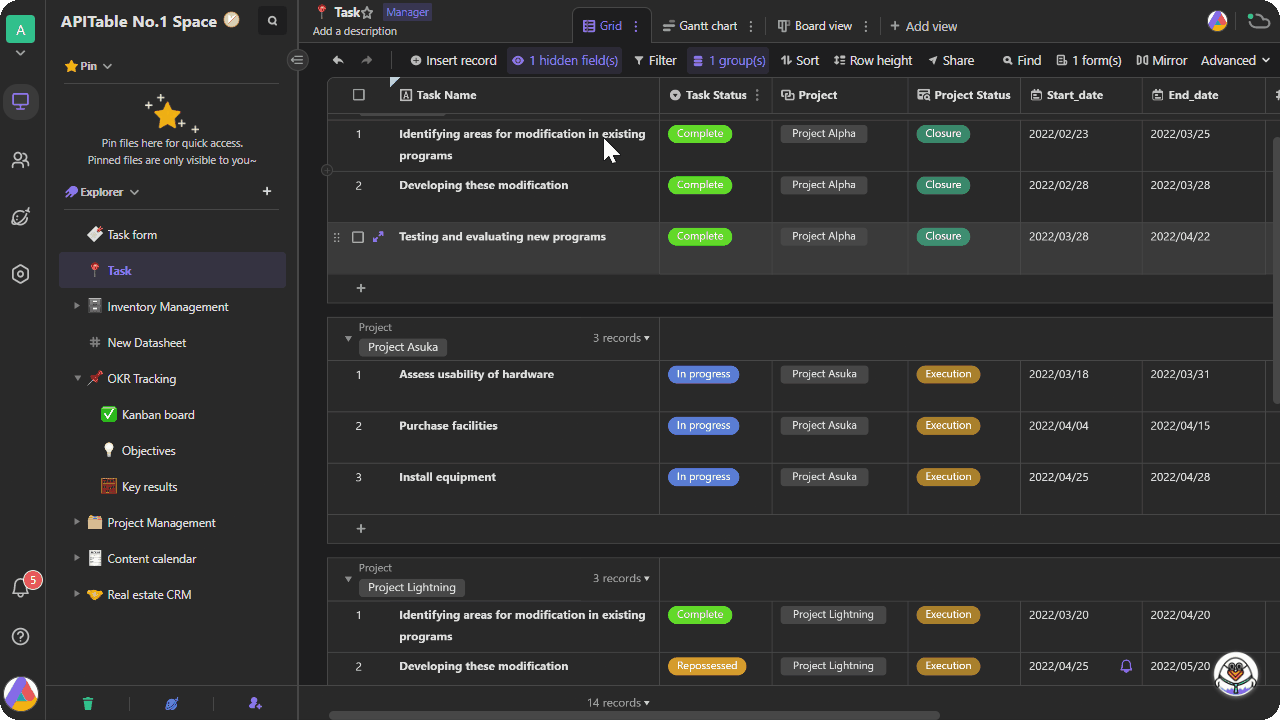
- Click "Hide fields" in toolbar to bring up the dropdown field menu. Drag the handle to change the order of the fields as you want. And then go back to the form view by clicking the form icon in the upper right corner of the view, you will see the order of the fields has been successfully changed.
Hiding fields
Similarly, if you need to hide some fields on a form, you need to go back to the original view and click the "Hide fields" button in the view.
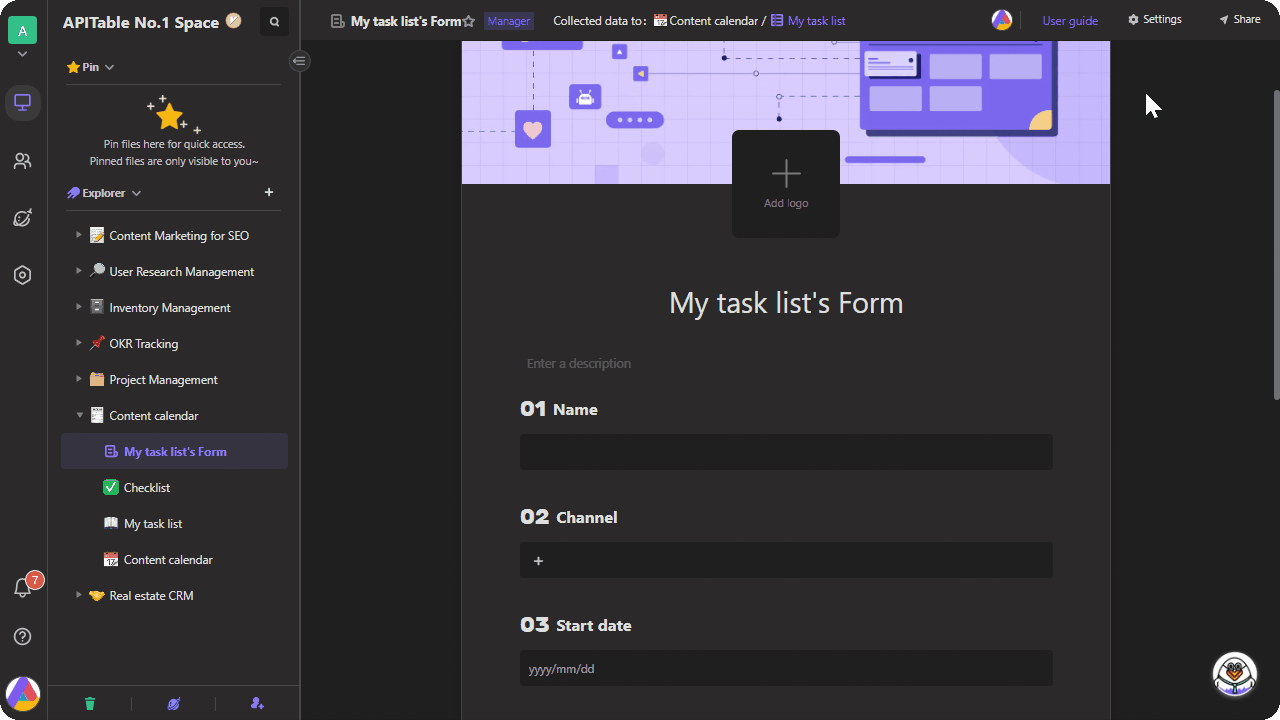
Inserting fields
In addition to adding fields into the original datasheet of the form, you can also quickly insert fields directly onto the form.By clicking "+" button next to any field on the form, you can quickly add a specified type of field (please note that a successful addition on the form will be reflected into the original datasheet).
*You must have "Manager" permissions for both the form and the original datasheet to perform the inserting operation.
The following field types are temporarily not available for quick inserting.
- One-way Link
- Two-way Link
- Lookup
- Formula
- Autonumber
- Created time/ Last edited time
- Created by
- Last edited by
Changing field type
If you would like to change field type, you can click the field menu button on the right side of the field name and select "Edit field settings".
*Note that the change of field type on the form will be reflected in the original datasheet.
Adding field description
If you would ike to add or edit the field description, you can click the field menu button on the right side of the field name and select "Edit field description".
*Note that if you add or edit the field description on a form, the descriptions will be reflected in the original datasheet.
Making fields required
Making the fields on the form as required fields will let the fields have to be checked in order for the form to be submitted. In this way, you can avoid bad influence on data loss resulted from unfilled fields.Once you make a field required, there will be a "*" mark.
How to set up
Open a datasheet >> select the required fields >> click to bring up field setting dropdown menu >> check the box of "Set as required on forms" >> click OK
Field description
To better explain and illustrate what the fields refer to, or help understand what need to be filled, you can add some helpful context in description box.
How to set up
"Open a datasheet > select the fields you want to add a field description with > click to bring up field setting dropdown menu > select "Edit field description" > enter description content".

Collapse options
When there are too many options on the form, it will make the form page lengthy, resulting in poor readability.
To solve this problem, you can click "Settings" in the upper right corner of the form and check the box of "Collapse options".
Hiding index number
If you would like to hide the index number next to the field names, you can open the dropdown menu mentioned above again, and then check the box of "Show index".
Configuring permissions
To edit permissions, click the icon next to the datasheet name in file directory to reveal a dropdown menu, and then select "Edit permissions".
There are several kinds of permissions for form view.
- Read-only: can read data or comment on the datasheet
- Update_only: can read and submit form
- Editor: can edit or share form
Although without "Editor" permission, you can still submit form.
If you have "Read-only" permission for datasheet A, but only "Editor" permission for the form based on datasheet A, it is available for you to submit a form.
Click "Share" form button in the upper right corner of the form to bring up a panel of creating sharing link.In the case shown by the figure below, by configuring the permission of the form as "Editor", it will only be viewed by the administrator.
Sharing form
Click on "Share" form button in the upper right corner of the form to bring up a panel of creating sharing link.
Click "Create public link" and a public link will be generated for sharing.
Copy and paste the public link to others.
By default, login is required before filling in and submit the form. But you can manually choose to fill in anonymously.
- Anonymous filling: people who are not members in your organization can fill in and submit a form without logging in. If anonymous filling is cancelled, people need to log in to fill in a form.
- Filling required login: in this mode, it is available to configure setting of "Submit limit". "No limit" allows people to submit form repeately, while "Submit only once" means only one submission is allowed.
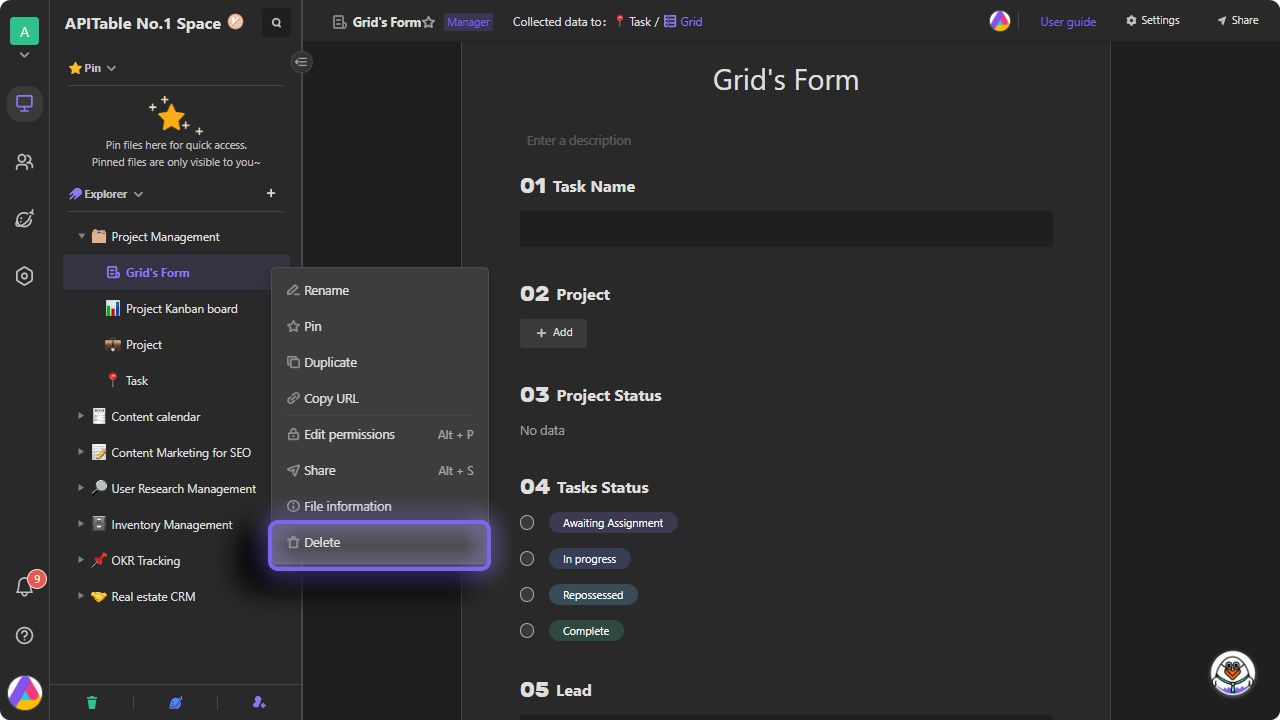
Deleting a form
Deletion of a form is the same as that of a datasheet, by right clicking the form and selecting delete.