Calendar View
Calendar view is a view that clearly shows all of your records on a calendar.Following situations often happen in our daily life:
To let team members know what need to be done every day, we need to make a project calendar;
Teachers need to schedule courses and classrooms;
To remind team members to attend meetings, a meeting calendar needs to be made;
To help a business to stay on track and true to the necessary marketing efforts, we would like to make a marketing calendar;
……
The calendar view is a management tool well suited to the cases above. It can be used for planning schedules for teams or individuals and improving the effectiveness of collaboration.
Basics of calendar view
Calendar view consists of following sections:
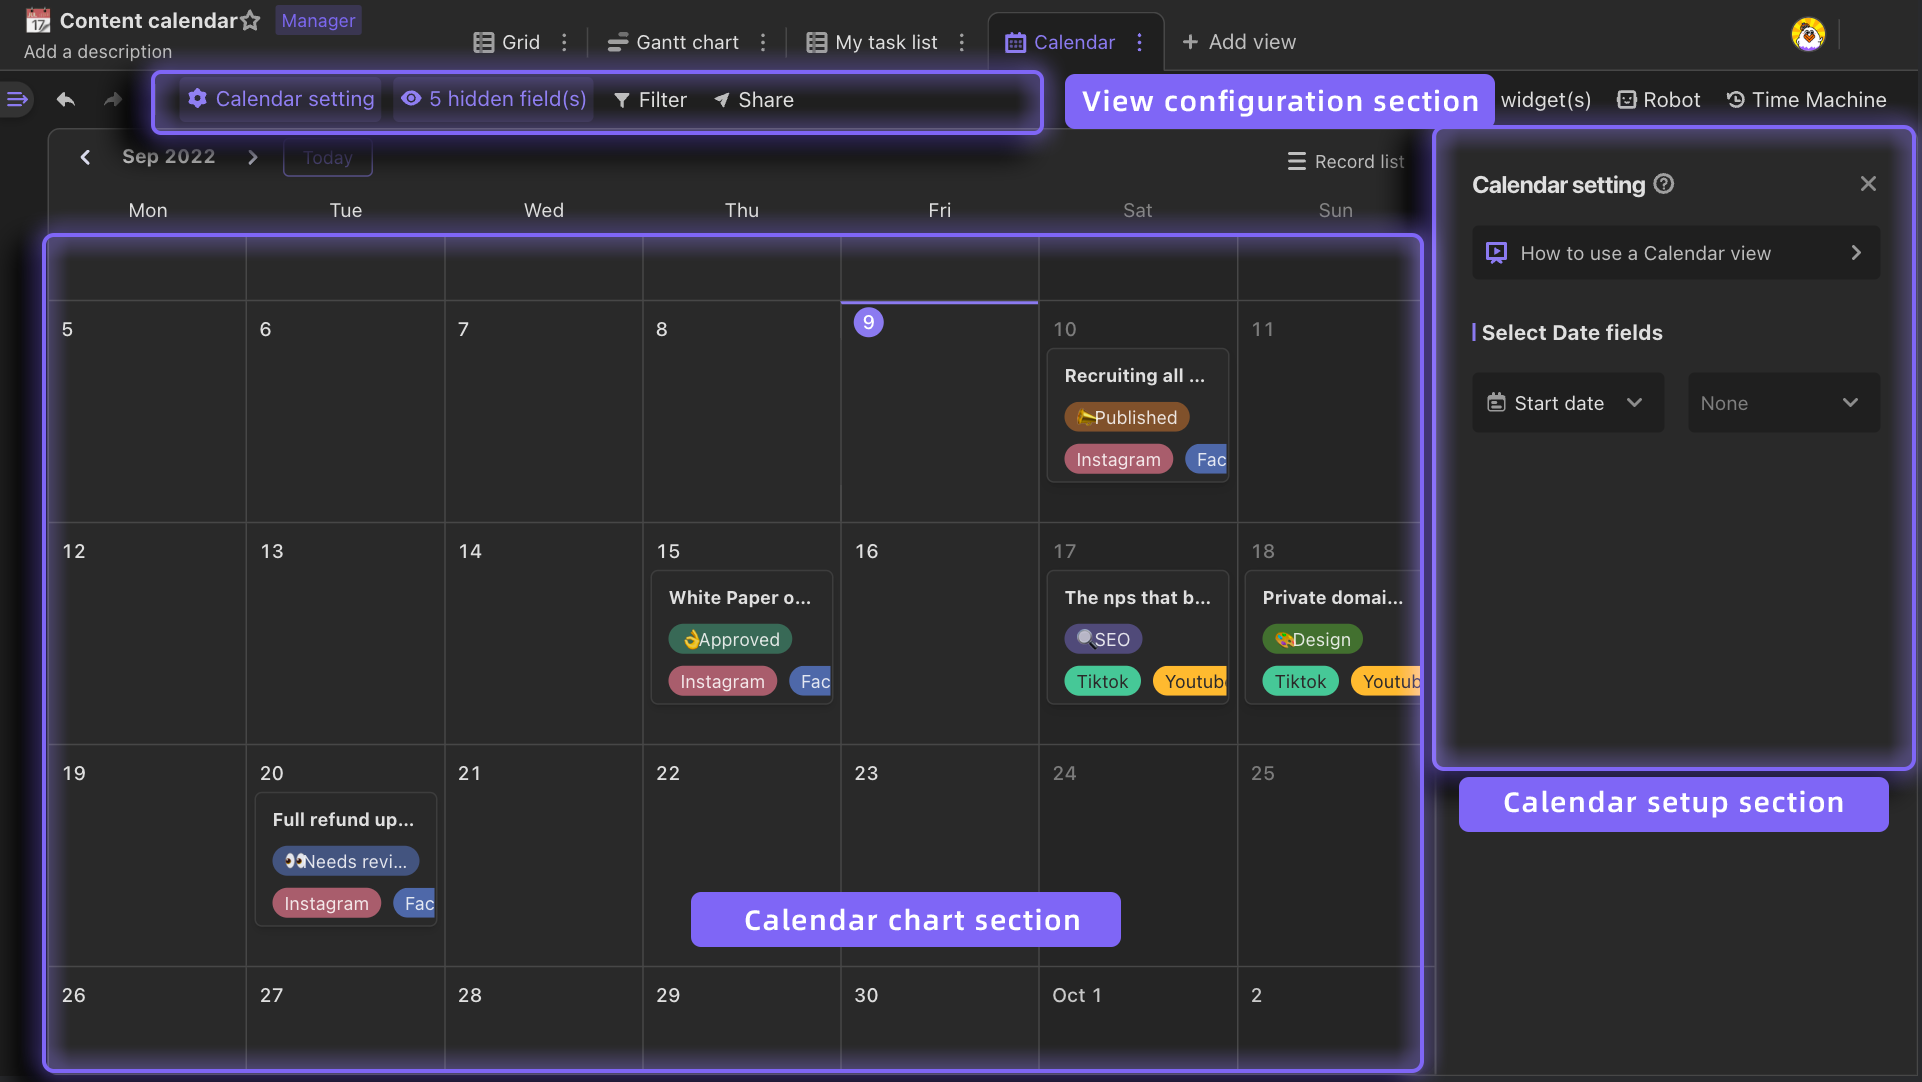
View configuration section: including function buttons of filtering, groupping, sorting, hiding fields.
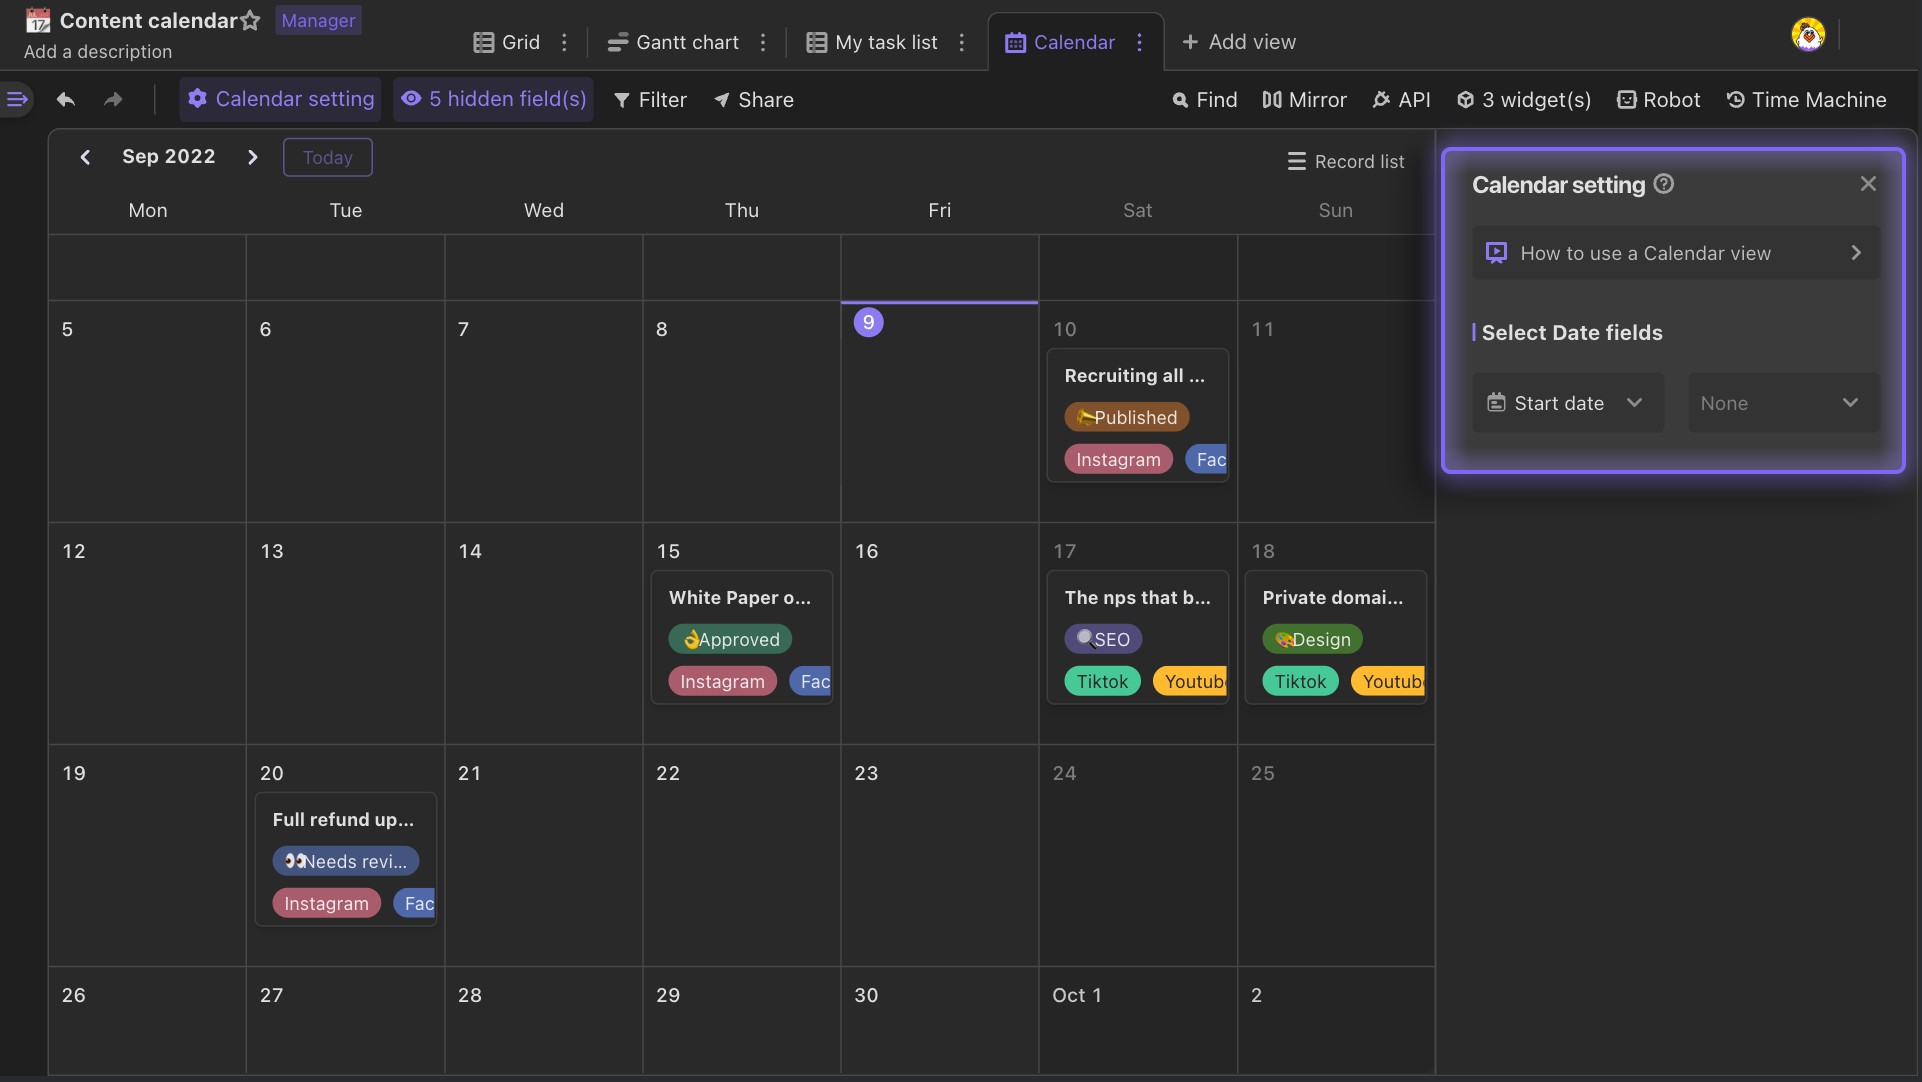
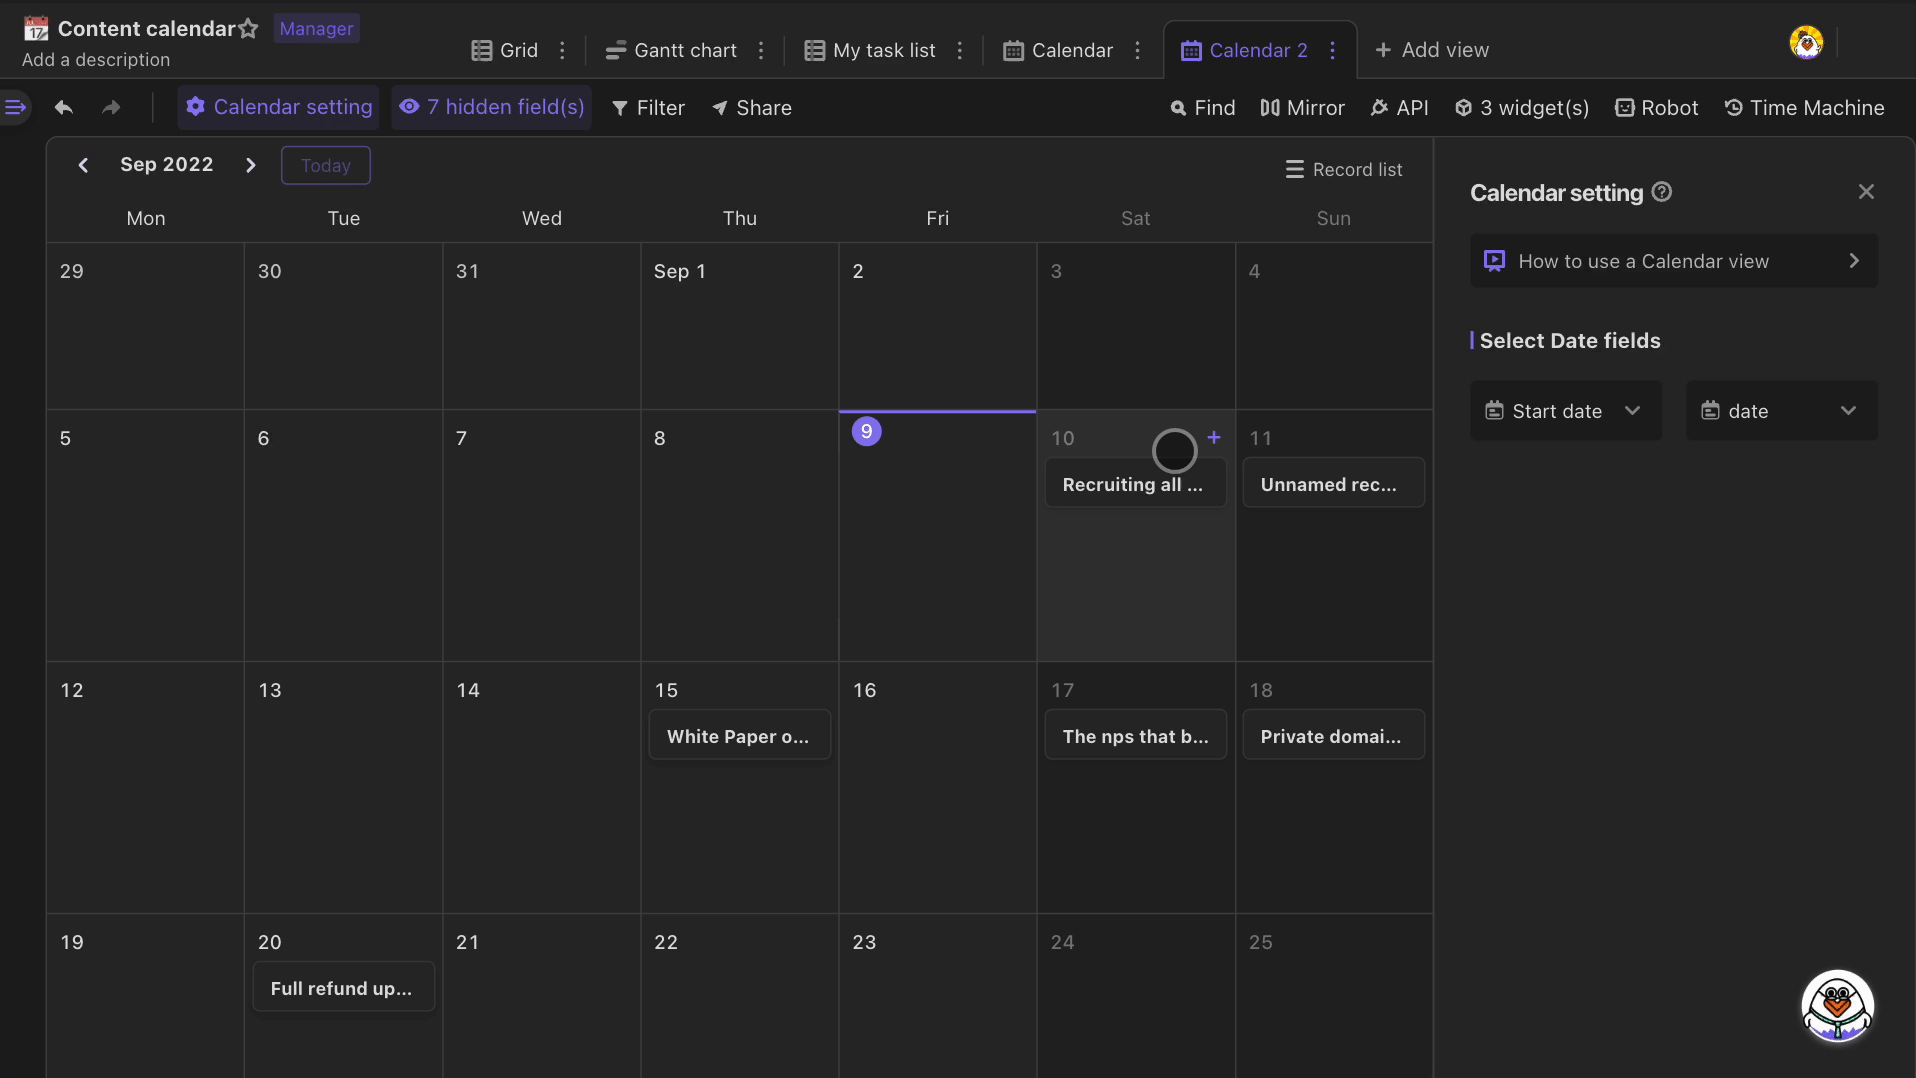
Calendar setup section: you can select datasheet's date fields as "Start date" and "End date" to place on the calendar;
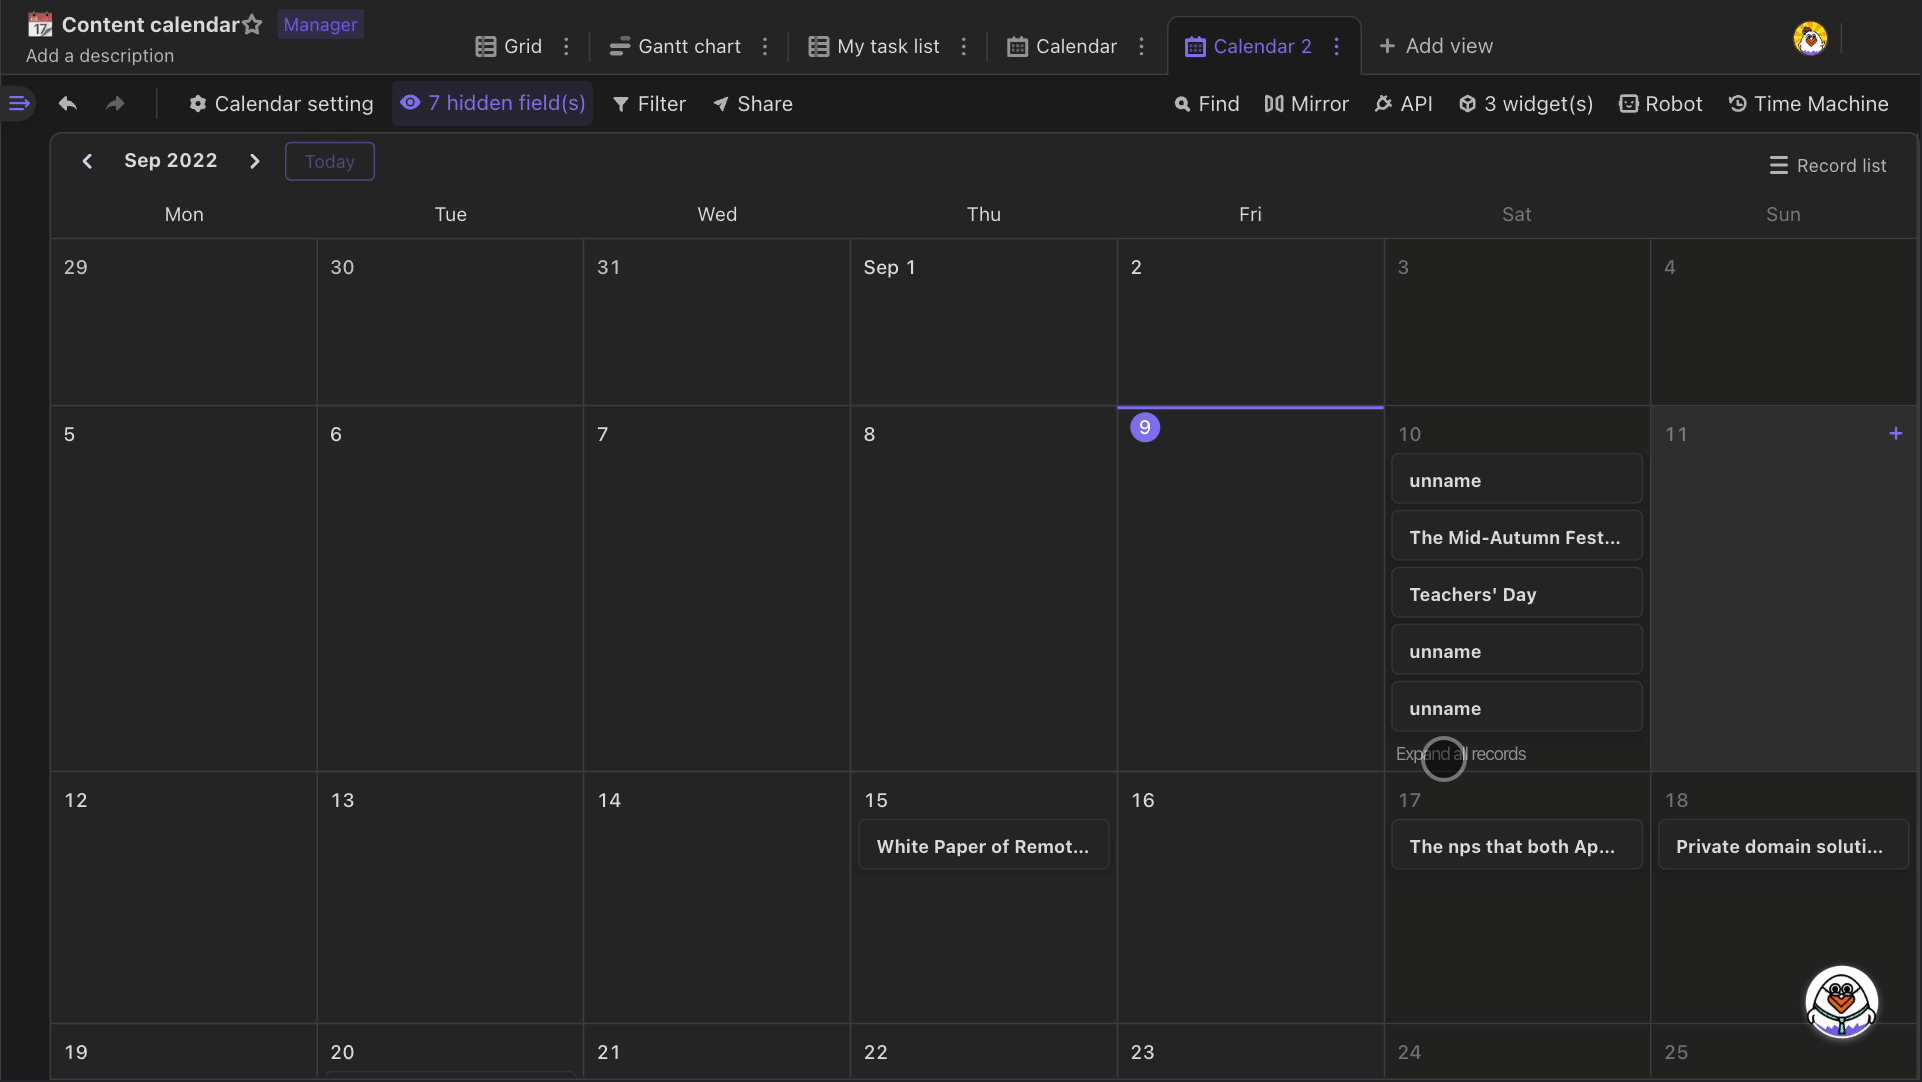
Record list: shows unscheduled records, which can be quickly dragged onto calendar and displayed;
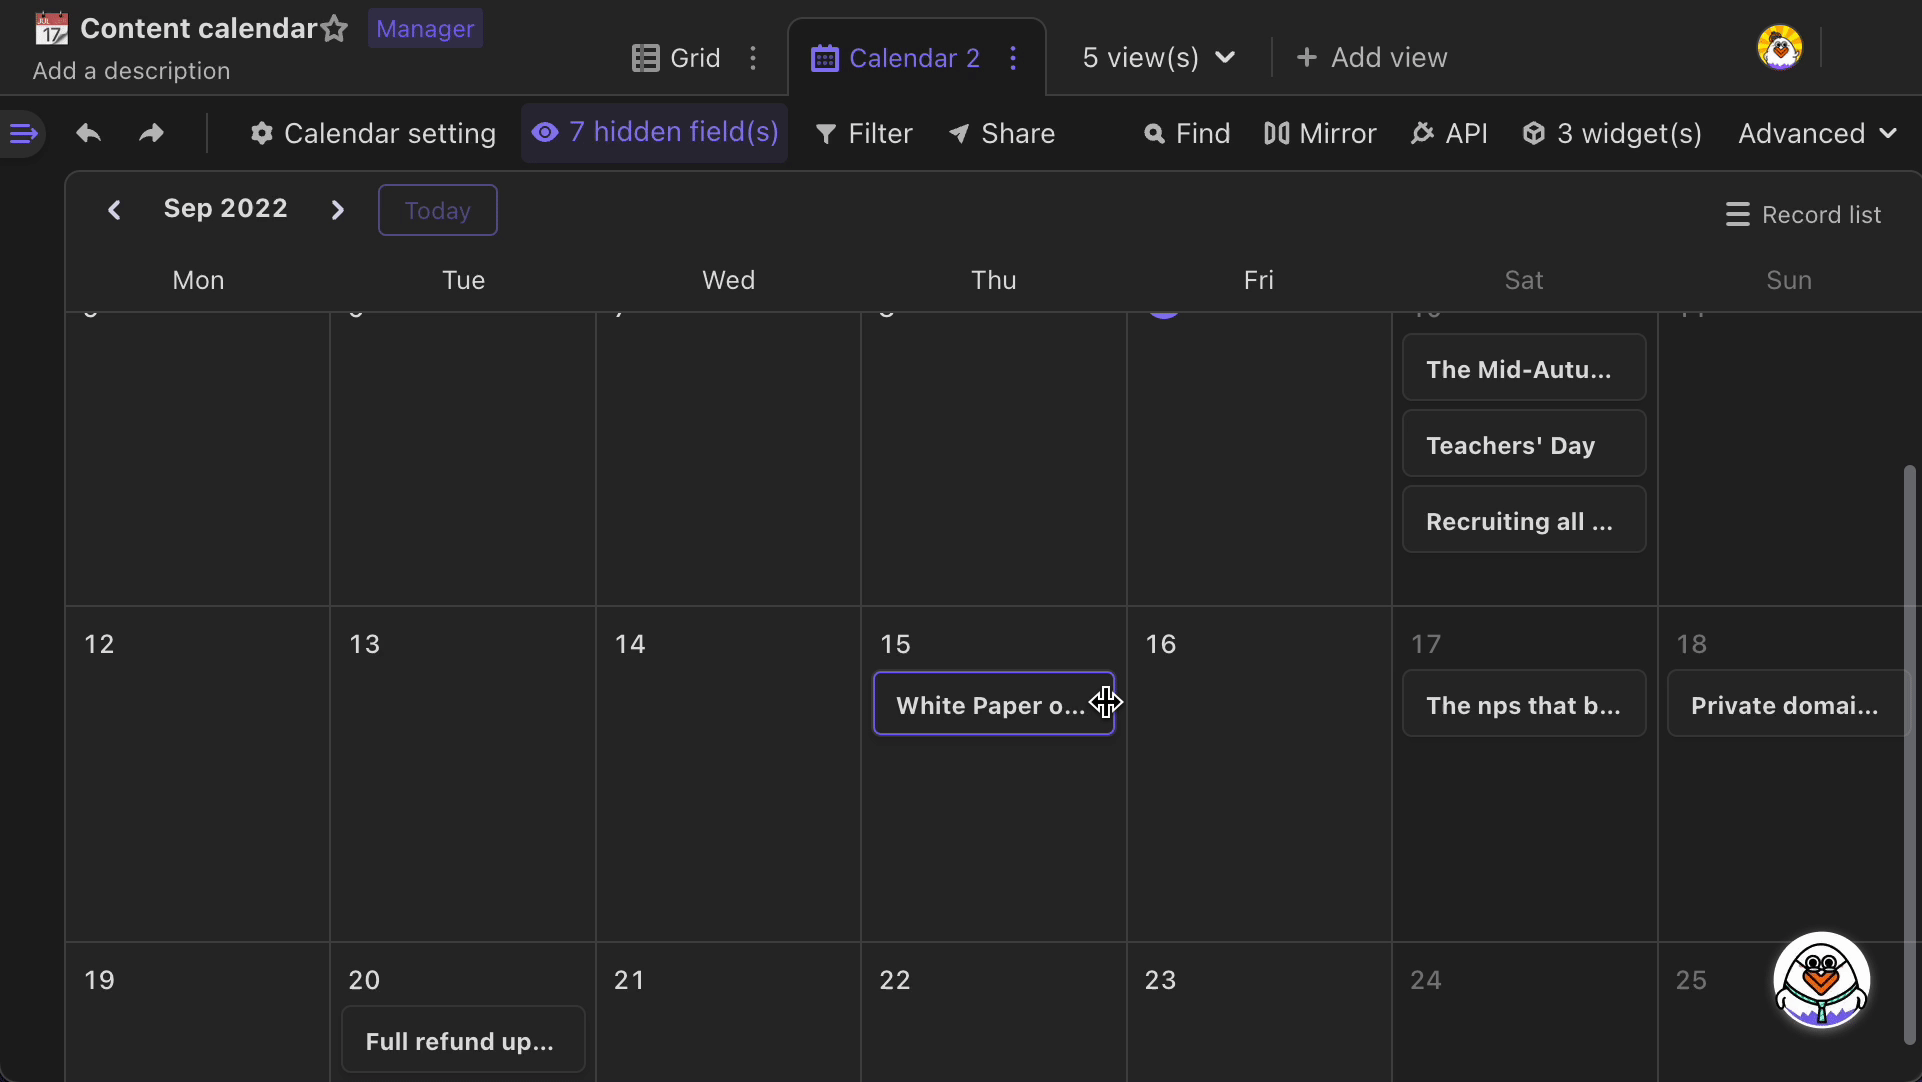
Calendar chart section: shows scheduled records as small cards. You can click the cards to expand and edit the records.
Creating a calendar view
To create a new calendar view, click "Add view" button on the view bar to bring up a dropdown menu of different view types, then click "Calendar" option.

There are two things need to be noted about creating a calendar view:
Only those members who have "Editor" or "Manager" permissions are allowed to create calendar views.
The date field types include date, created time, last modified time, formula (when the output values are of date type), and rollup (when the field rolled up is of date type).
You must have at least a date field in your datasheet. If you do not have a date field, you will be required to create a new one. If you have more than one date fields, the first date field will be selected by the date field picker as "Start date".
Calendar date setup
You can click and drag a card on the calendar to reschedule the event.
Adding records
There are two ways to add a new record on the calendar view.
The first way is clicking on the "+" icon appearing to bring up a mini window for adding a record when your mouse hover over a date. But if you don't have "Editor" permission for the "Start date" field, or if the "Start date" field is not available for editing, you will be not allowed to add a new record by this way.
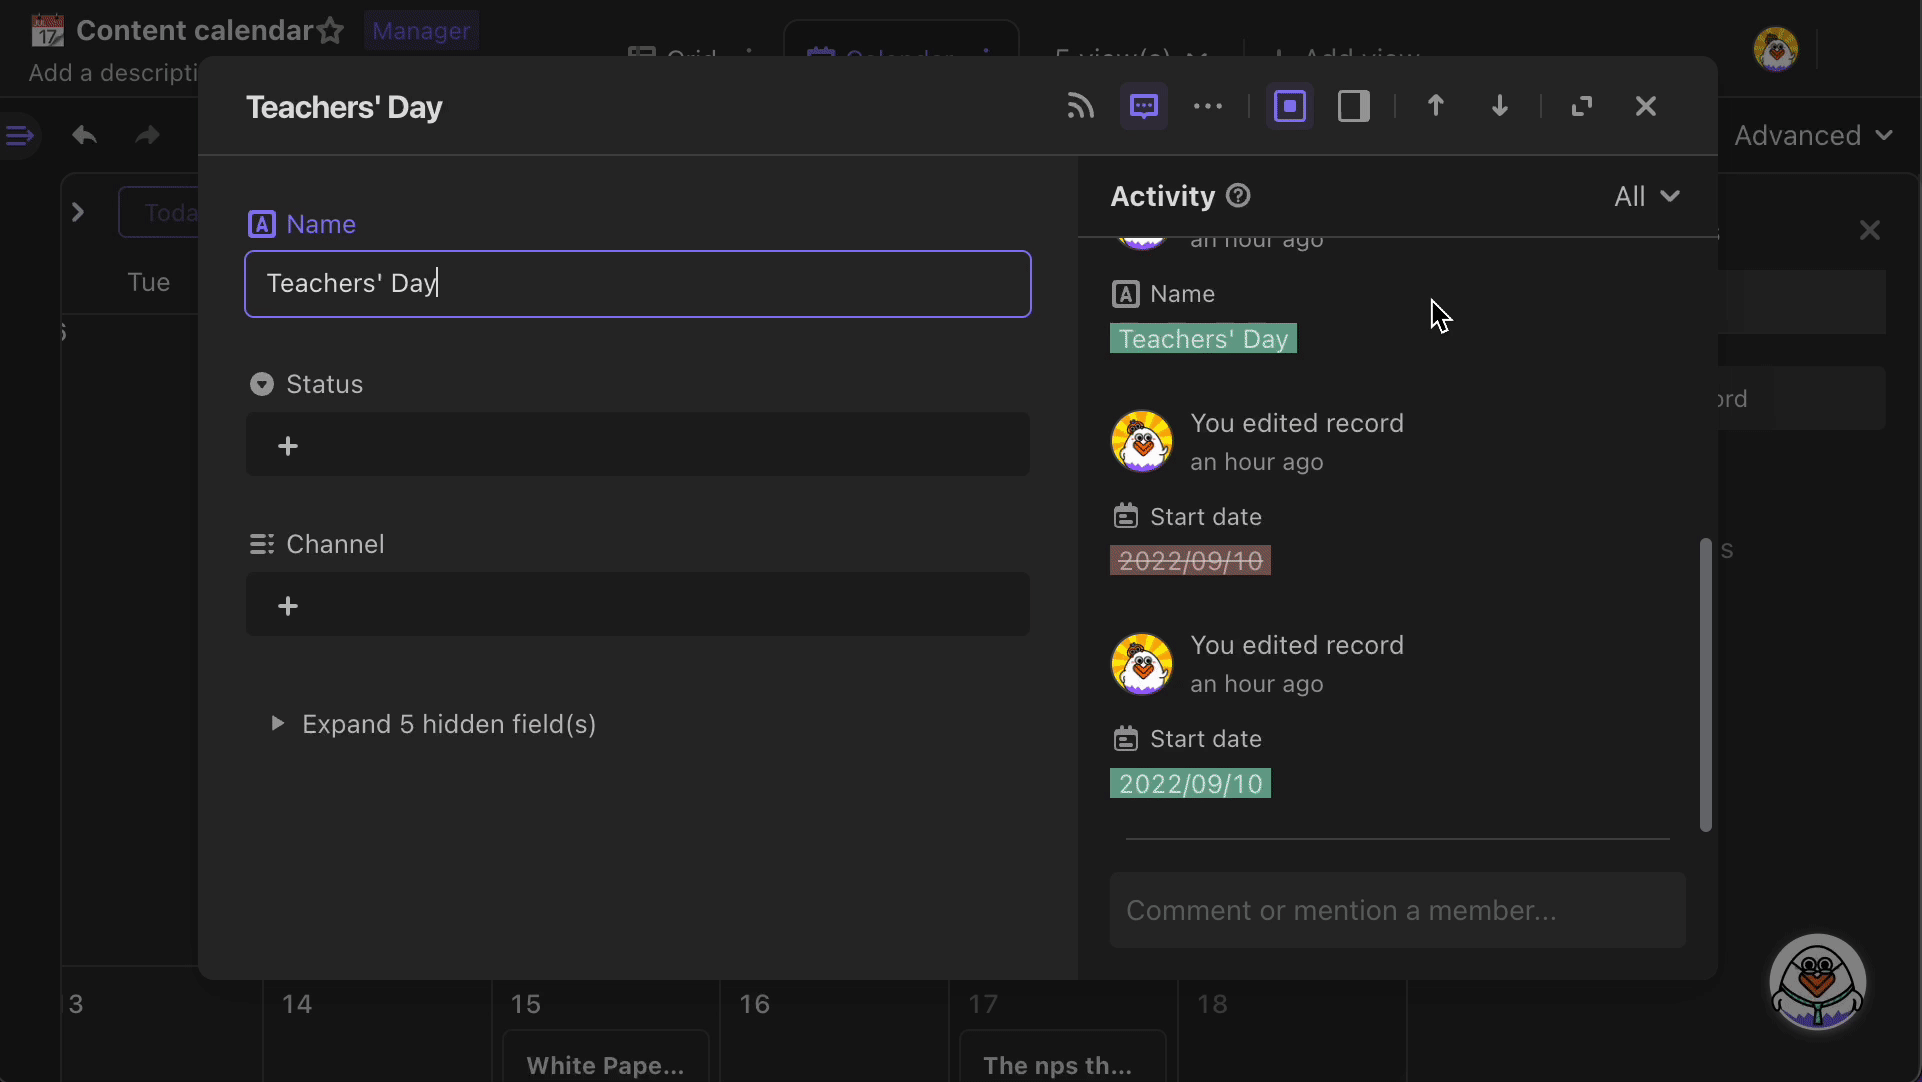
You can edit the primary fields - Start date and End date, in the mini window mentioned. You can also expand the window to bring up an expanded record view and edit more other fields.
The second way is clicking "New record" on the "Record list" to bring up the expanded records view to edit the details.
Displaying record details
You can click "Hide field" button in the view configuration section to display the information you want to pay attention to on the record card.
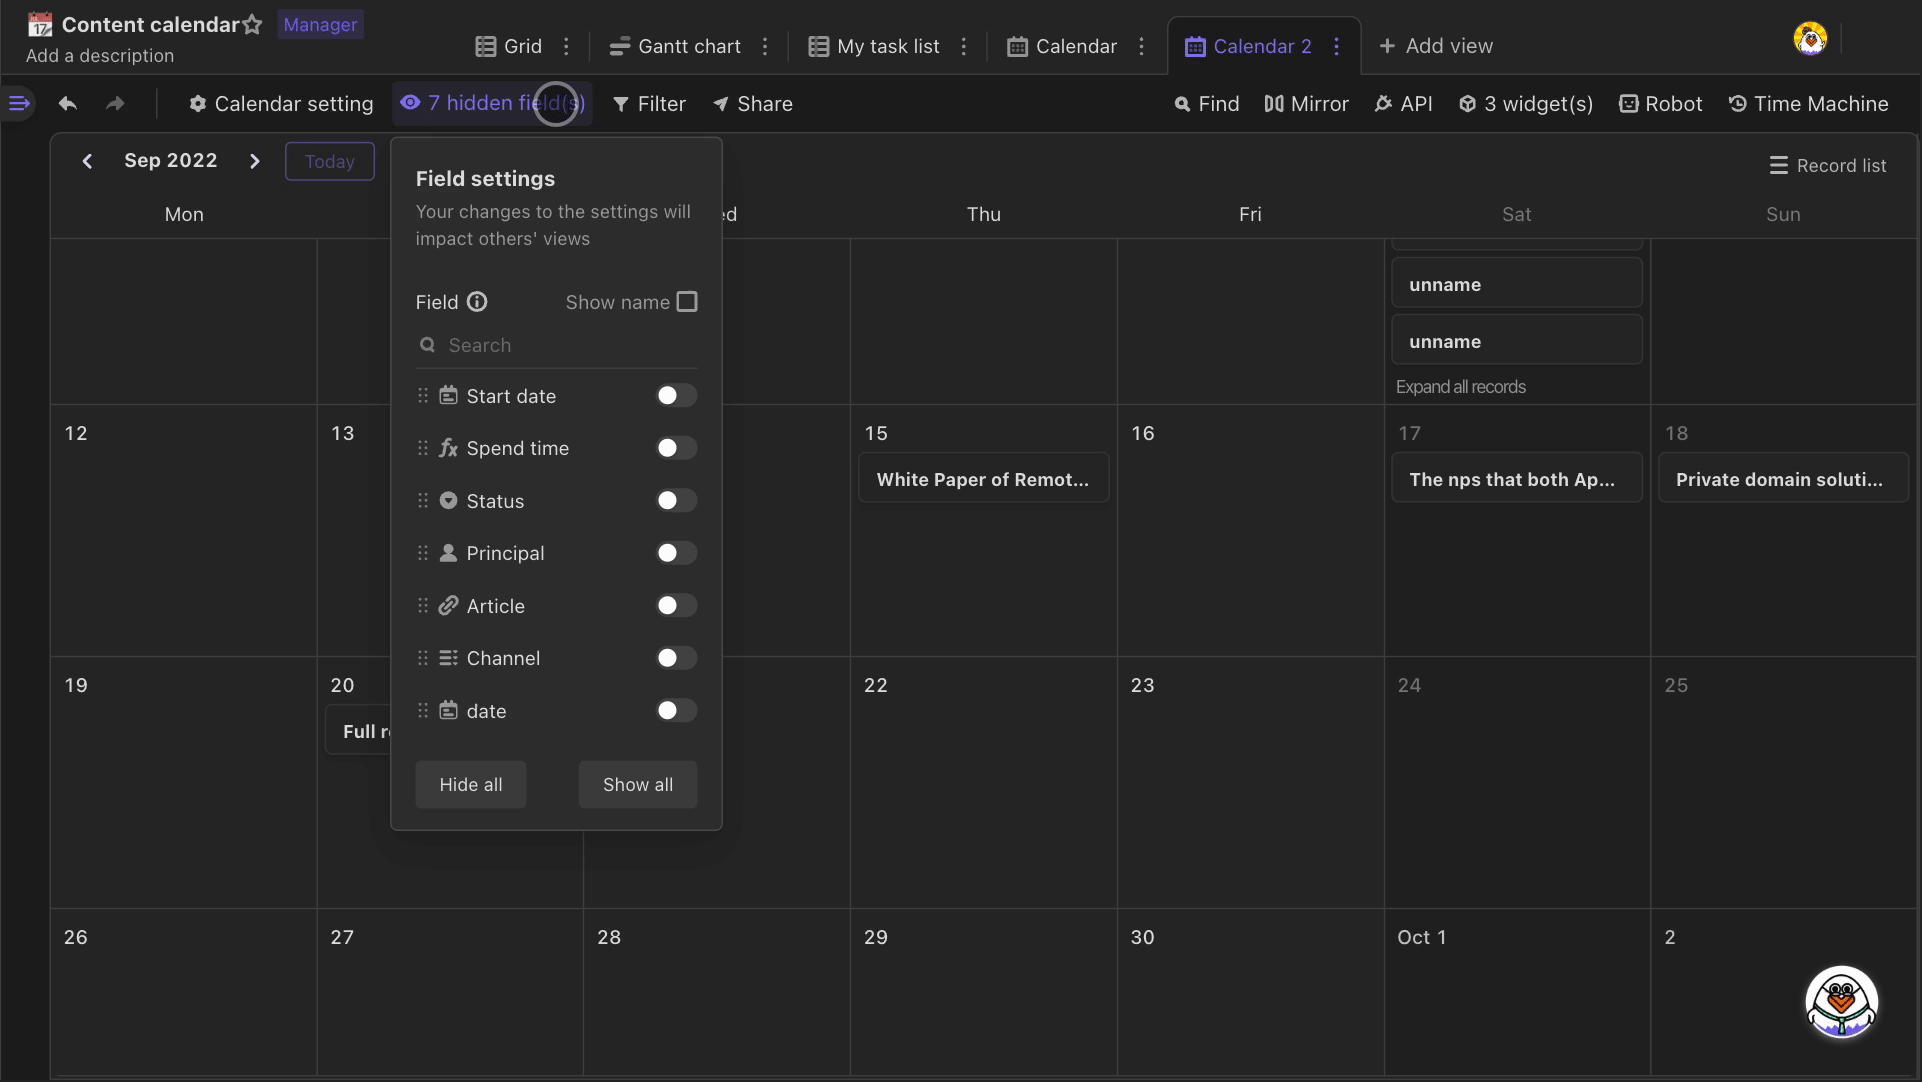
If there are more than 5 records on a same calendar date, some records will be automatically hidden. To view all records, click "Expand all records".
Changing records' dates
Clicking and dragging
You can click and drag a card on the calendar to reschedule the event.
In addition, you can click and drag on the edge of the record cards on a date to lengthen or shorten the date range as desired.
You need to note that, only when the date fields of "Start date" and "End date" are non-computational and you have "Editor" permission, then you can change record dates range by this way.

If you drag a record to the sidebar of "Record list", you will clear the value in the date field of that record and unschedule it.
By dragging a record card from the "Record list" onto a date on the calendar, you will populate the event's date field.
