How to Implement Form Pre-filling?
Assuming you are the marketing manager of an innovative tech company. You are planning a promotional campaign to attract user participation through different channels. To understand which channel is most effective, you want to differentiate the information source for each channel. Therefore, you decide to use the pre-filling feature of forms to achieve this goal.
This document will guide you on how to pre-fill information in a form using URL parameters to differentiate the information source for different channels. By following these steps, you can generate a form with pre-filling capability and share the link with your channel partners.
Method 1: Using the Pre-fill Function
Locate the "Pre-fill" function icon at the top right corner of the form you want to pre-fill. Clicking on this icon will expand the relevant functional panel.
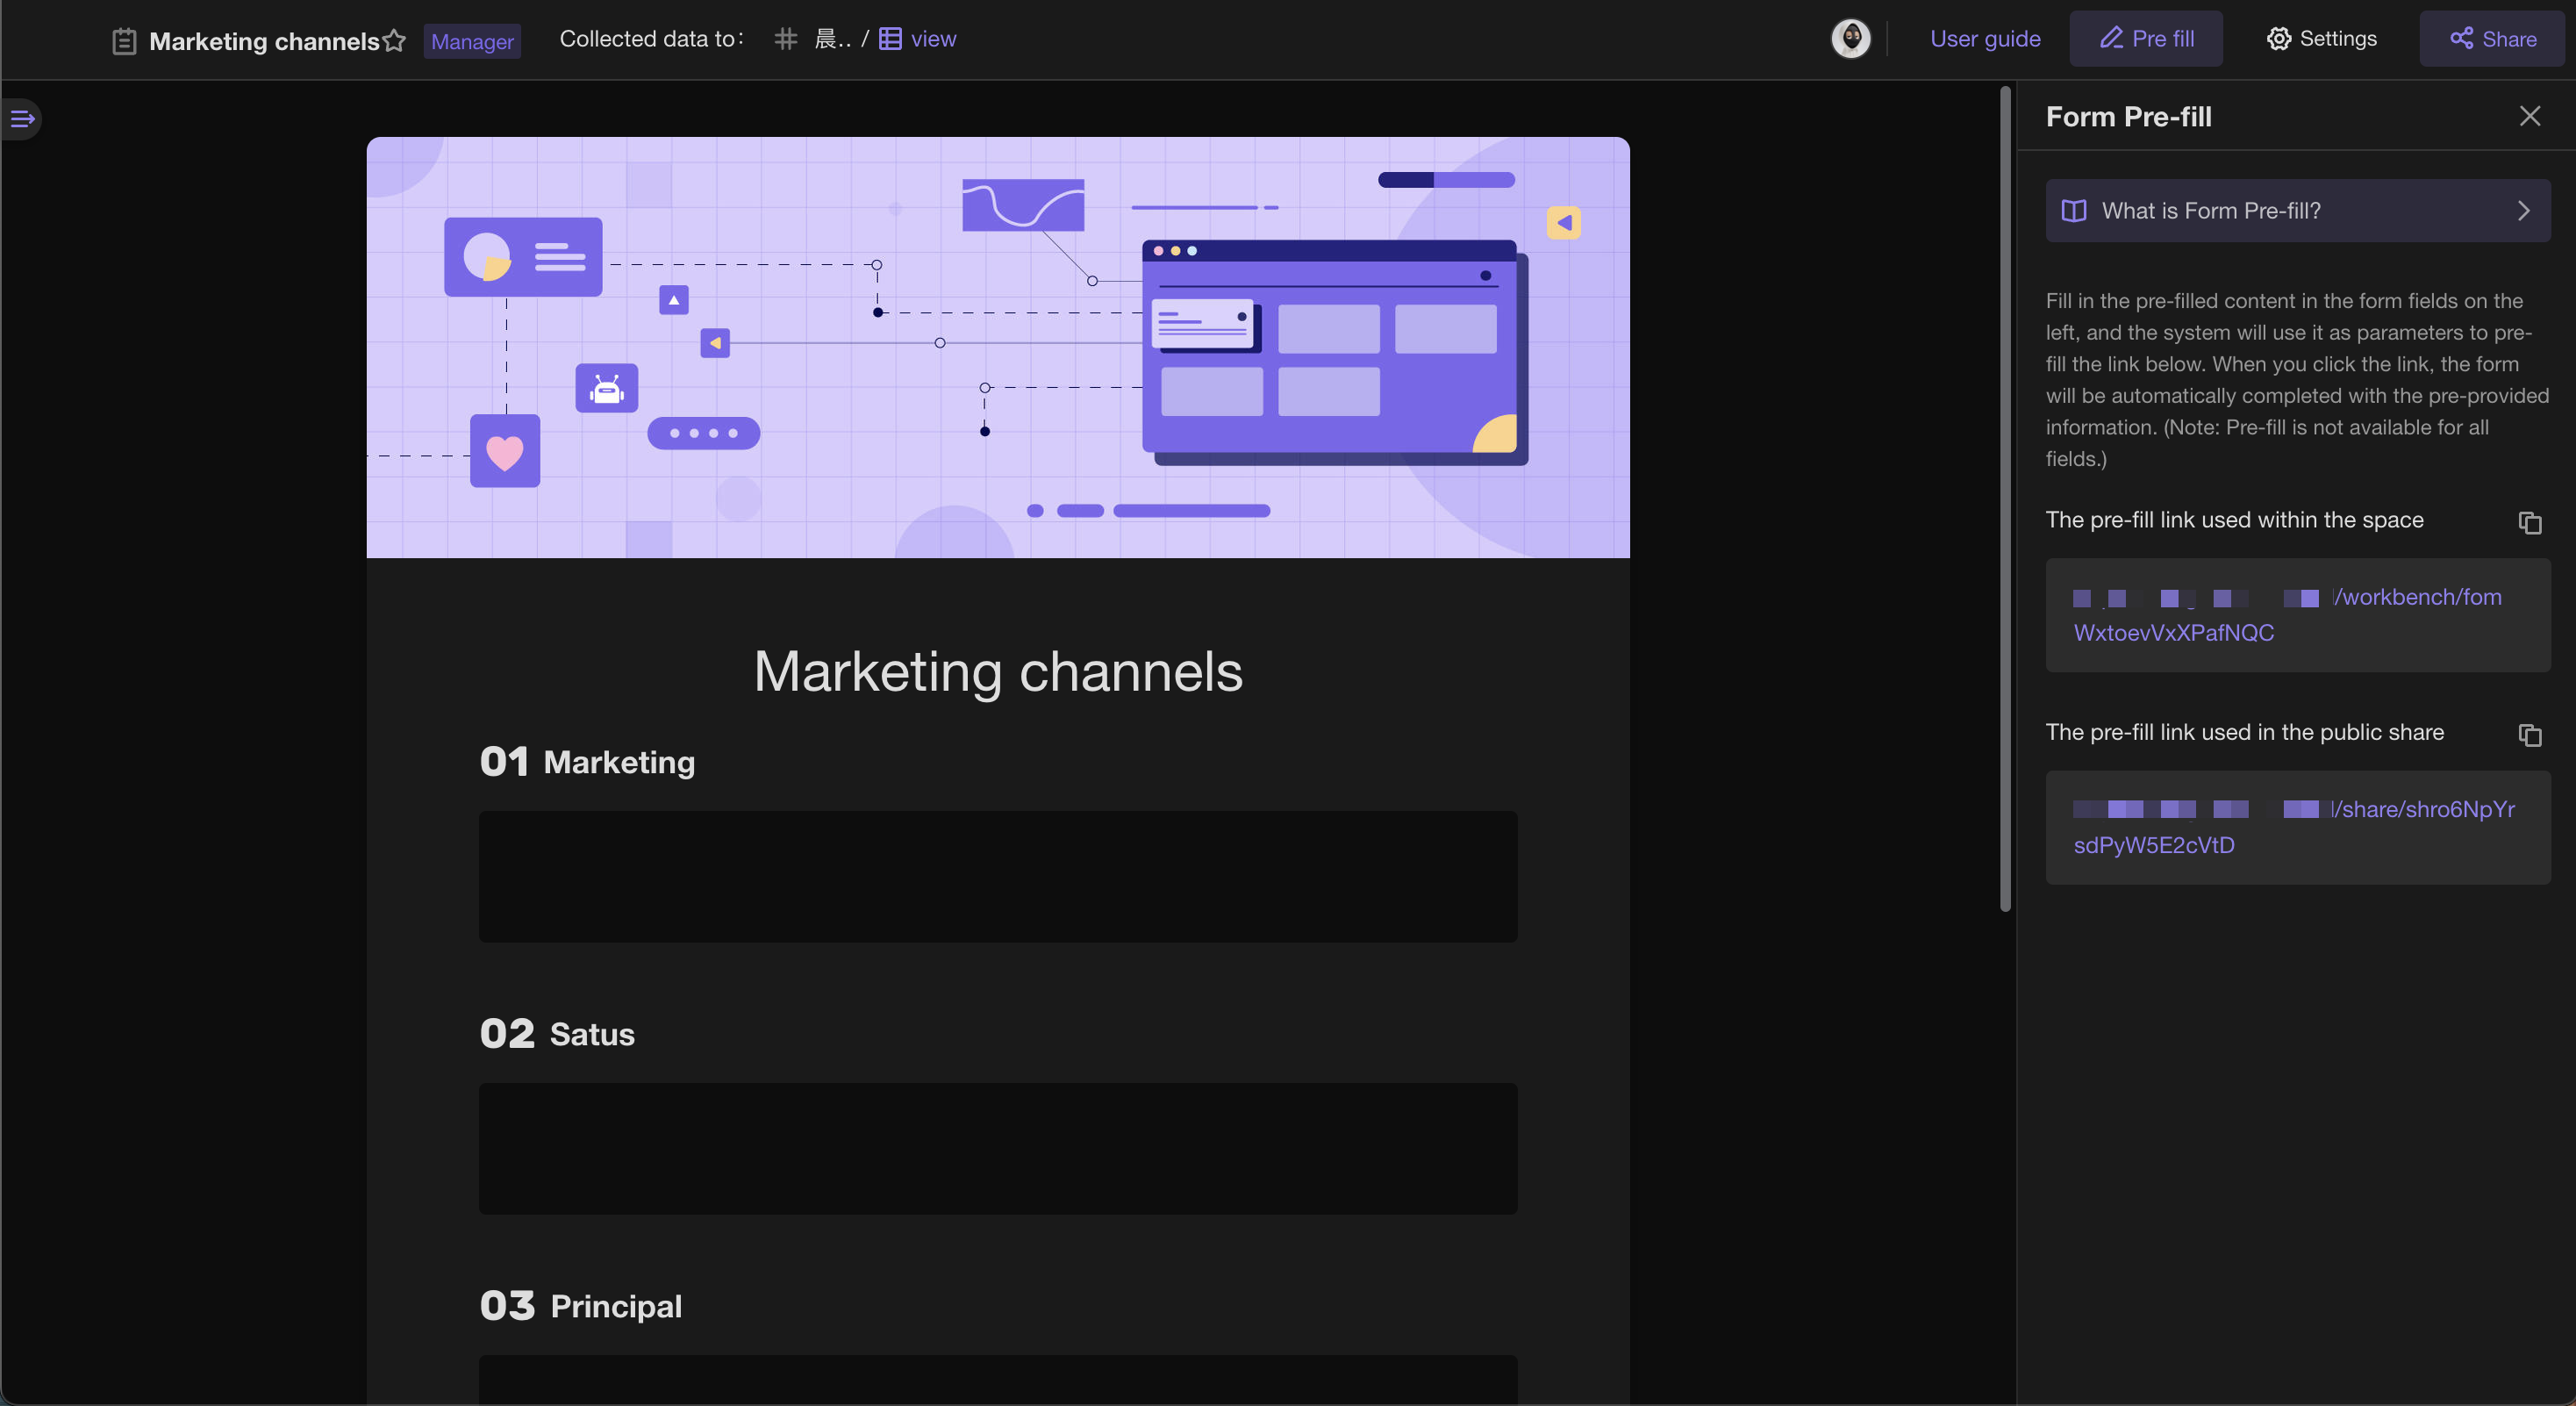
Within the left section of the form, identify the fields you want to pre-fill. Enter the necessary values into the corresponding fields. The pre-fill link on the right will automatically carry the associated values without requiring manual input.
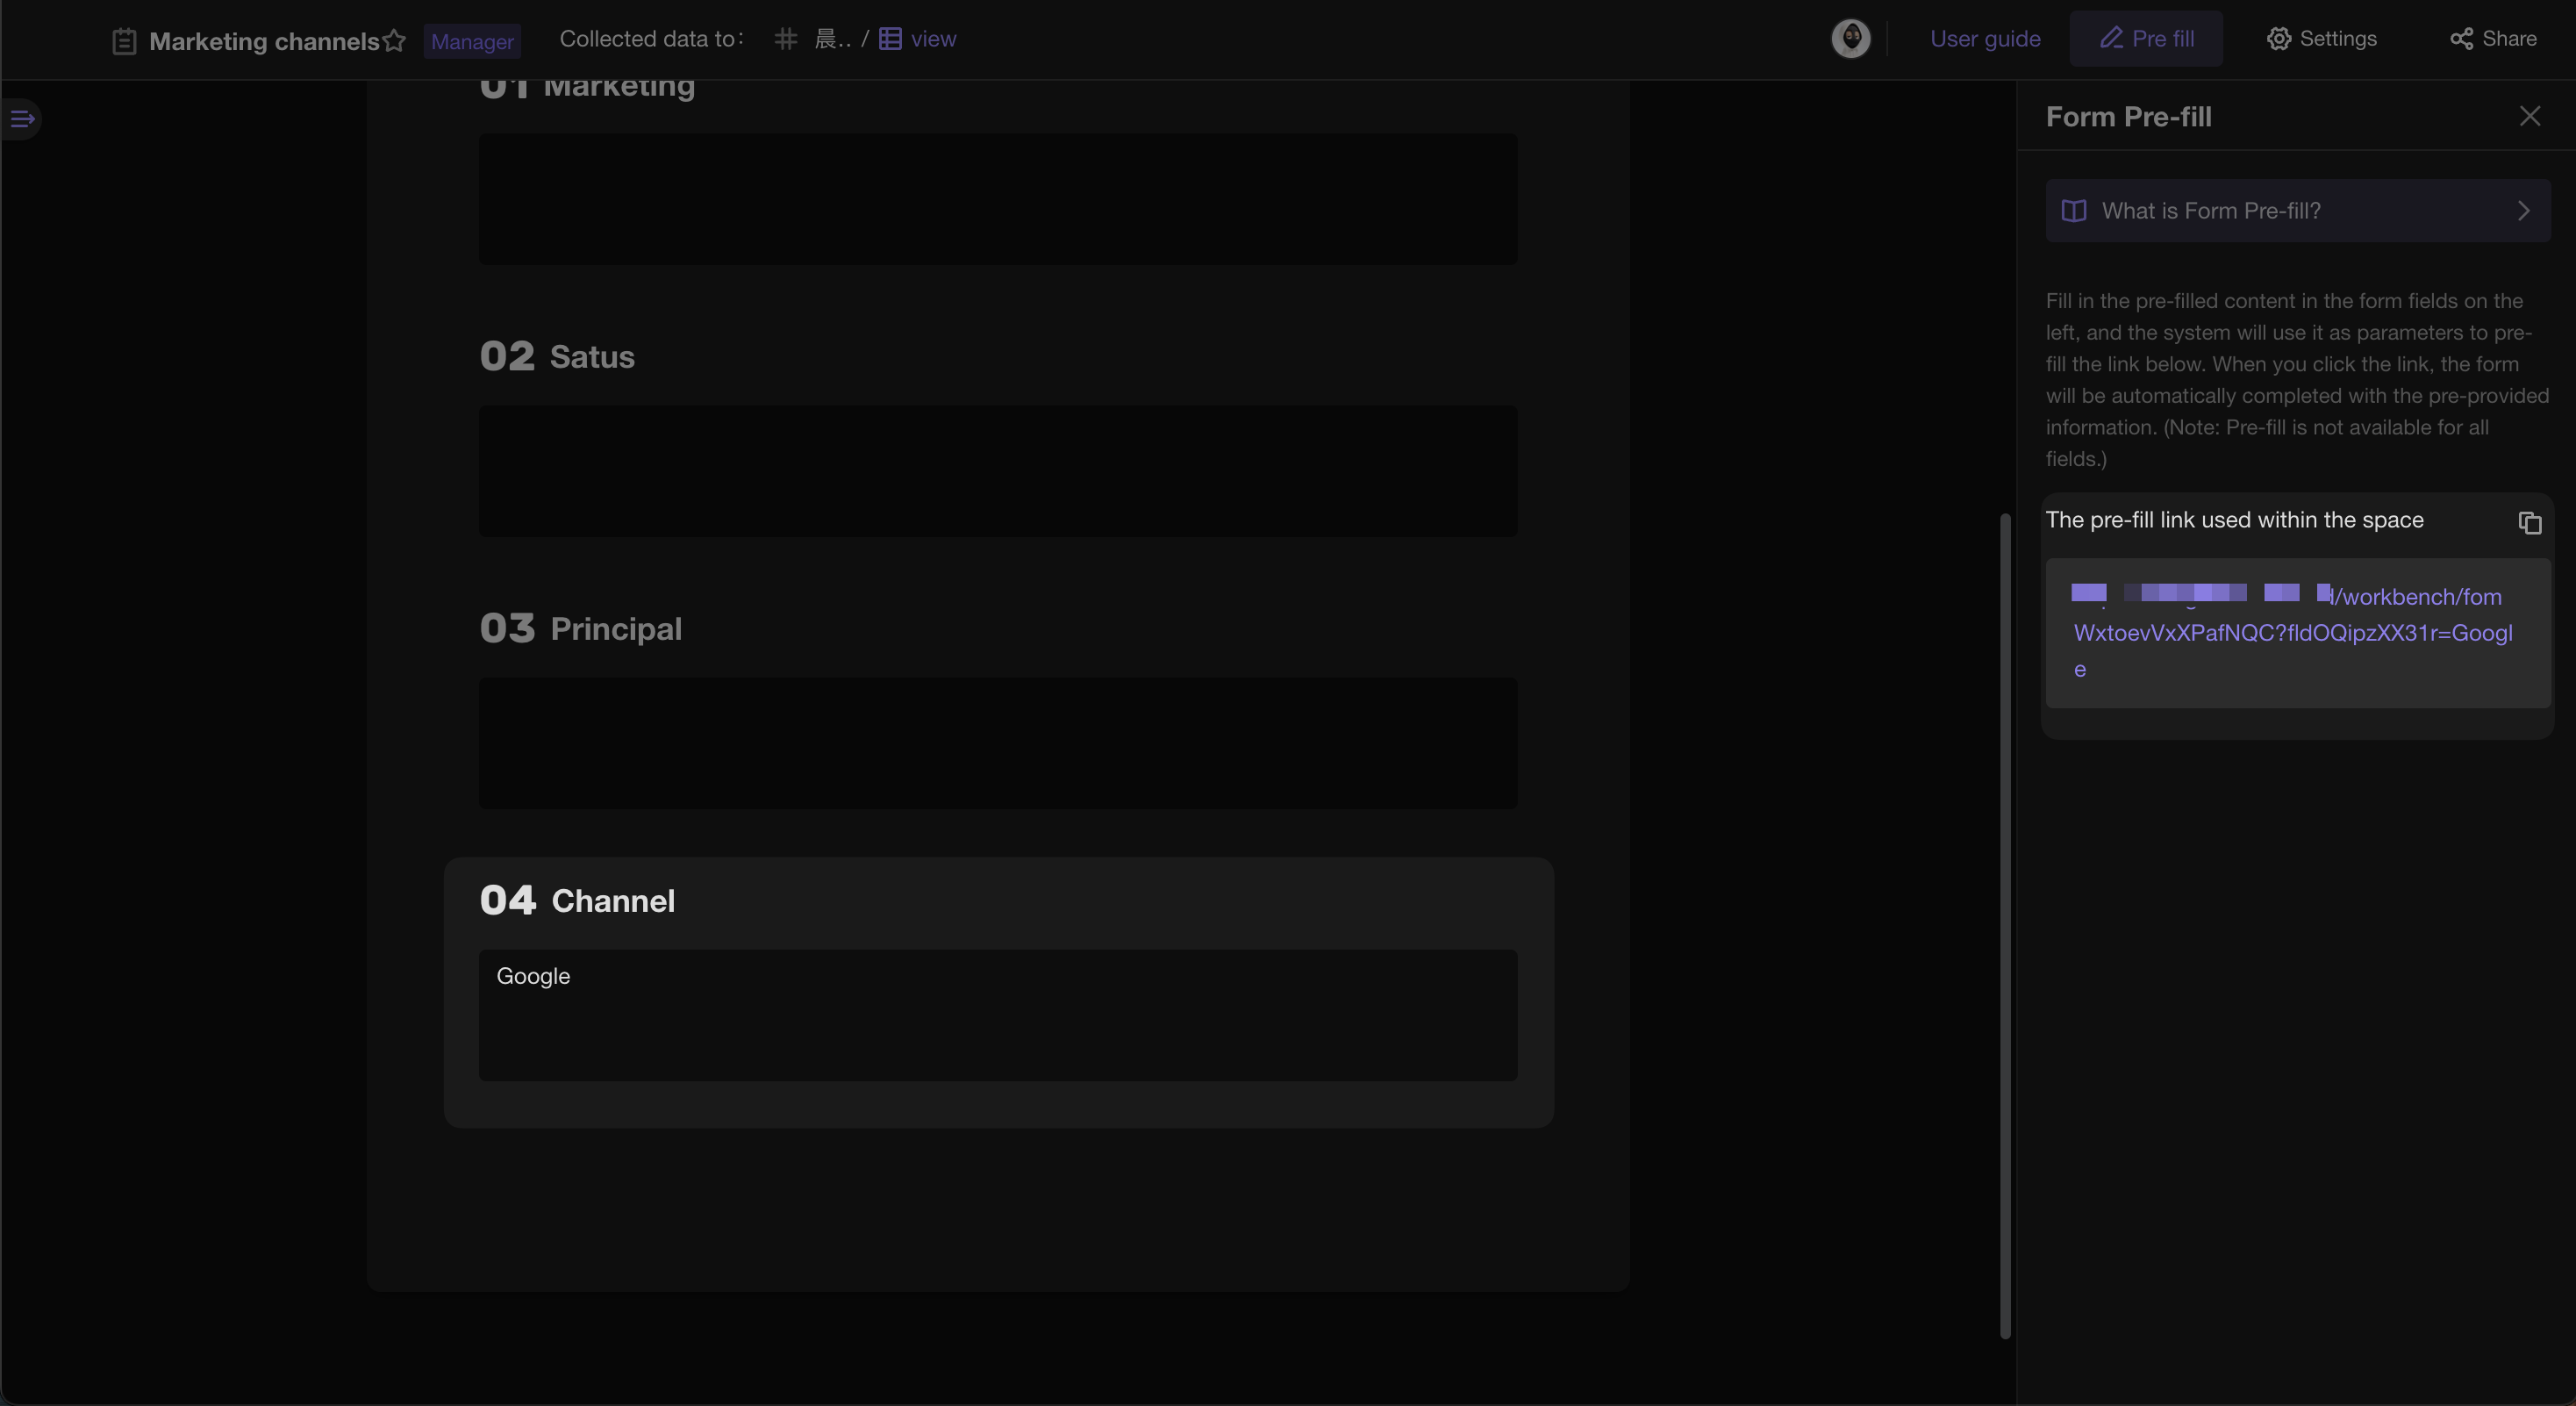
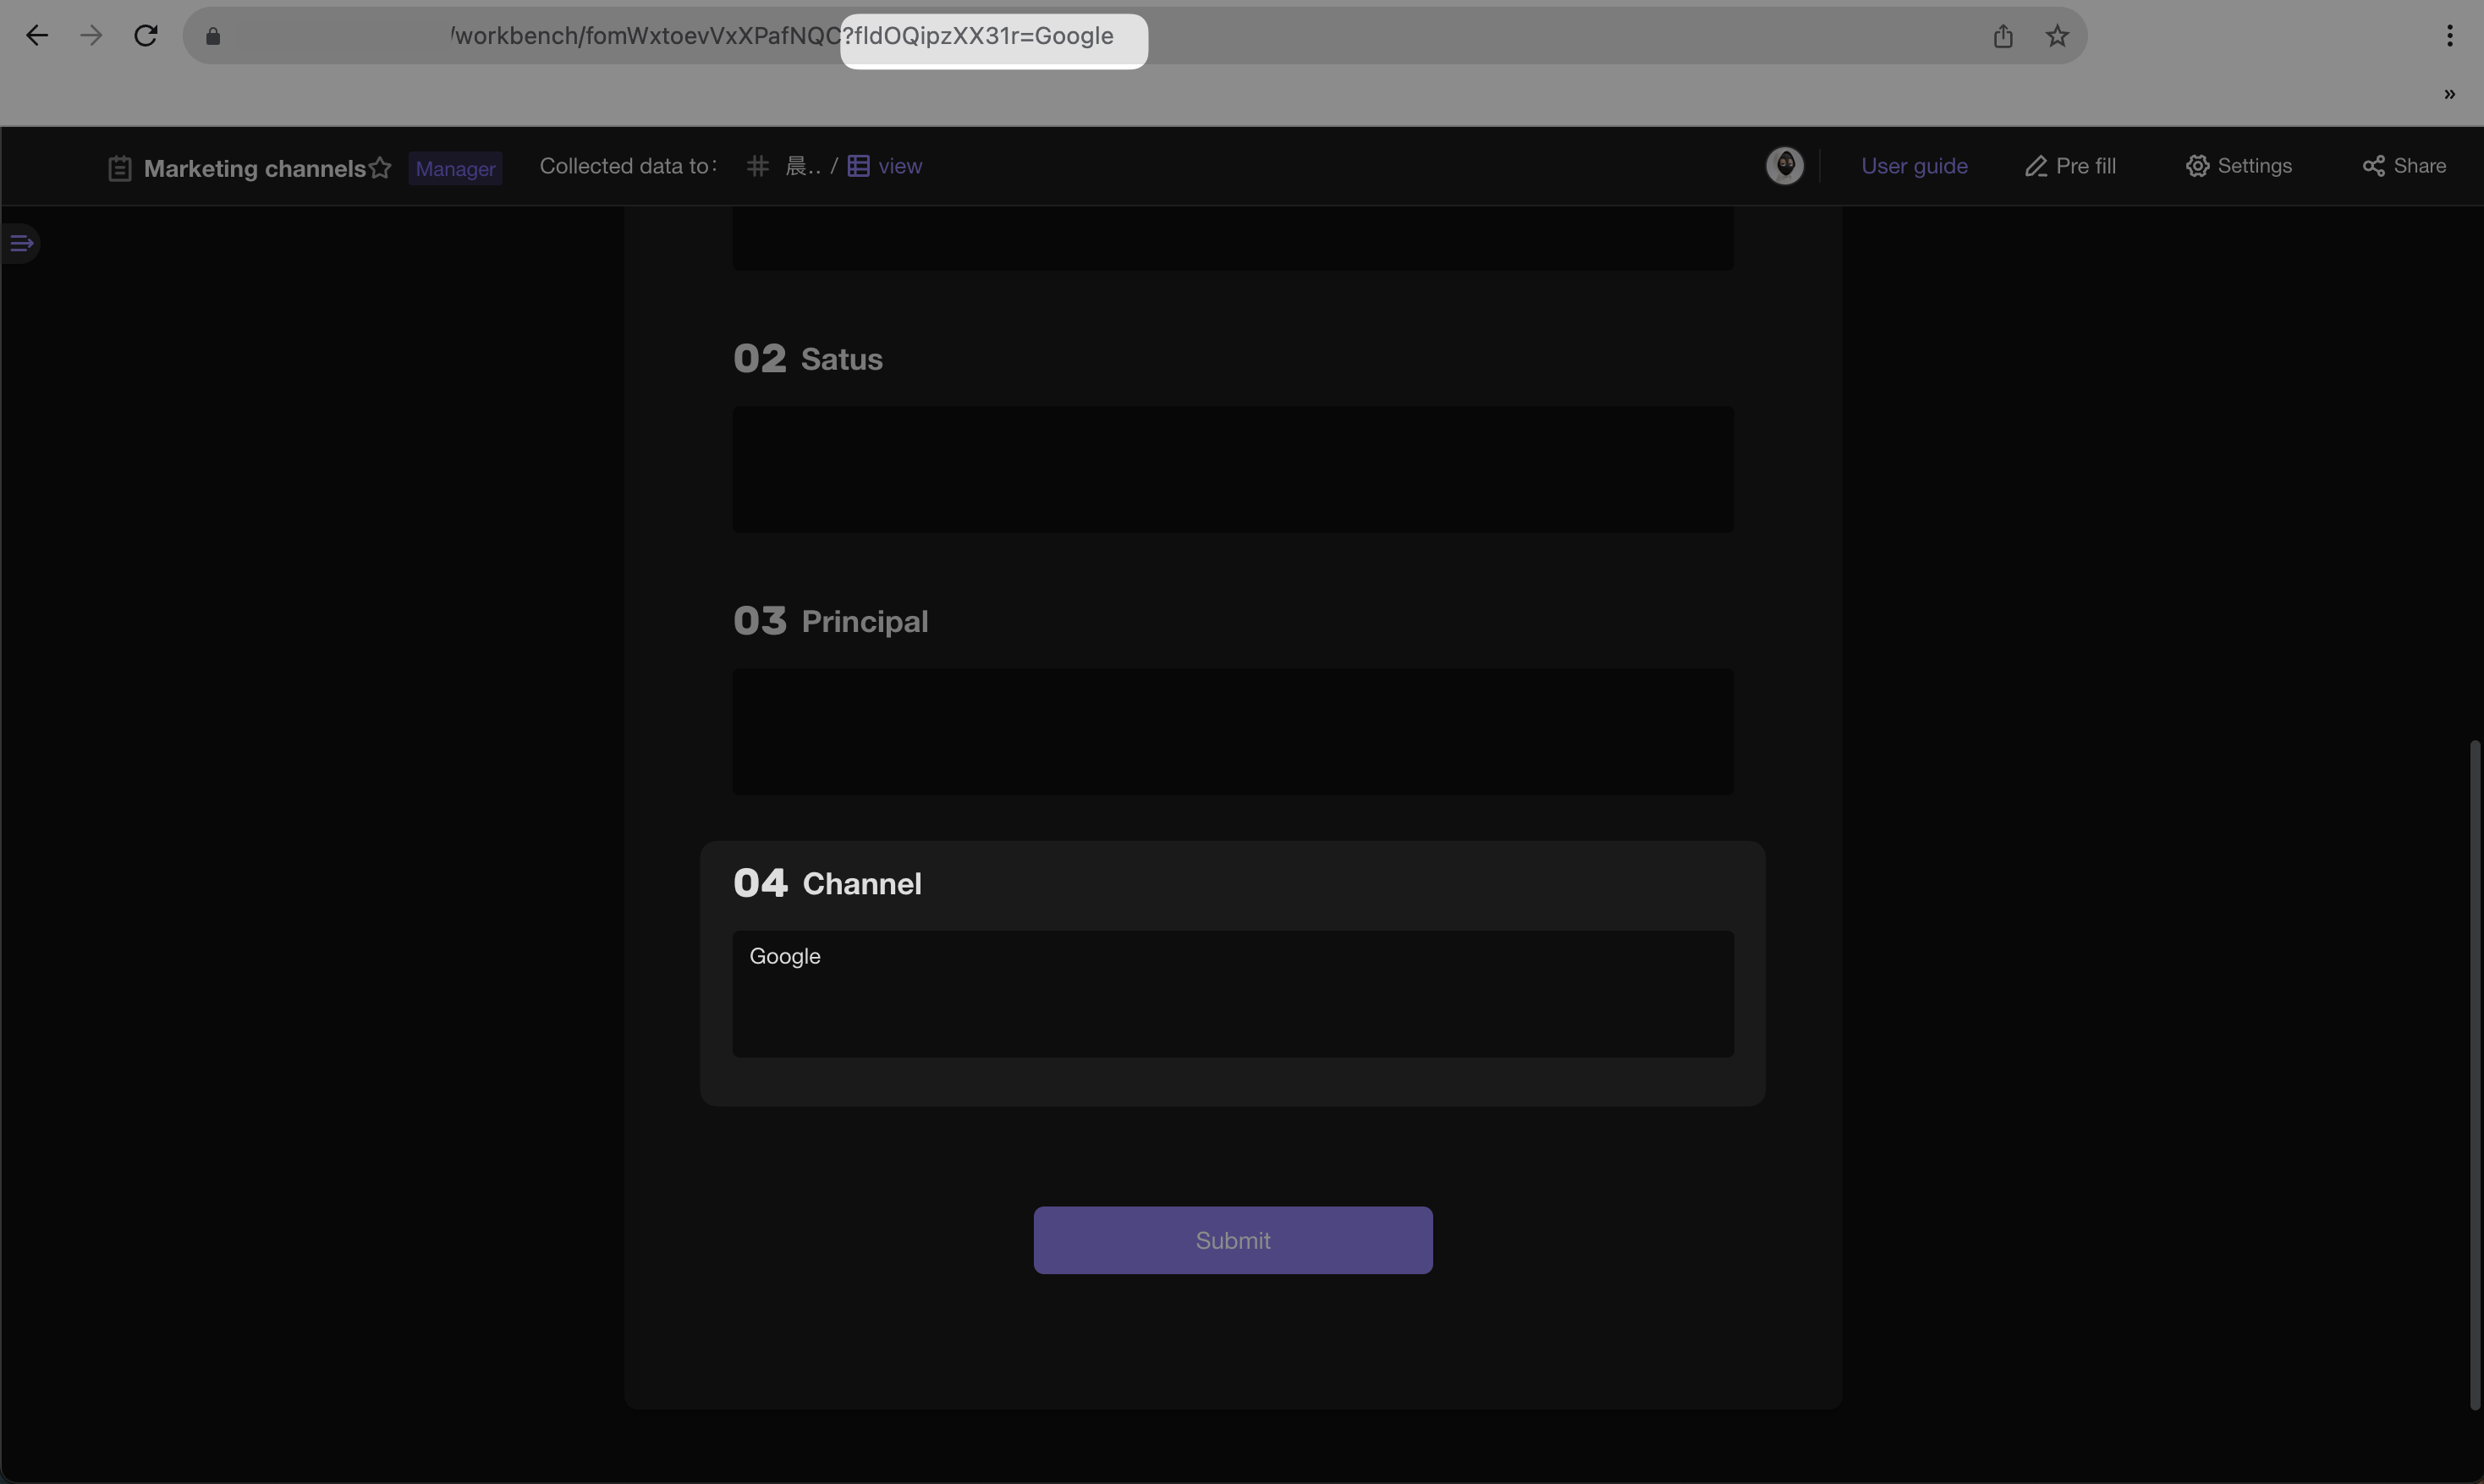
Finally, copy the link from the right side and open it in a web browser. The form will automatically populate with the values you have preset.
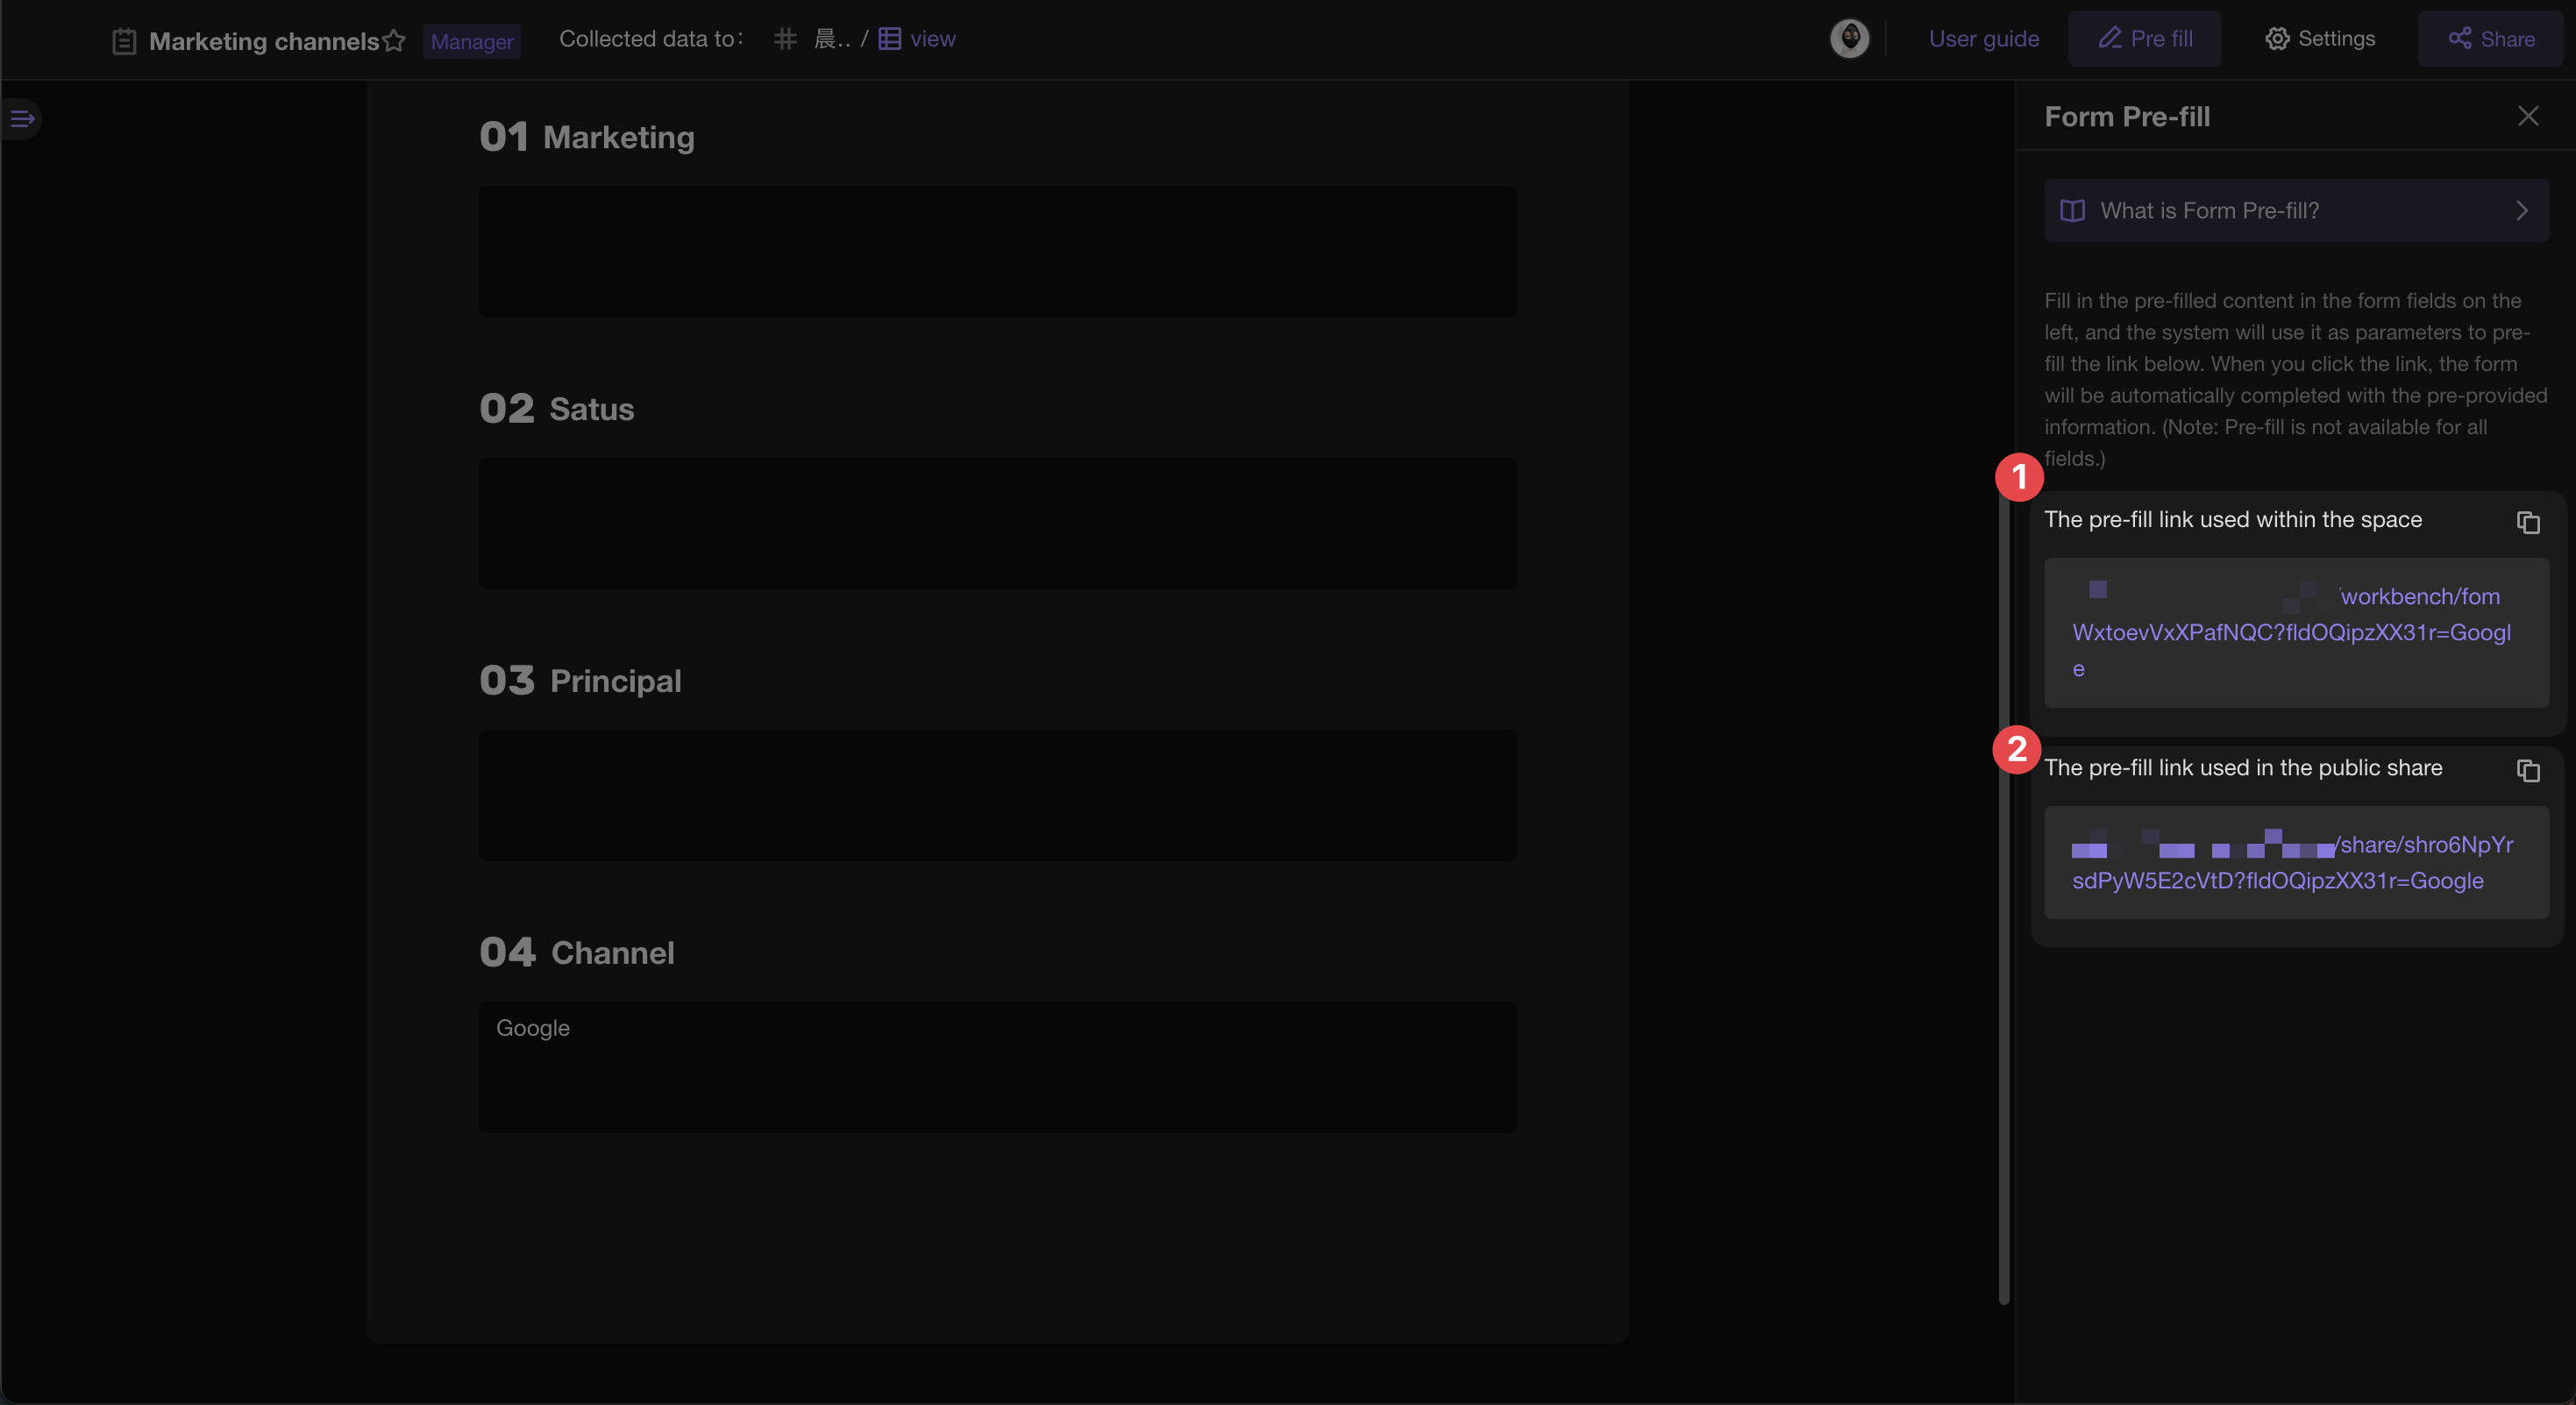
Tip:If your form has been configured for public link, the pre-fill capability will also apply to the public link. Depending on your specific use case, feel free to choose the most suitable method.
Method 2: Manually Concatenating Parameters
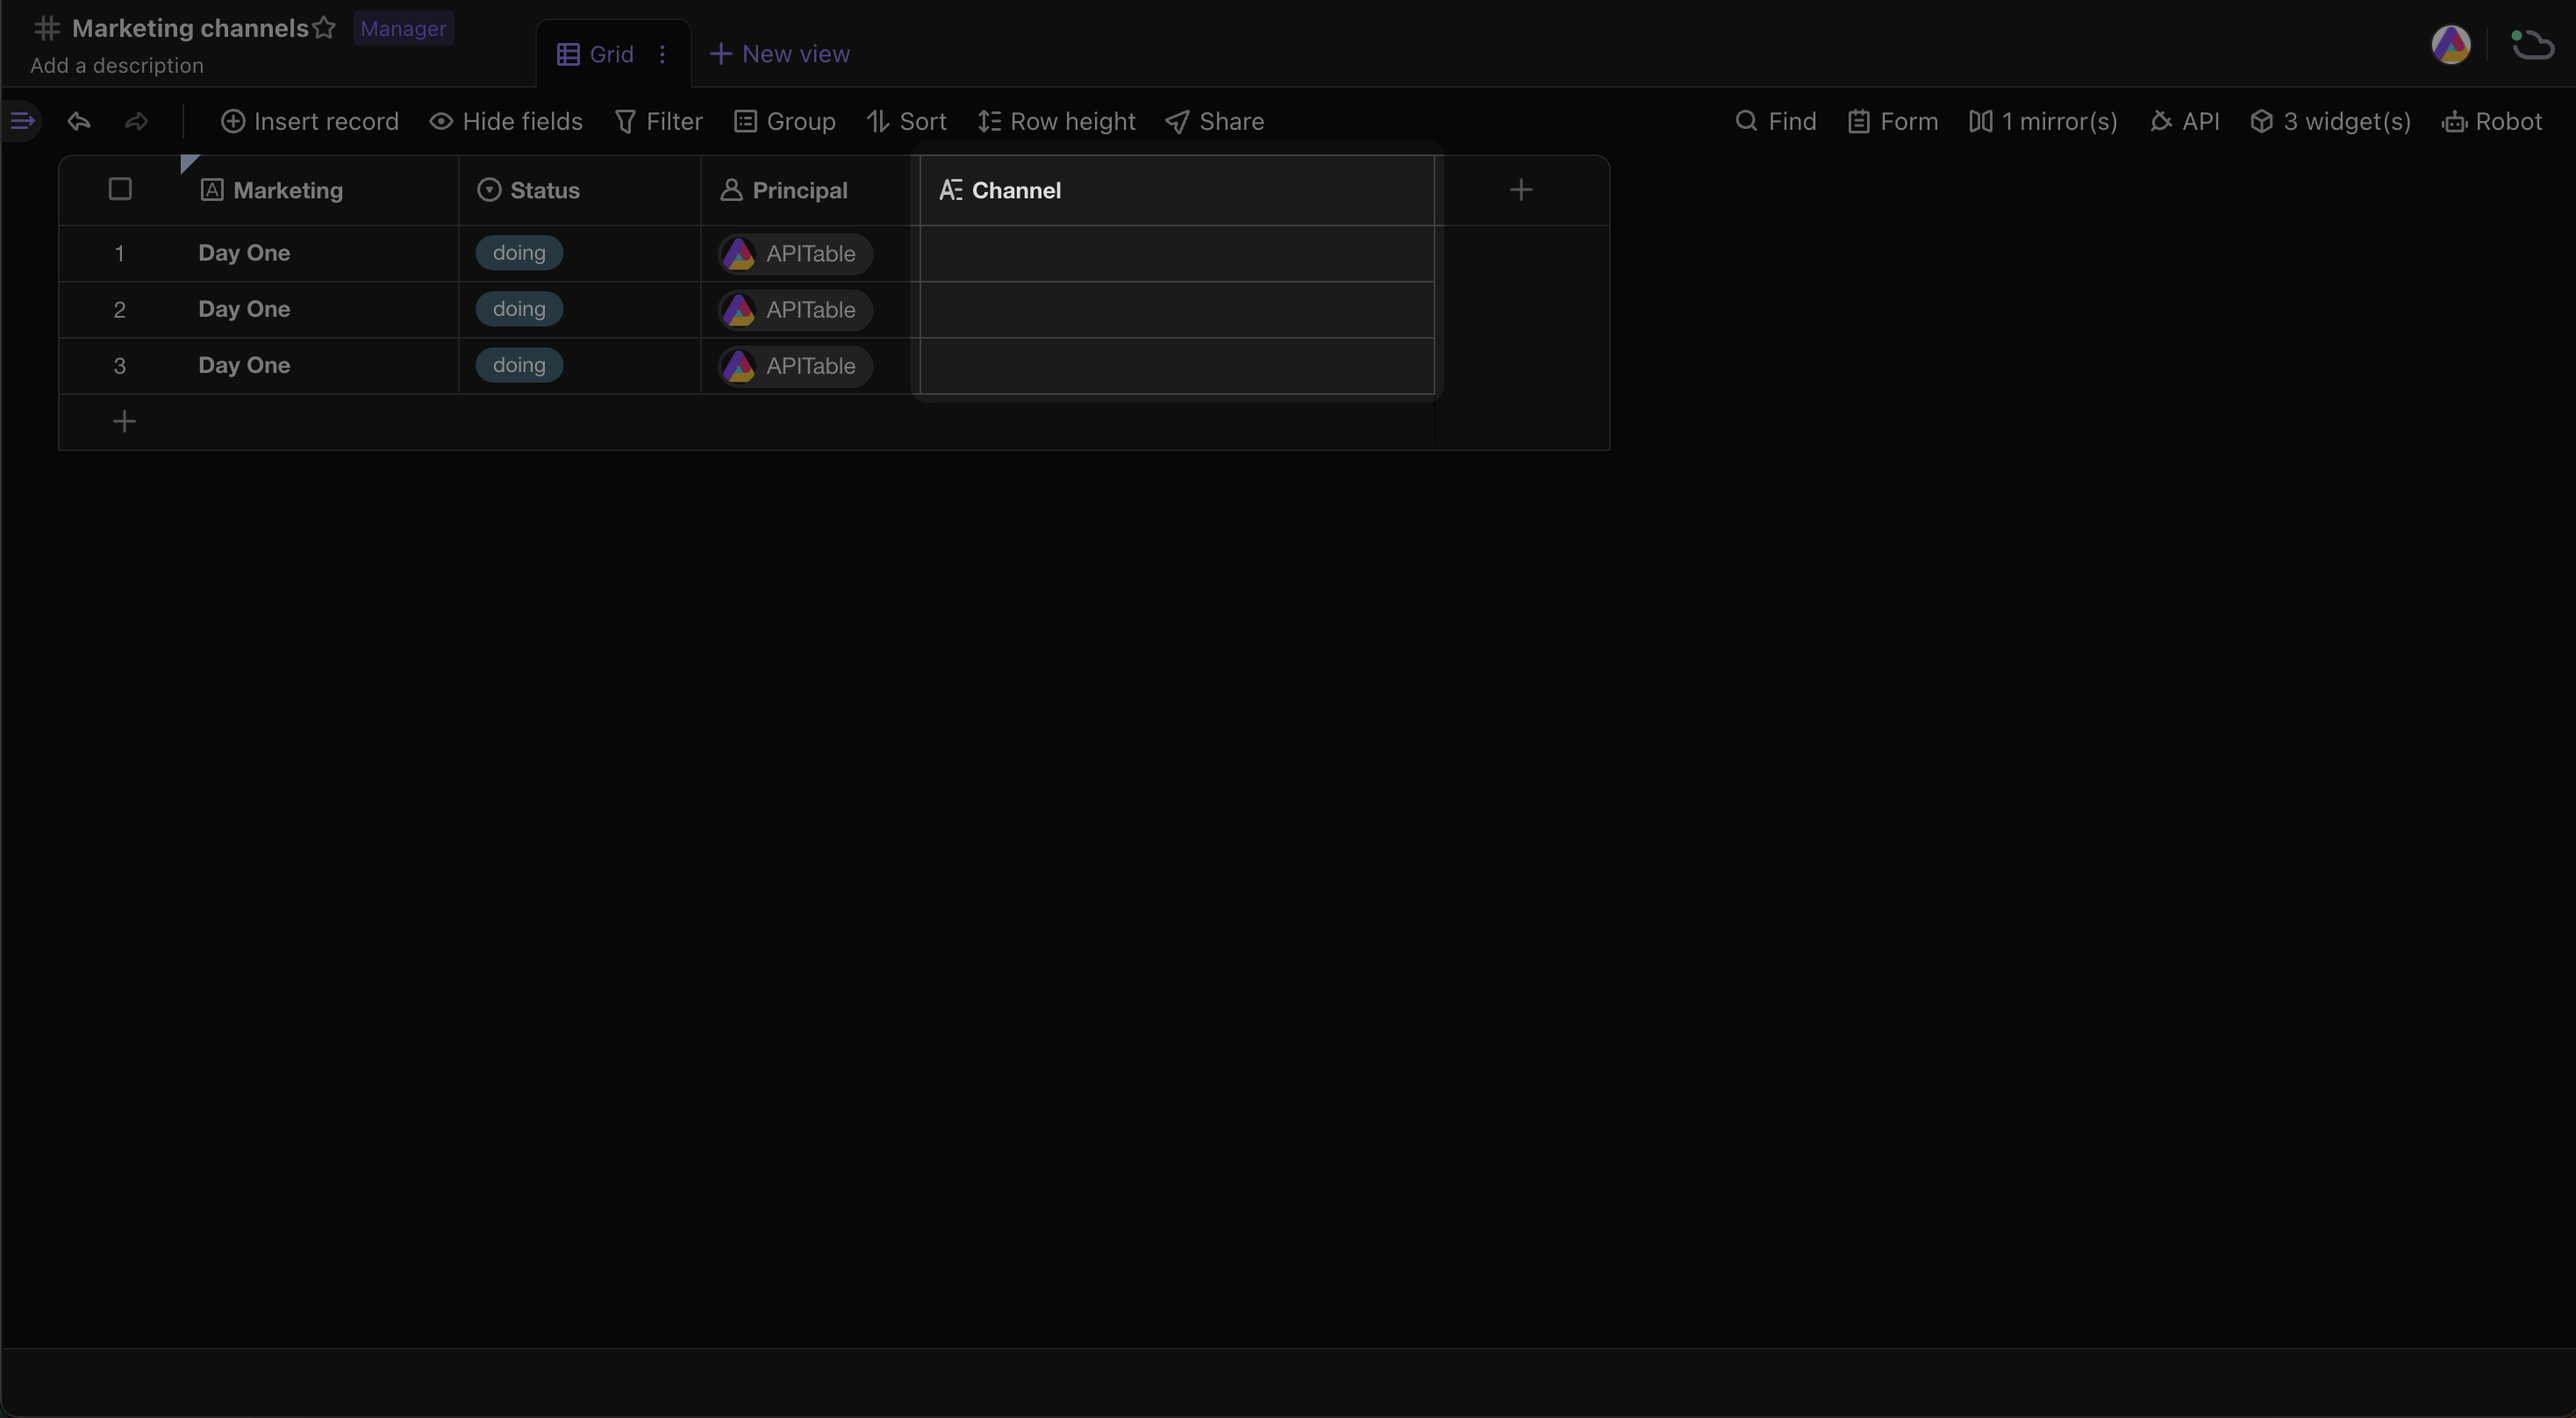
1. Create a "Channel" field
Create a new field in your datasheet (currently only supports "Single line text" and "Long text") to identify the information source for different channels. You can customize the field name as needed, such as "Channel"
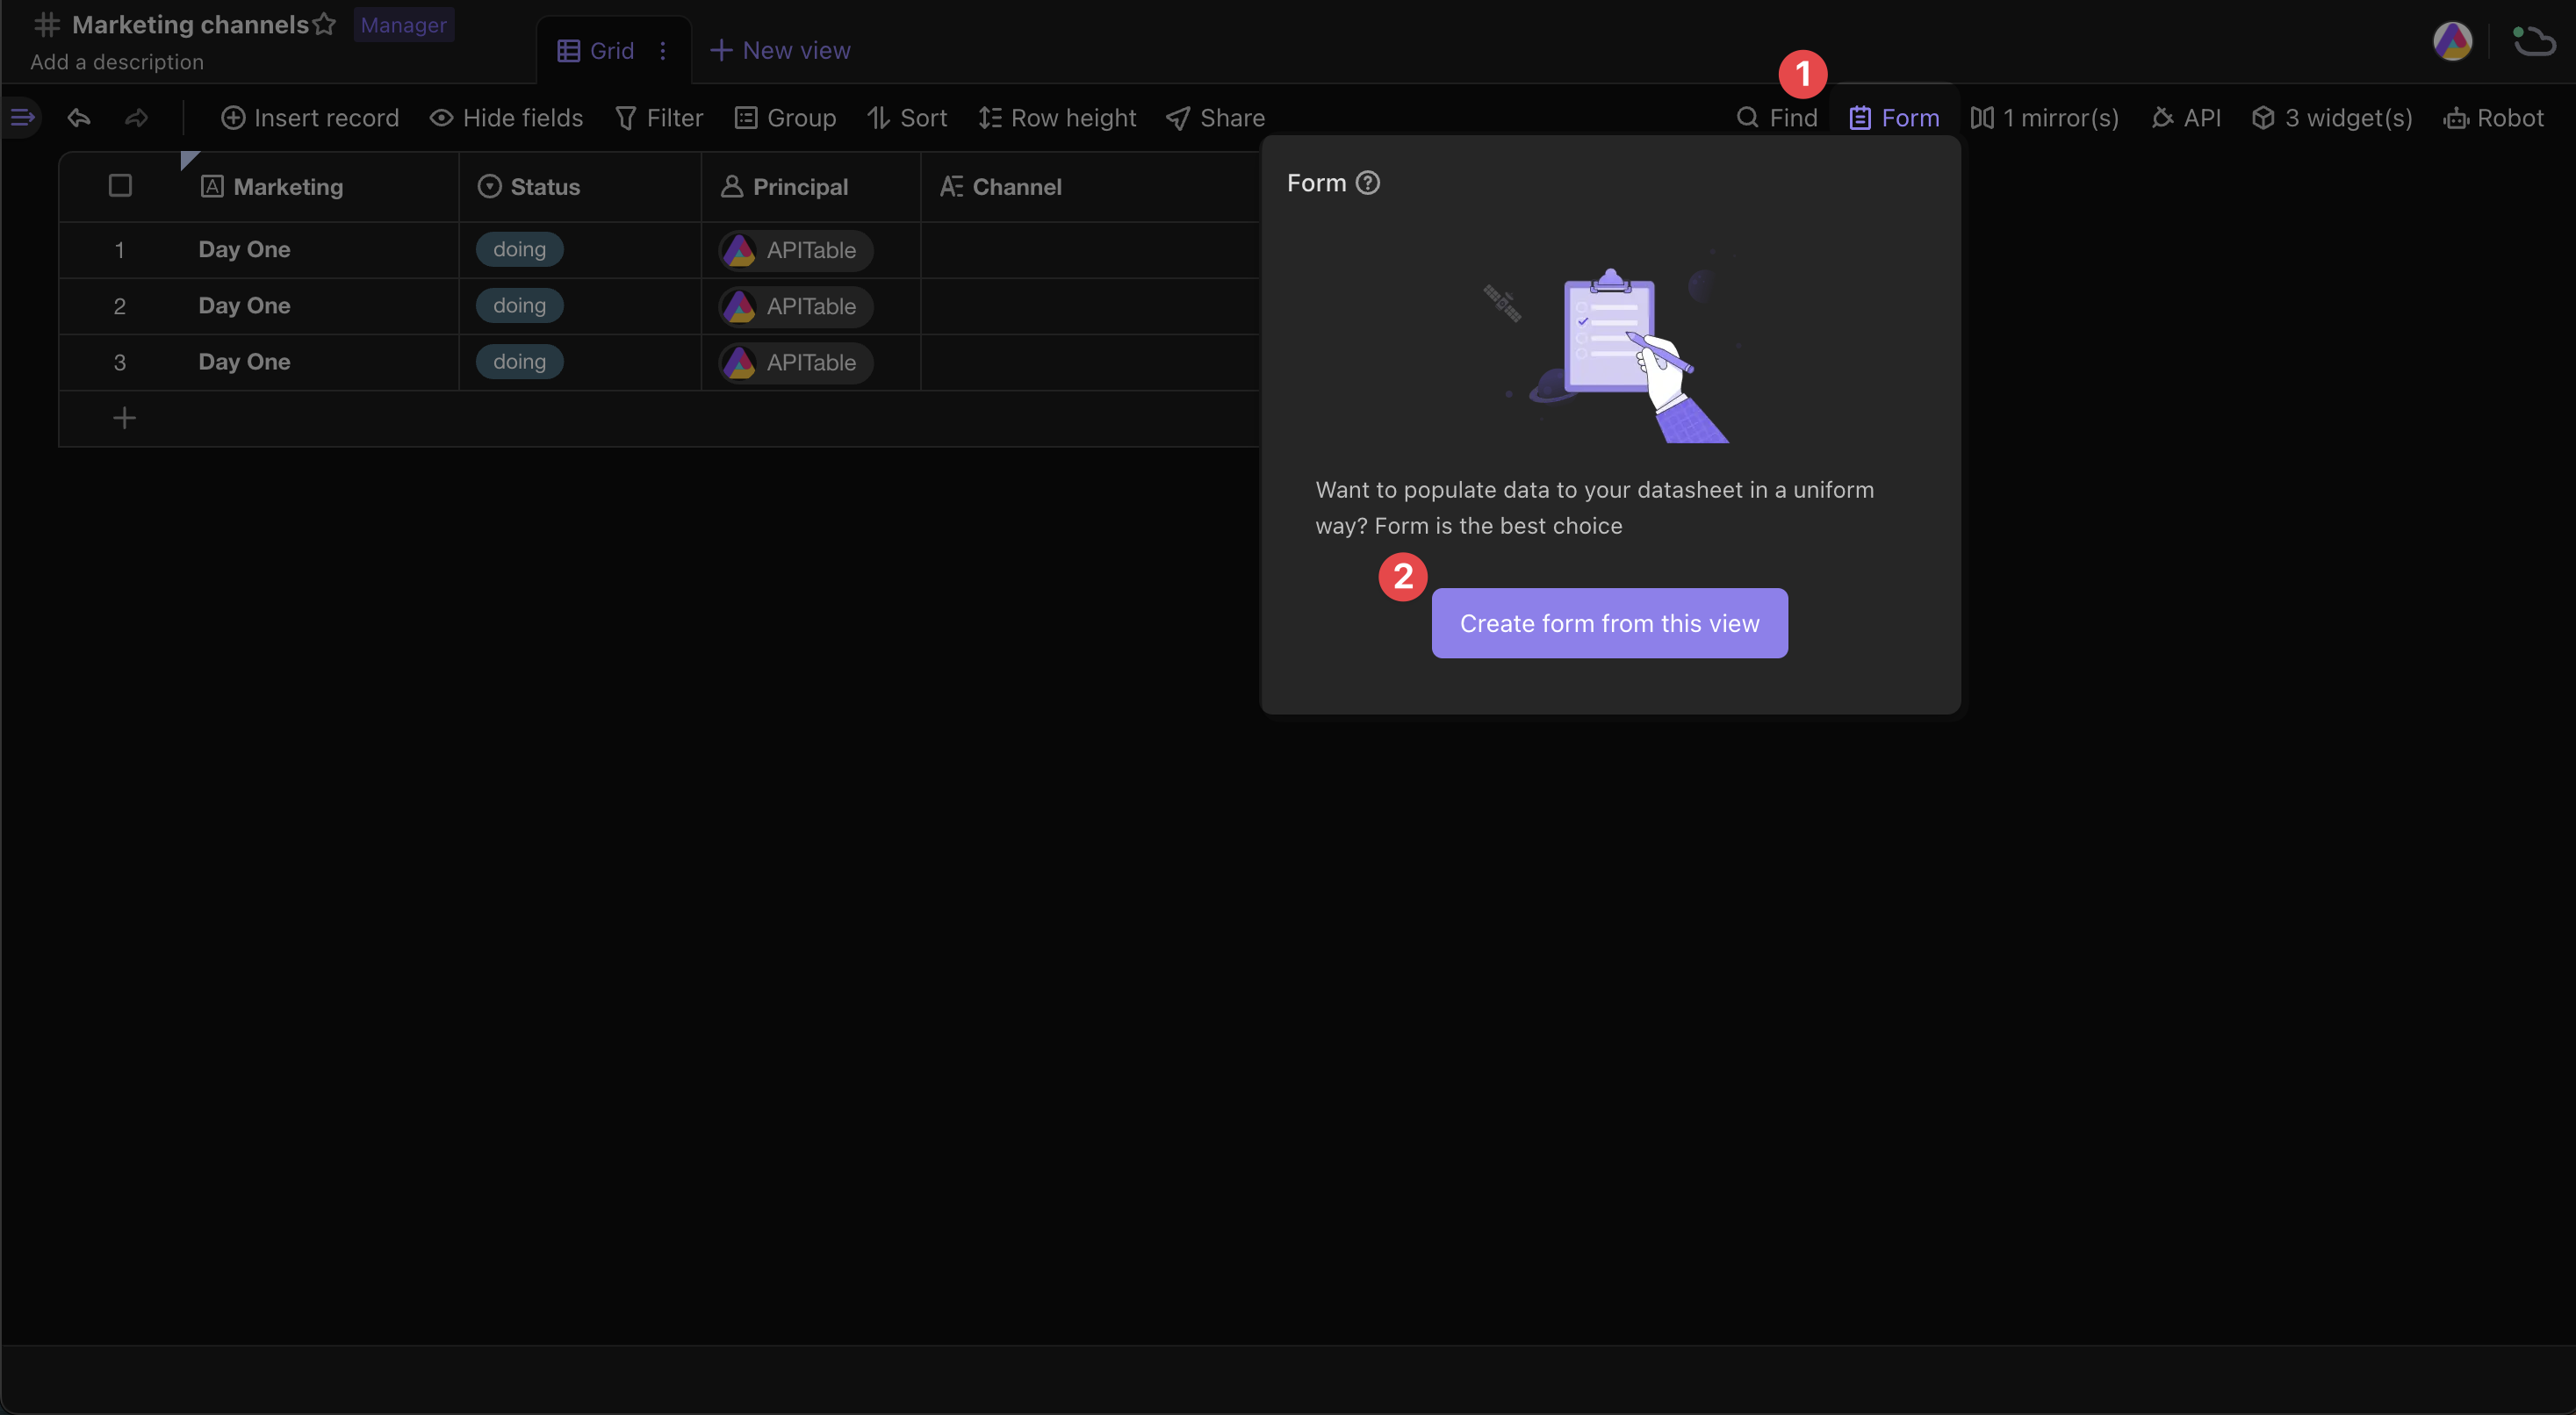
2. Create the "Form"
Click on the "Create form from this view" option in the toolbar to create a "Form" that will be used to collect user-submitted information.
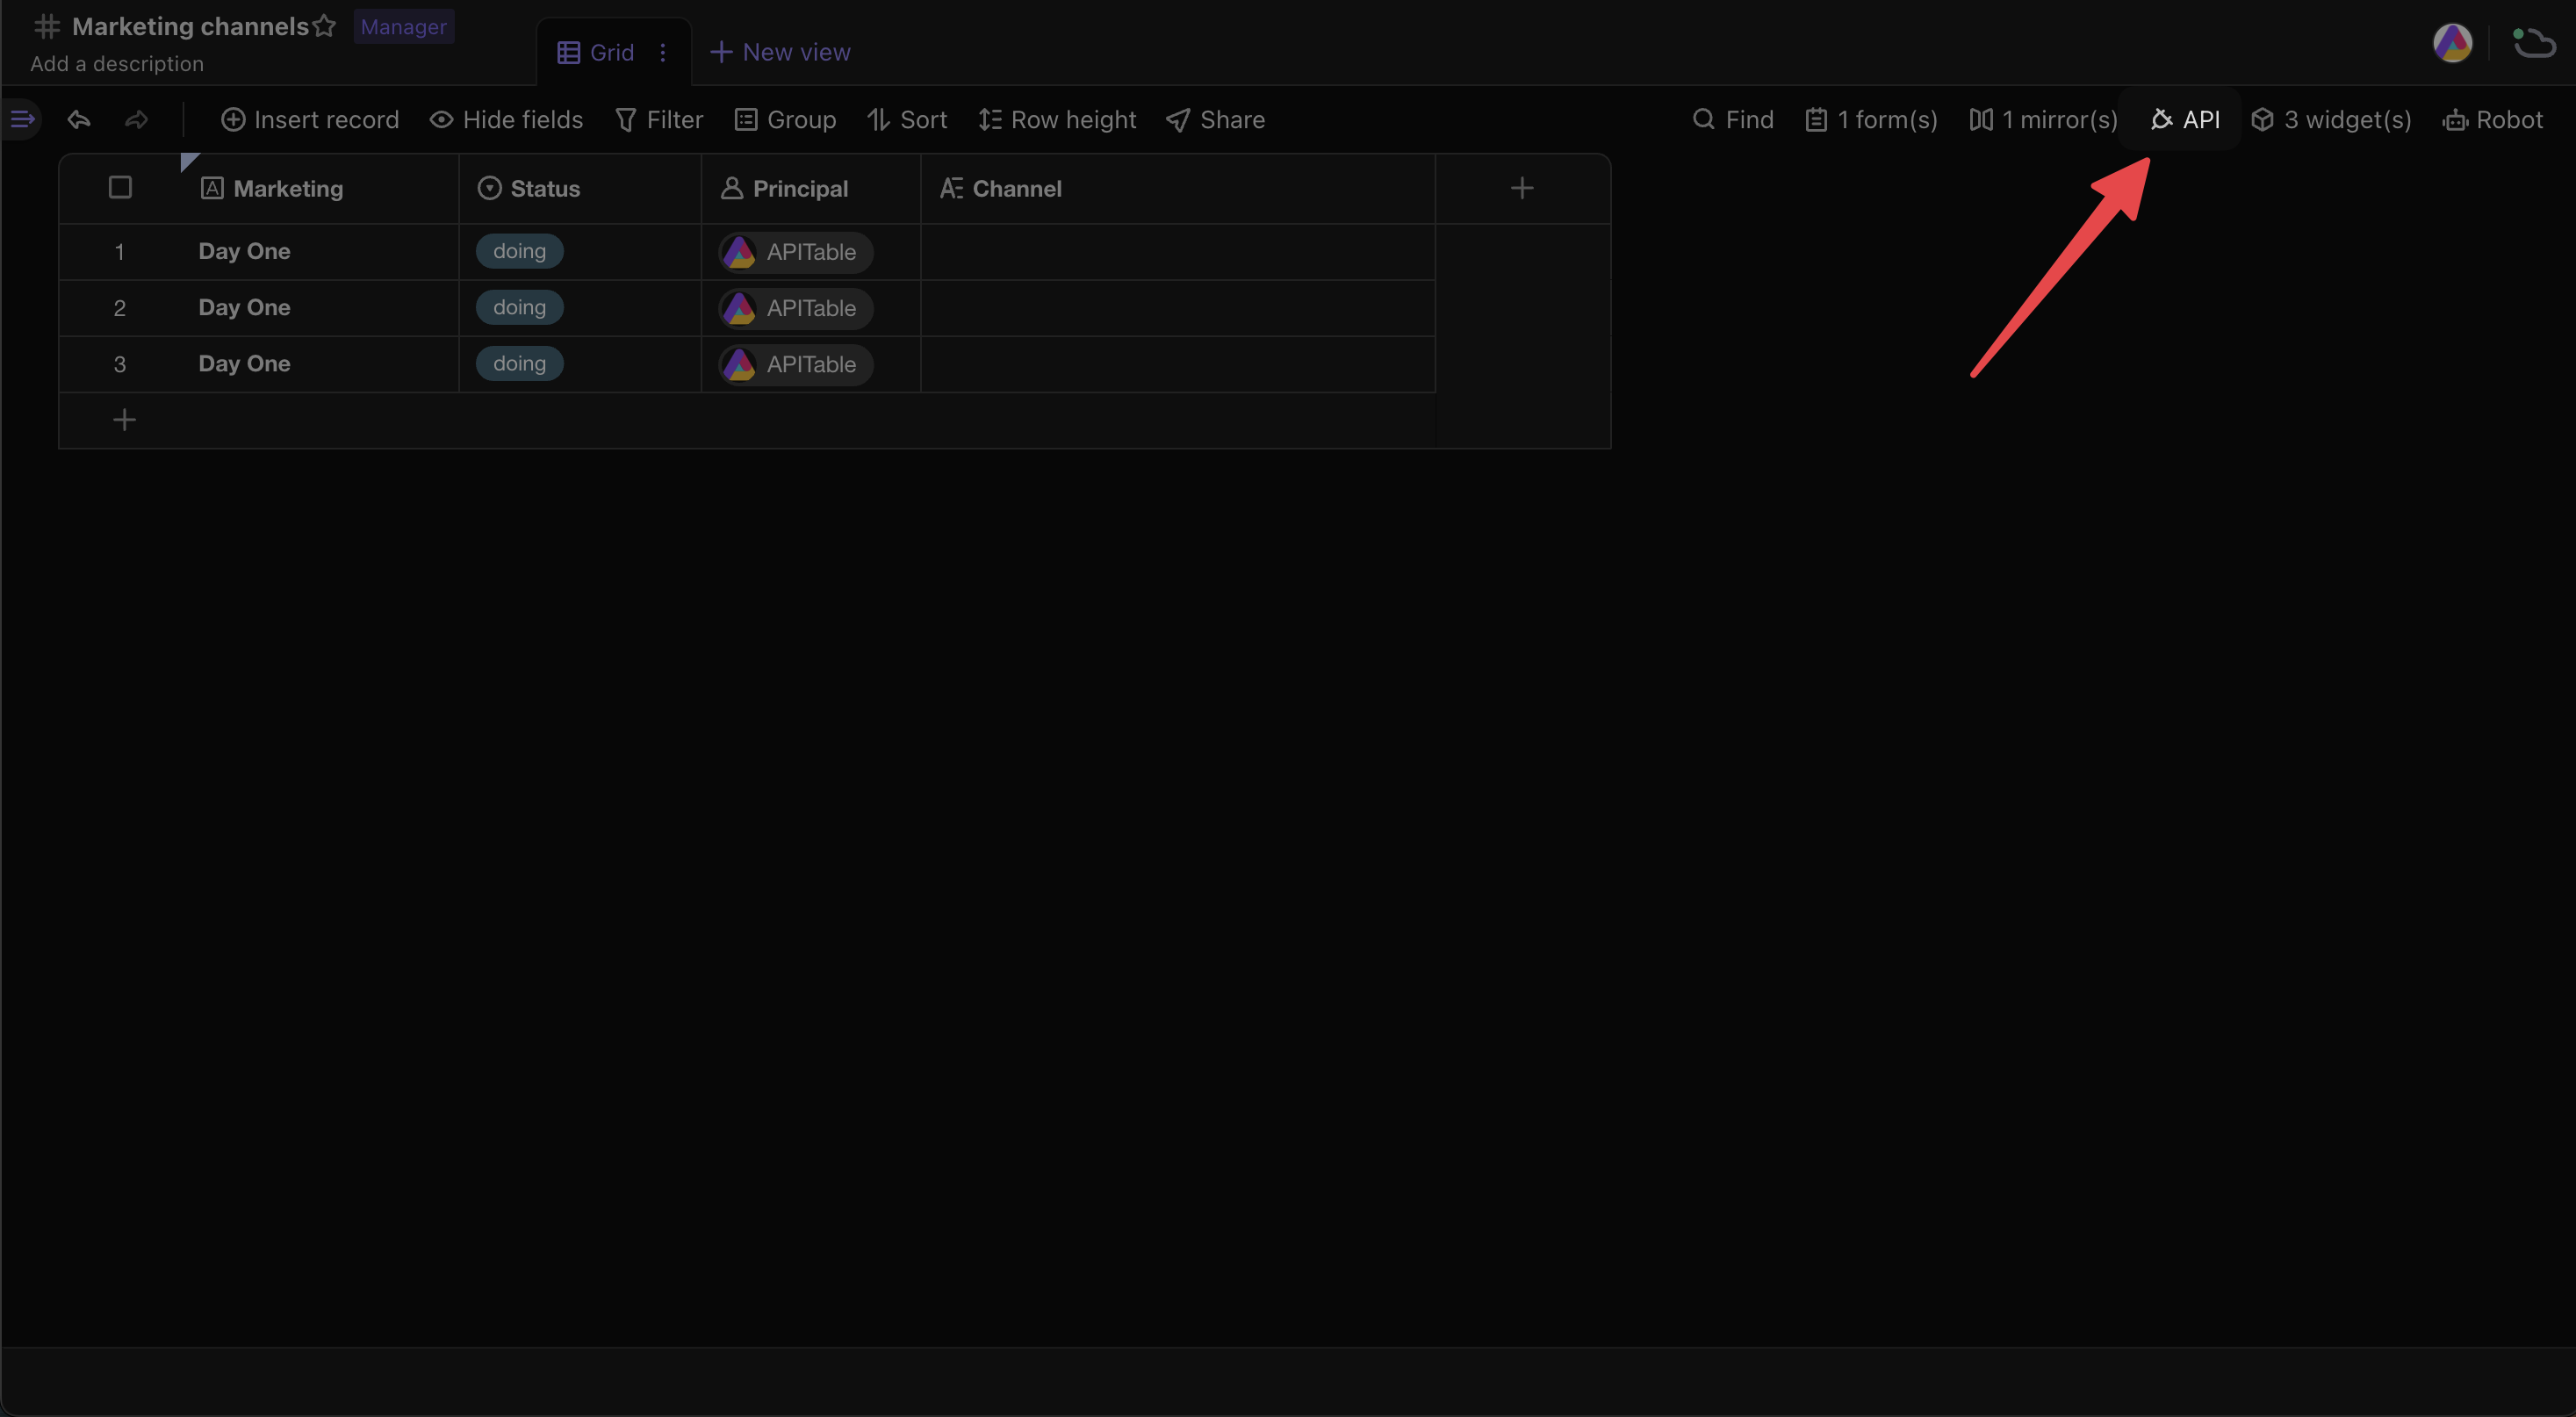
3. Obtain the field ID for the "Channel" field
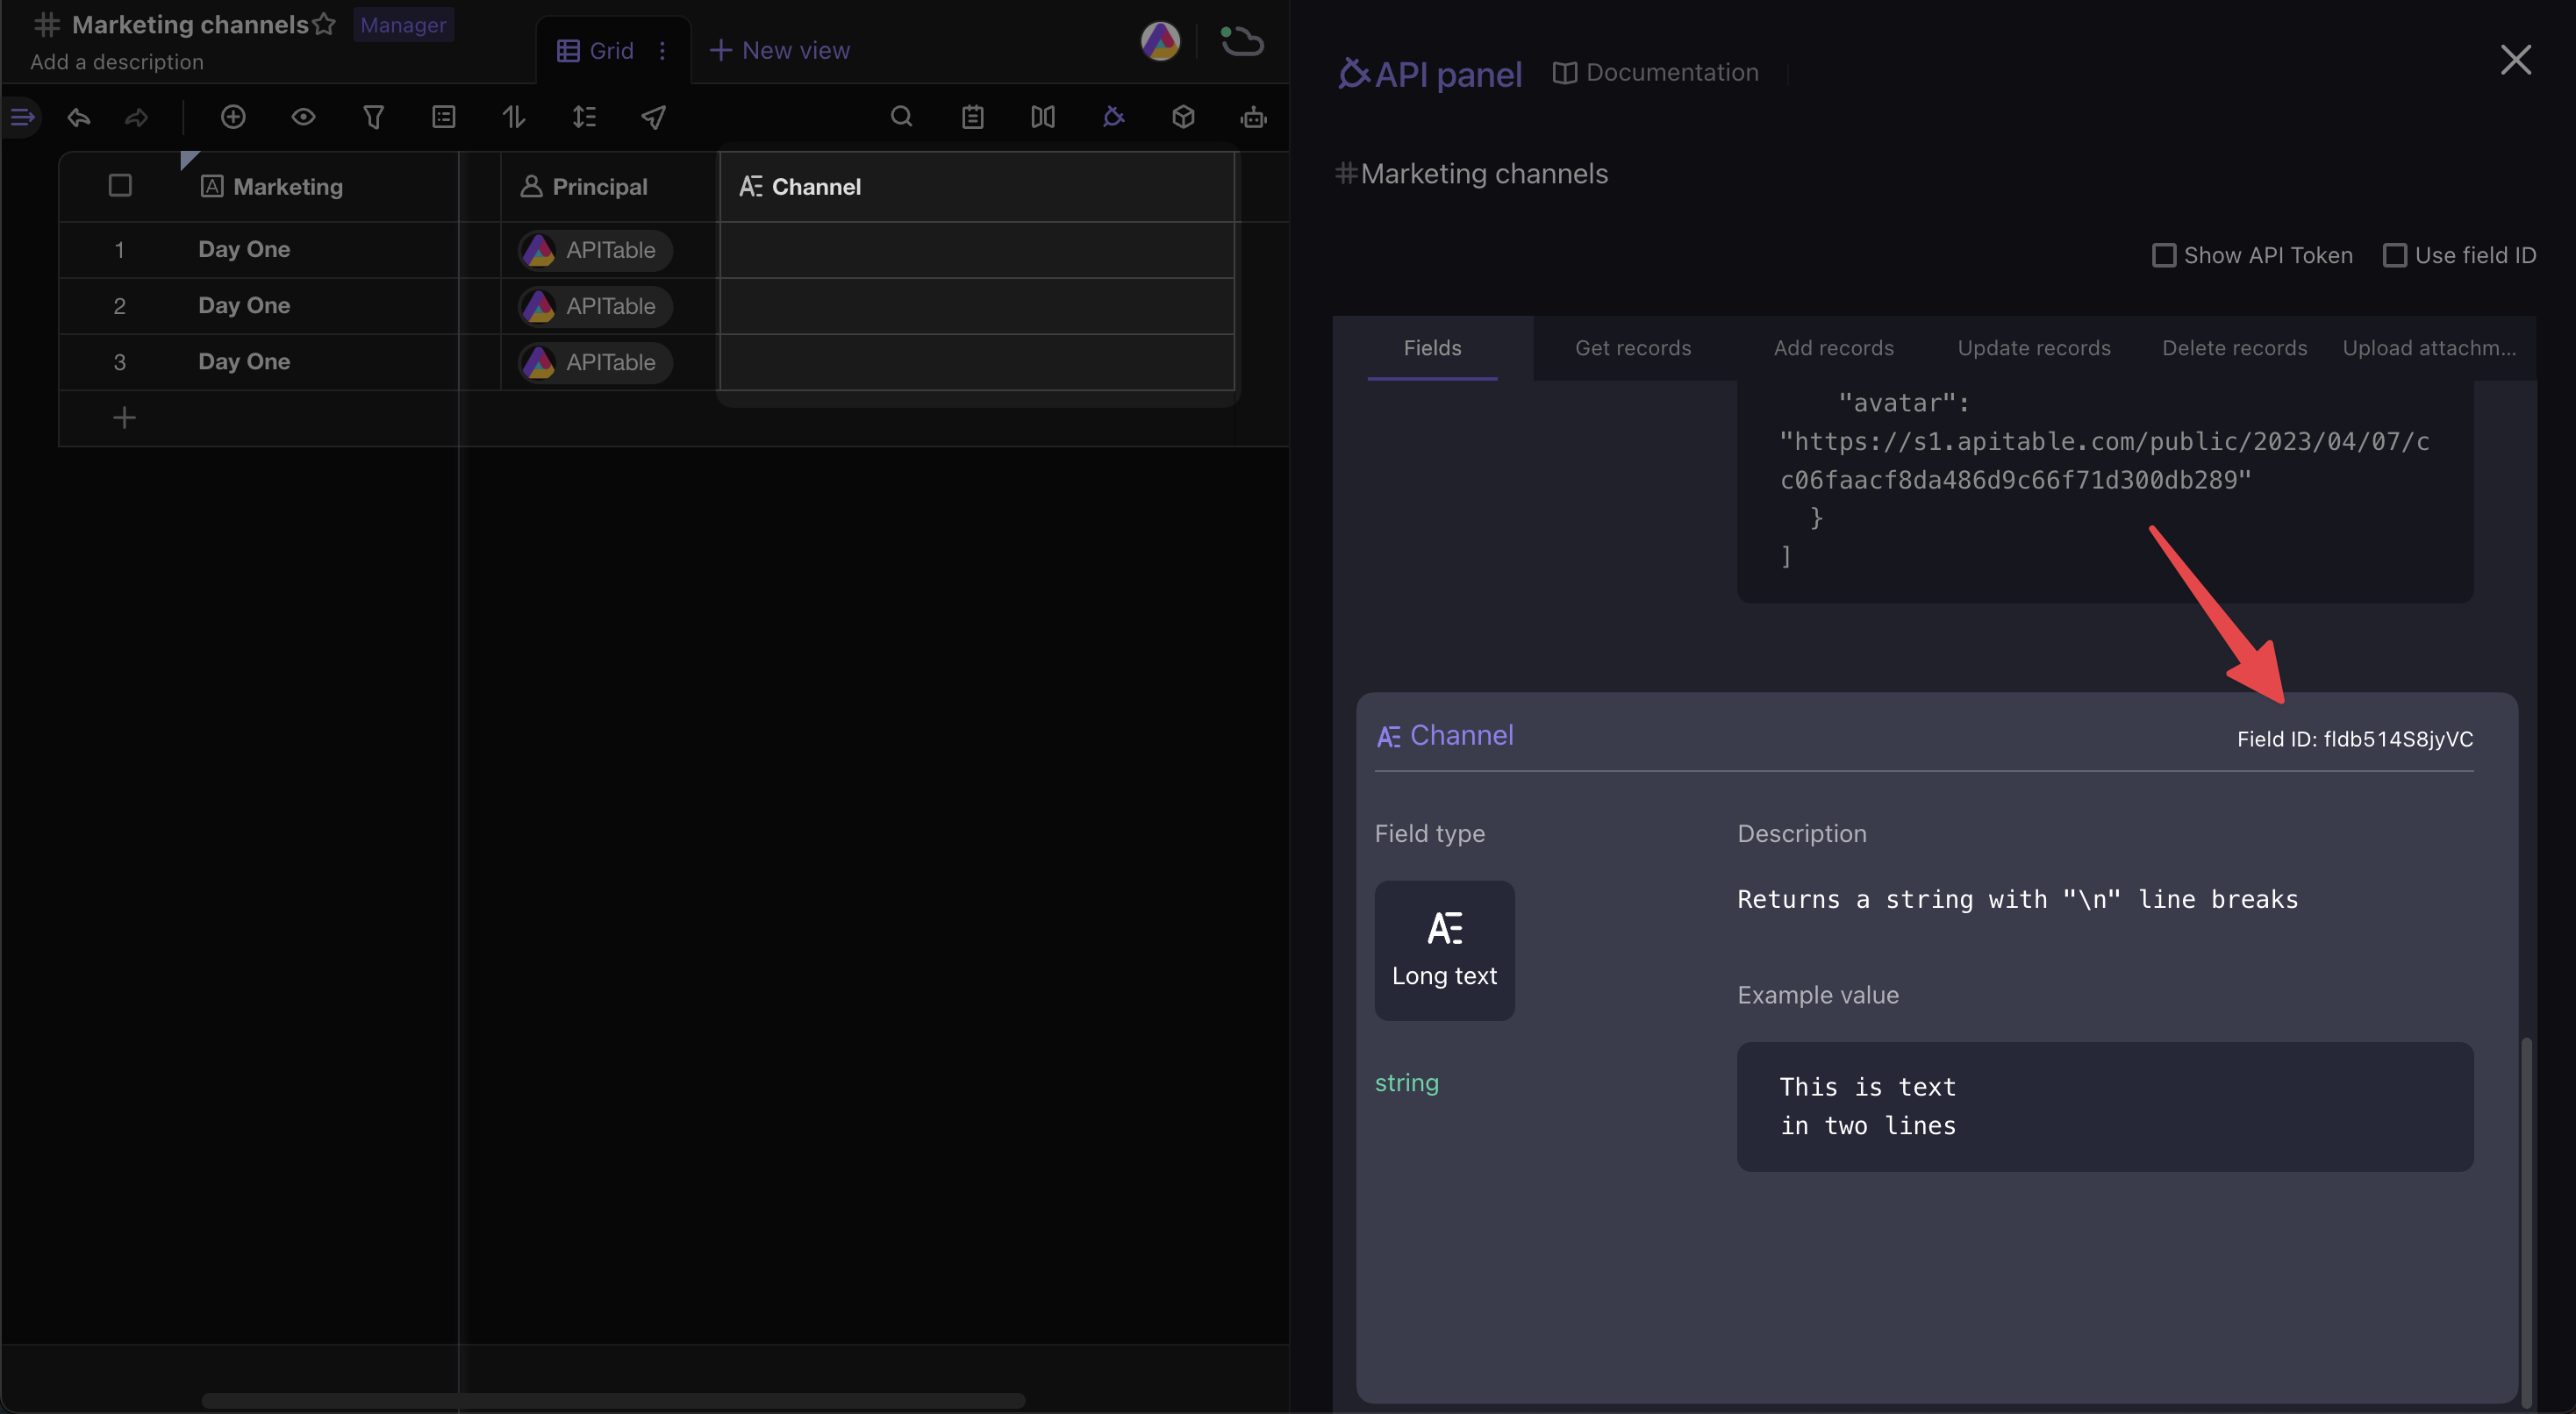
Go back to the datasheet and click on the "API" in the toolbar. Find the "Channel" field and copy the "Field ID" for that filed.
For example, the Field ID is:
fldb514S8jyVC
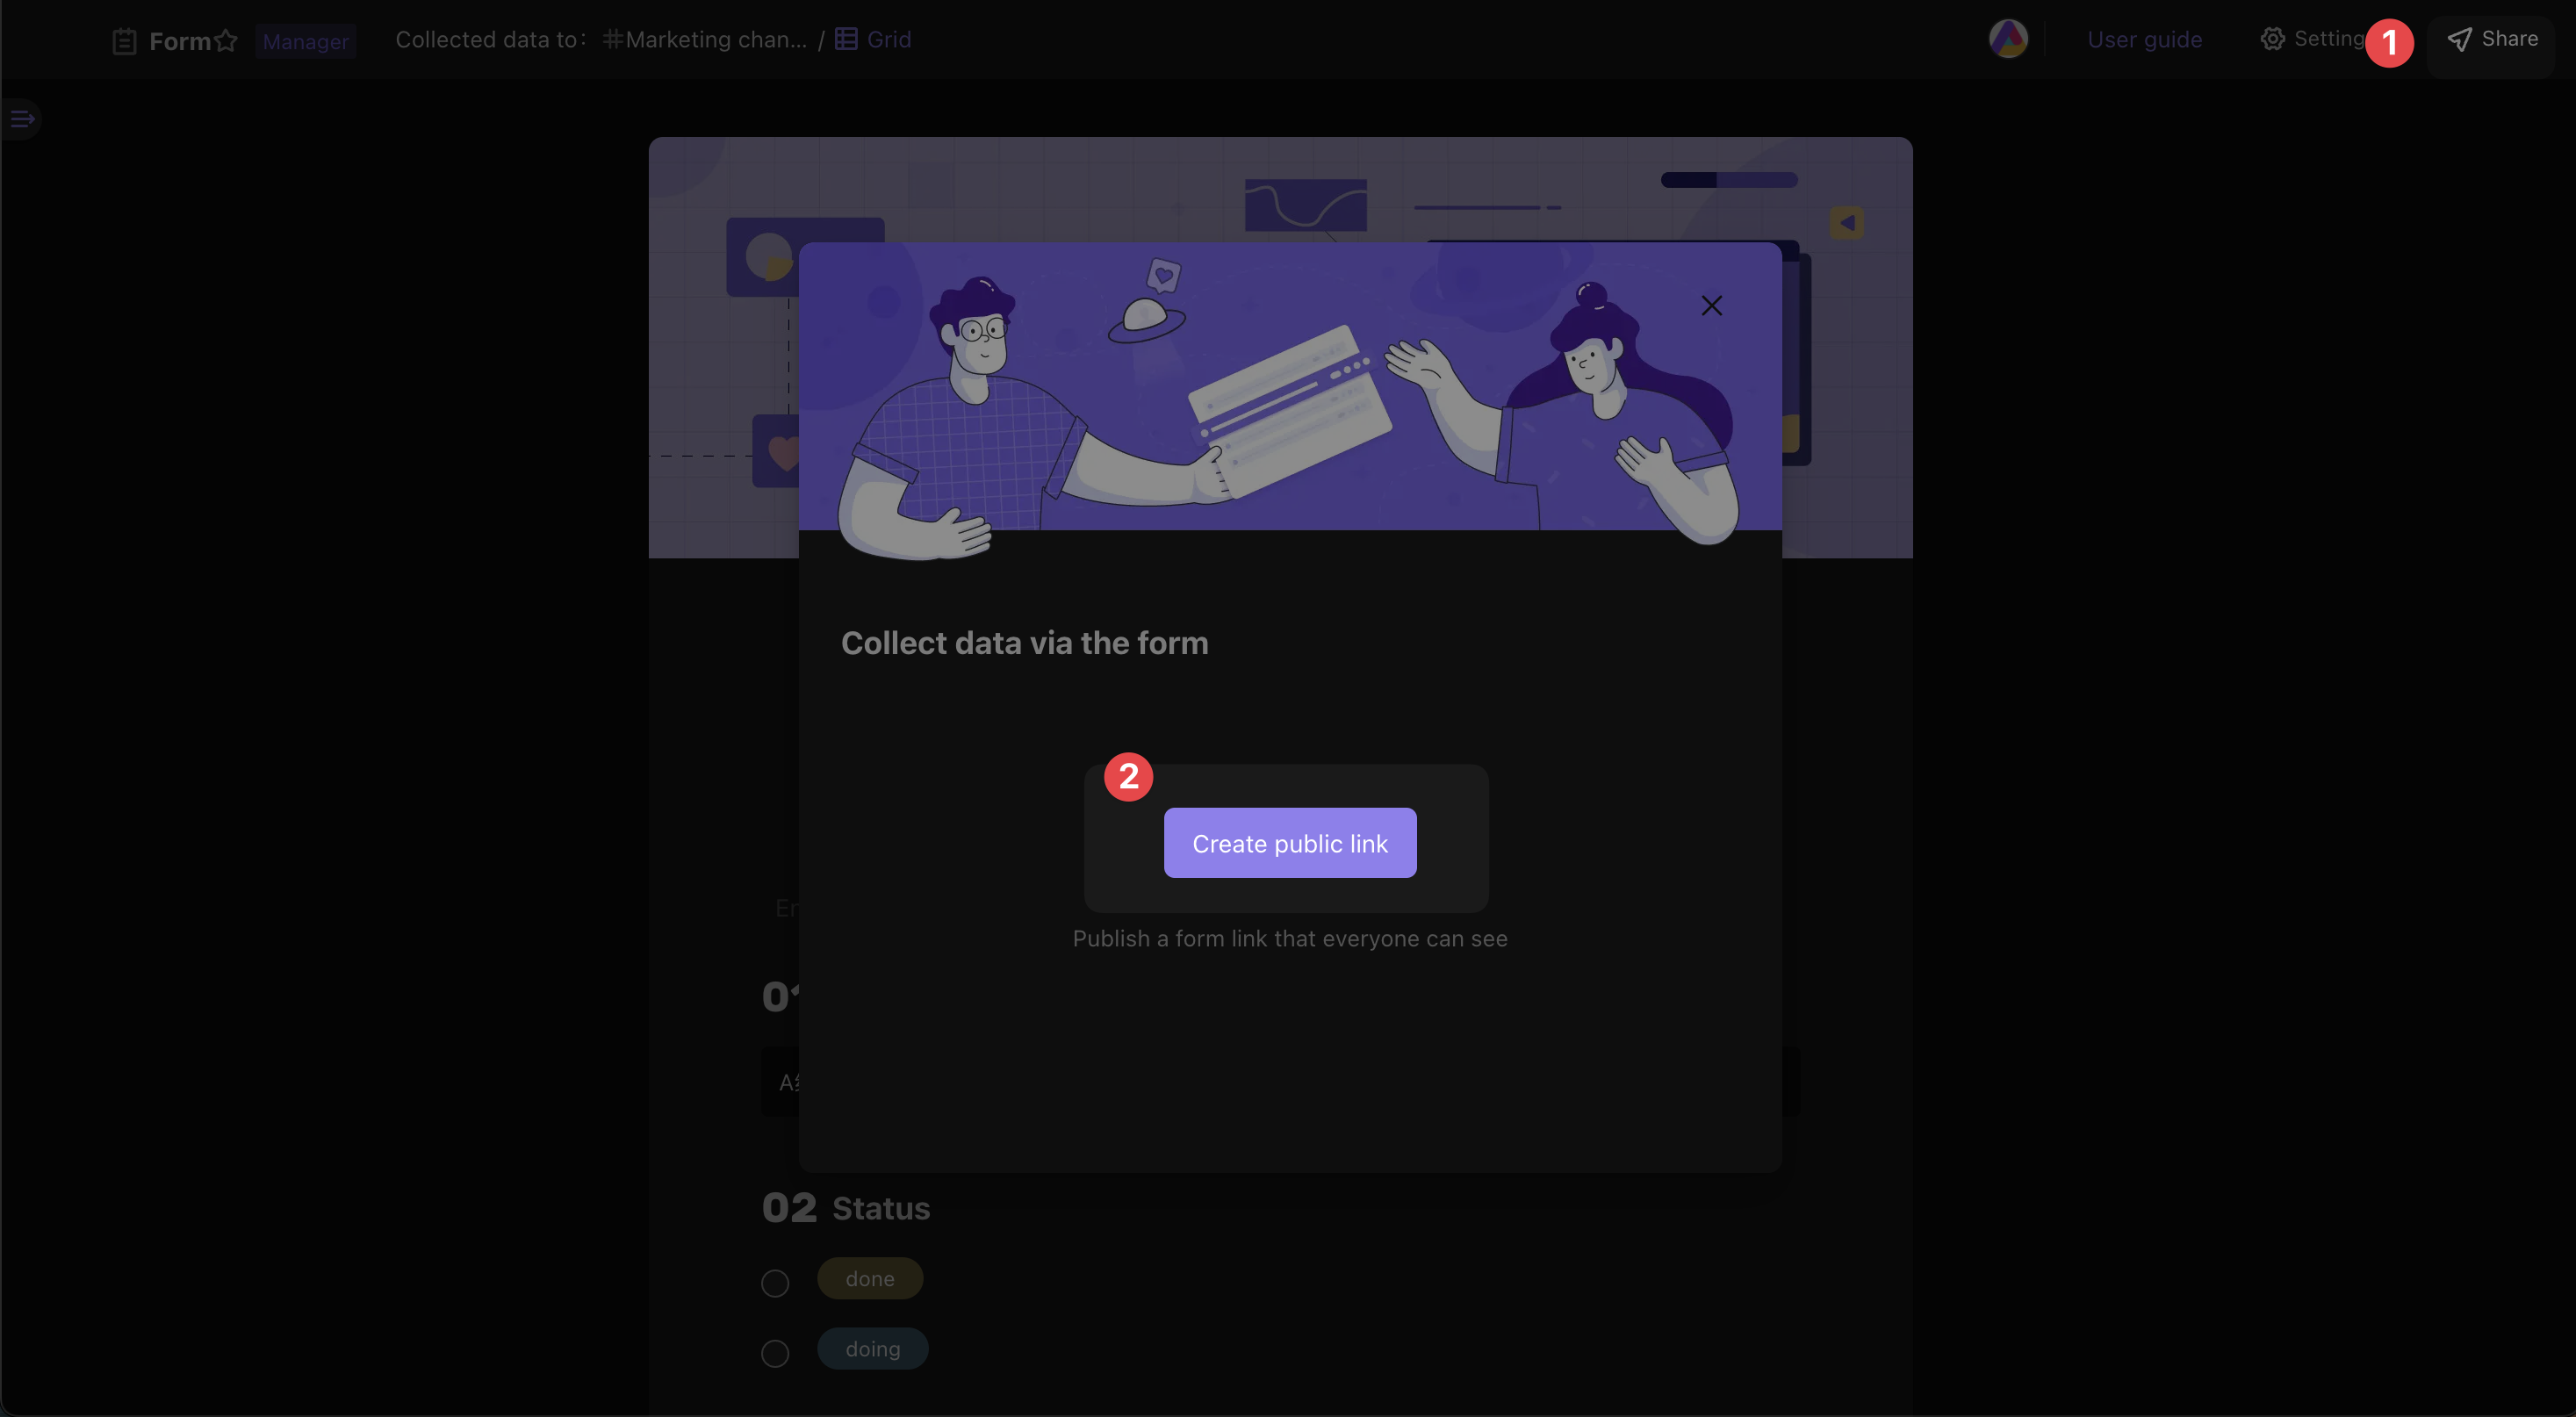
4. Create a public link
Go back to the "Form" and create a public link to share with your channel partners.
5. Pre-fill the form information
Suppose your promotional campaign is being carried out through three channels: A, B, and C. You decide to use the pre-filling feature to automatically associate the submitted form information with the channels.
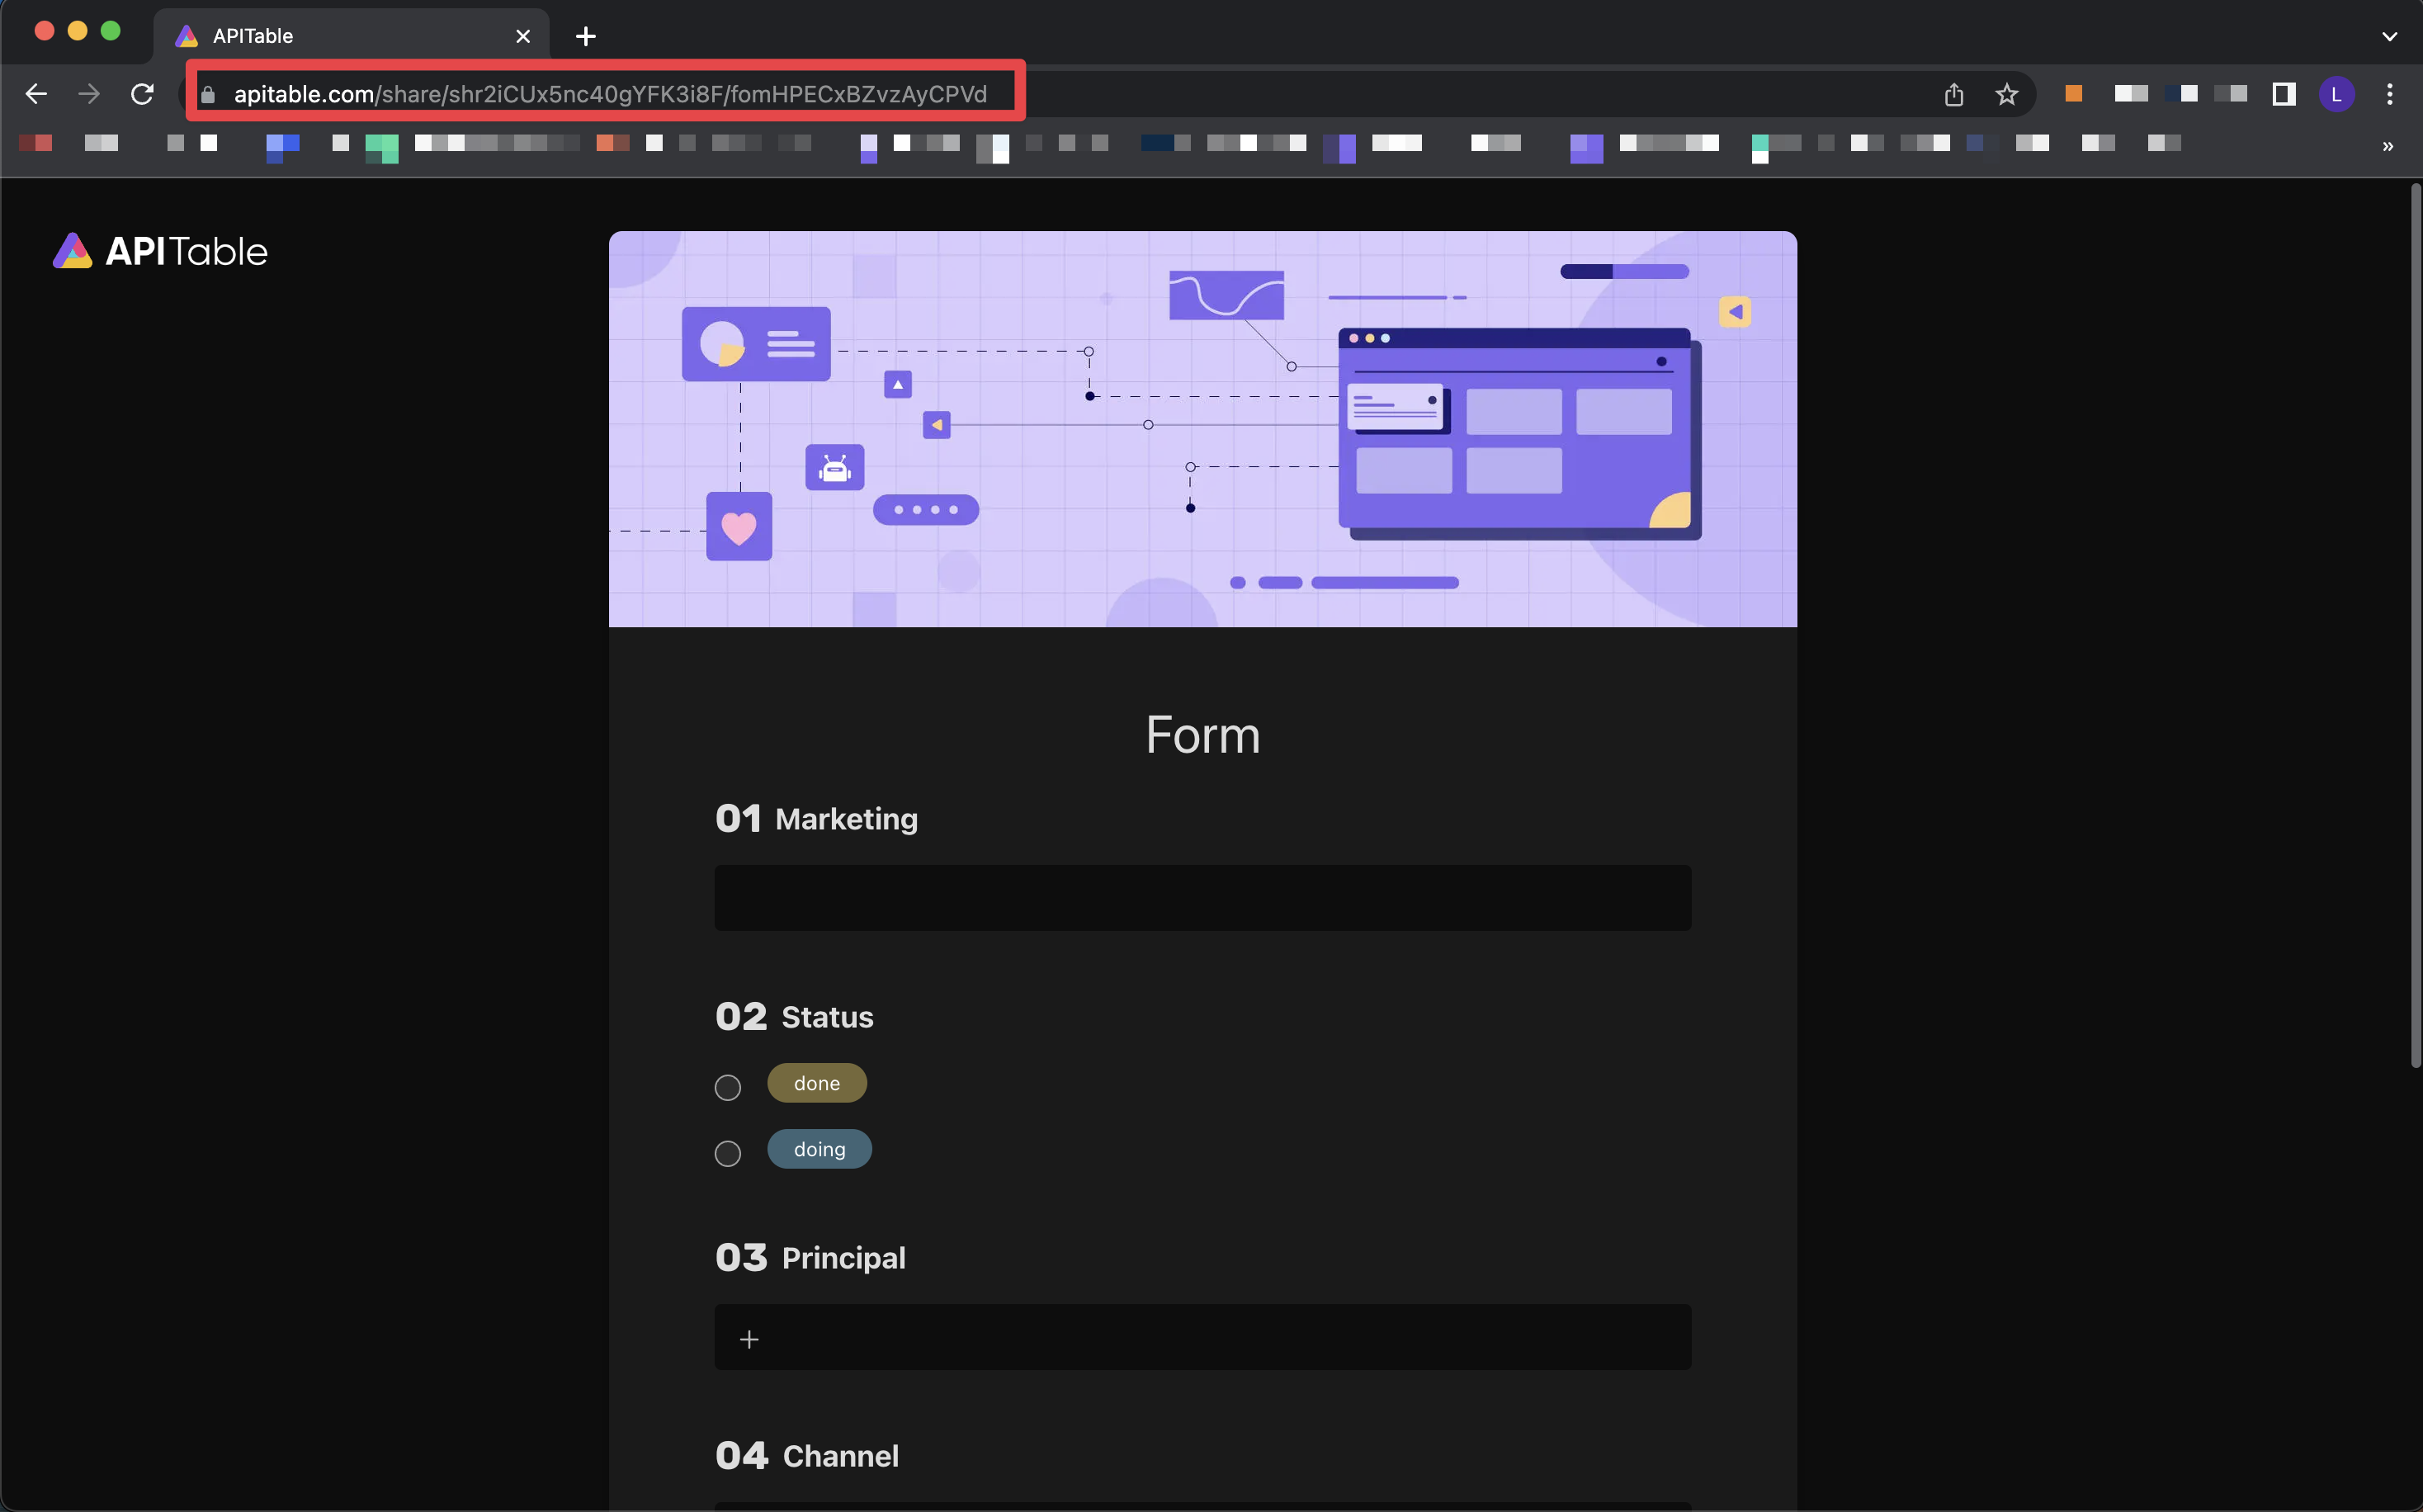
Open a new browser window and copy the public link of the form into the URL bar at the top of the browser. You will see the following interface.
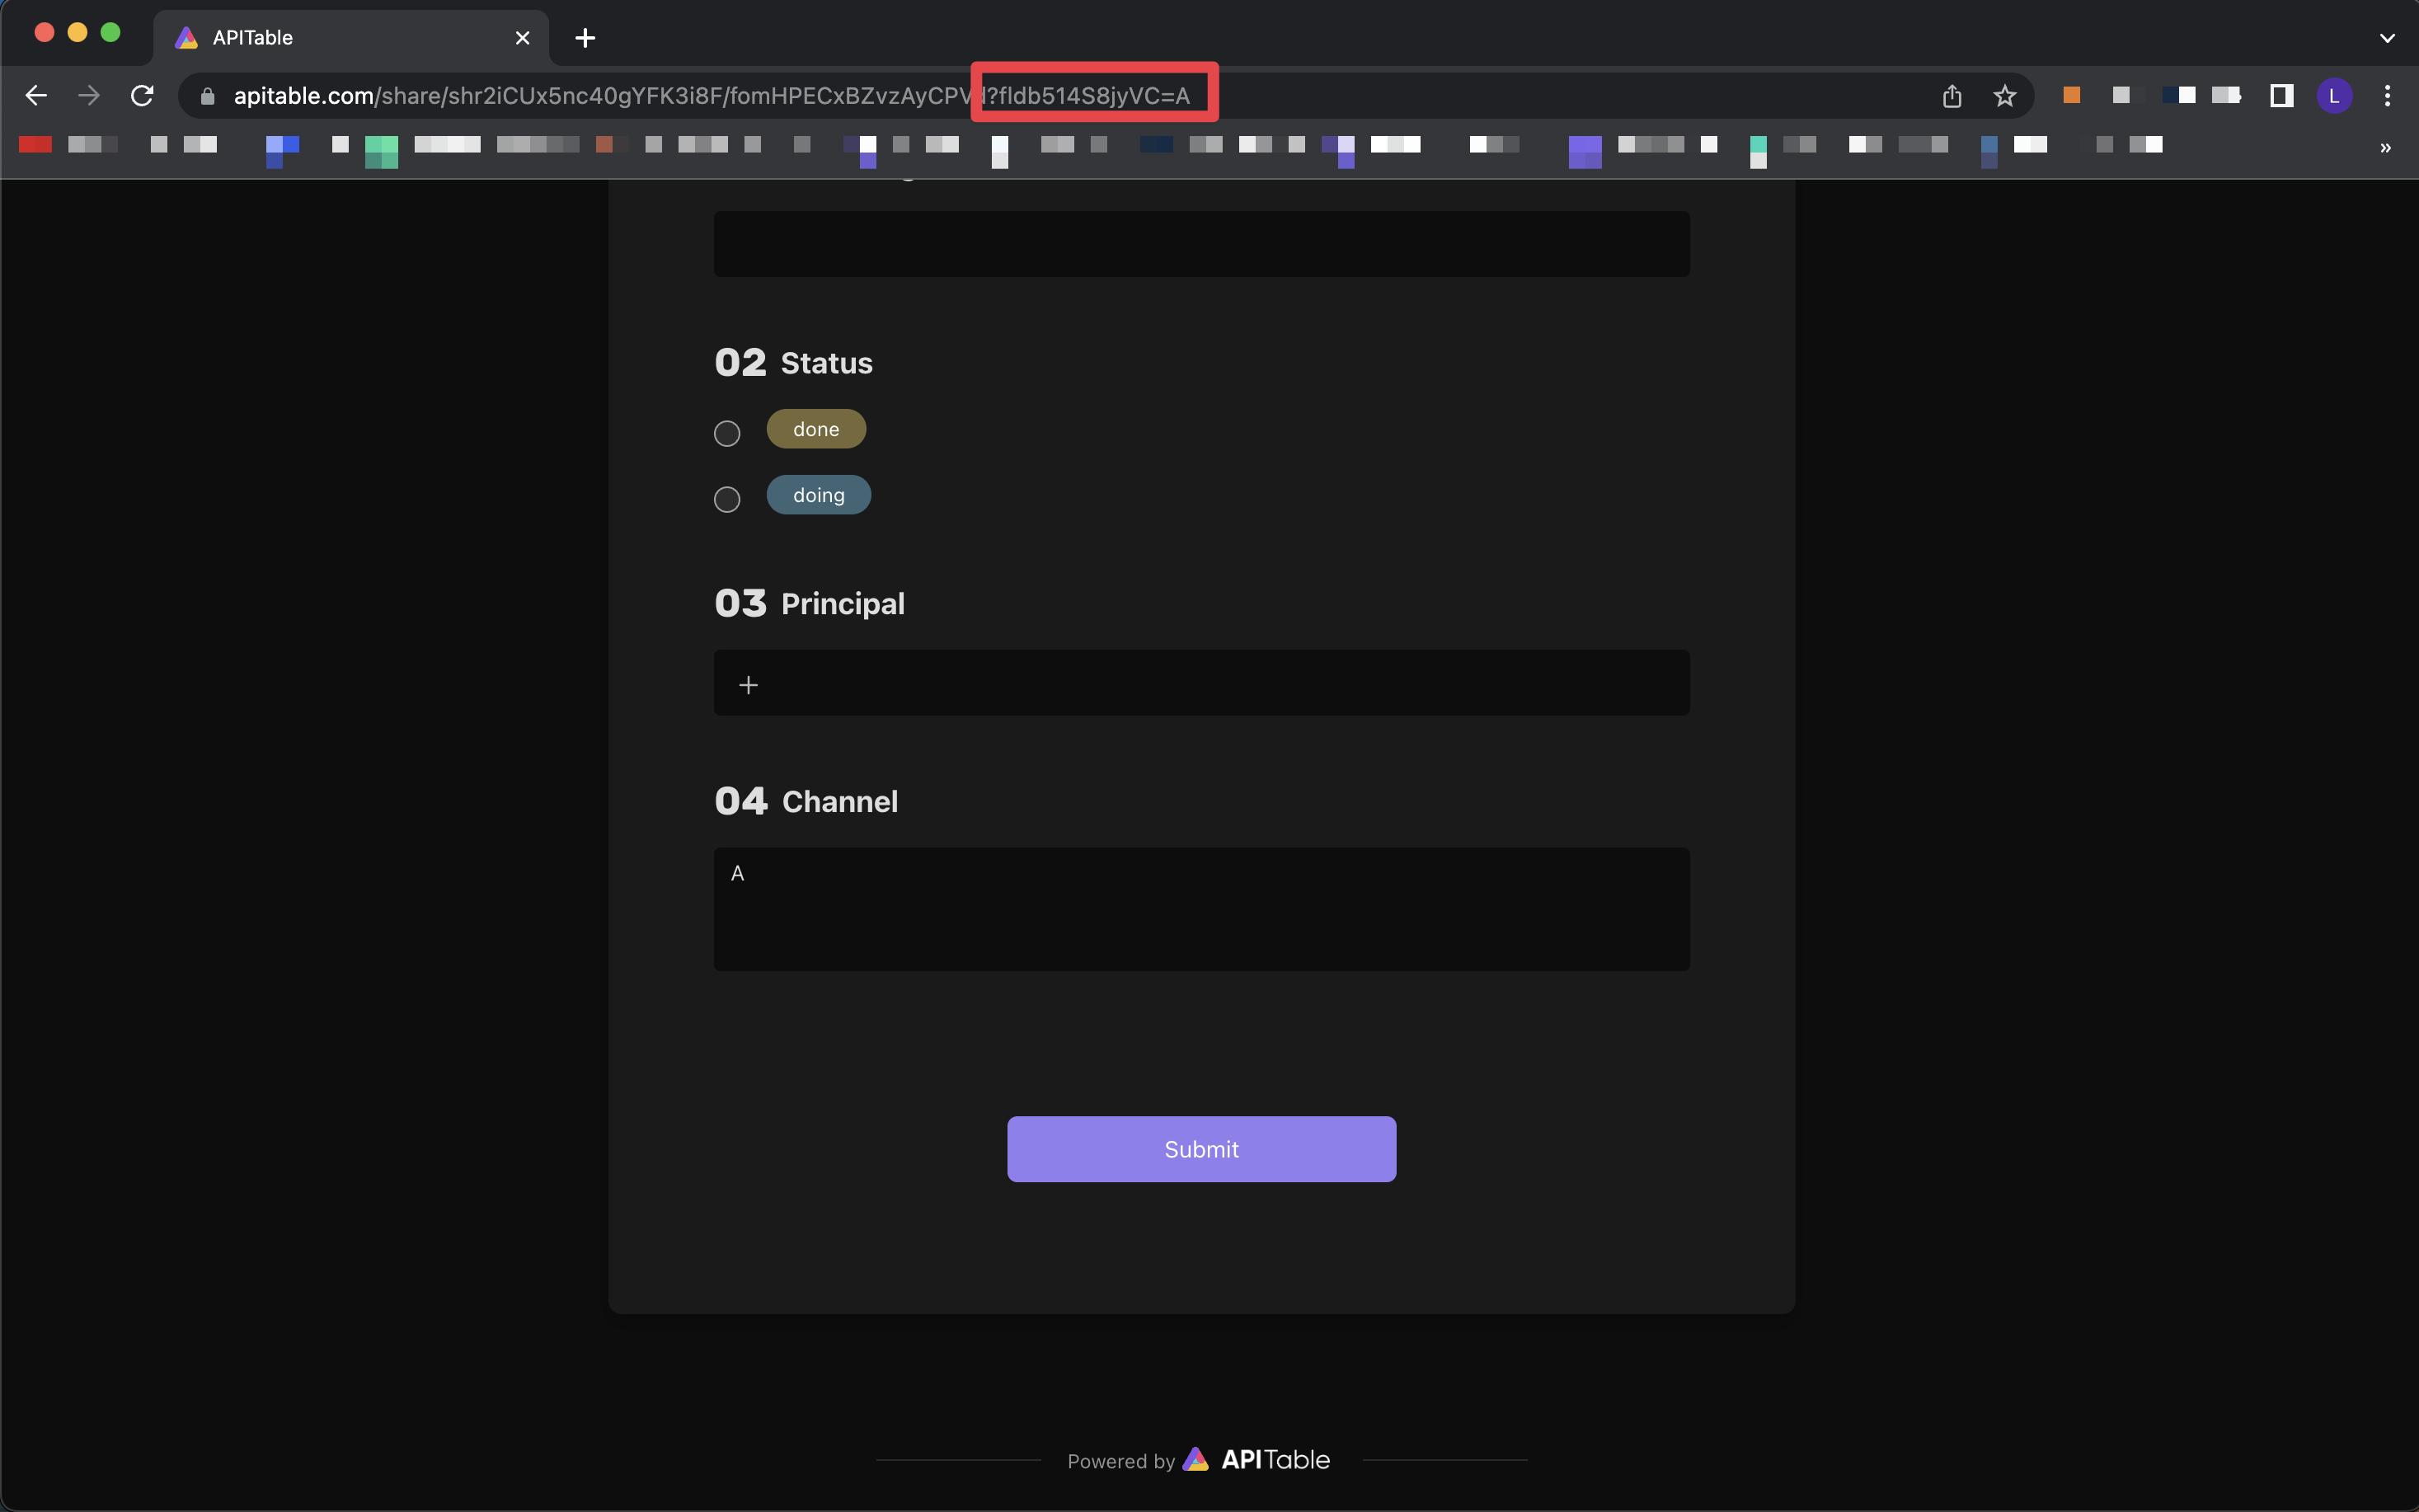
In the browser's URL bar, add the parameter at the end of the link: ?fldb514S8jyVC=A (i.e., ? + Field ID + = + Channel Name). Press Enter when you're done.
Now, the "Channel" field in the form will be automatically filled with "A".
6. Share the link
Copy the URL and send it to the corresponding channel partners.
Example link format:
https://aitable.ai/share/shrVe4vn6kNXjUrLMDzXQ/fomp0PaBRbJZG35Soa?fldb514S8jyVC=AThis link contains the "A" channel parameter, and any information submitted through this link will be automatically added to the "Channel" field as "A".
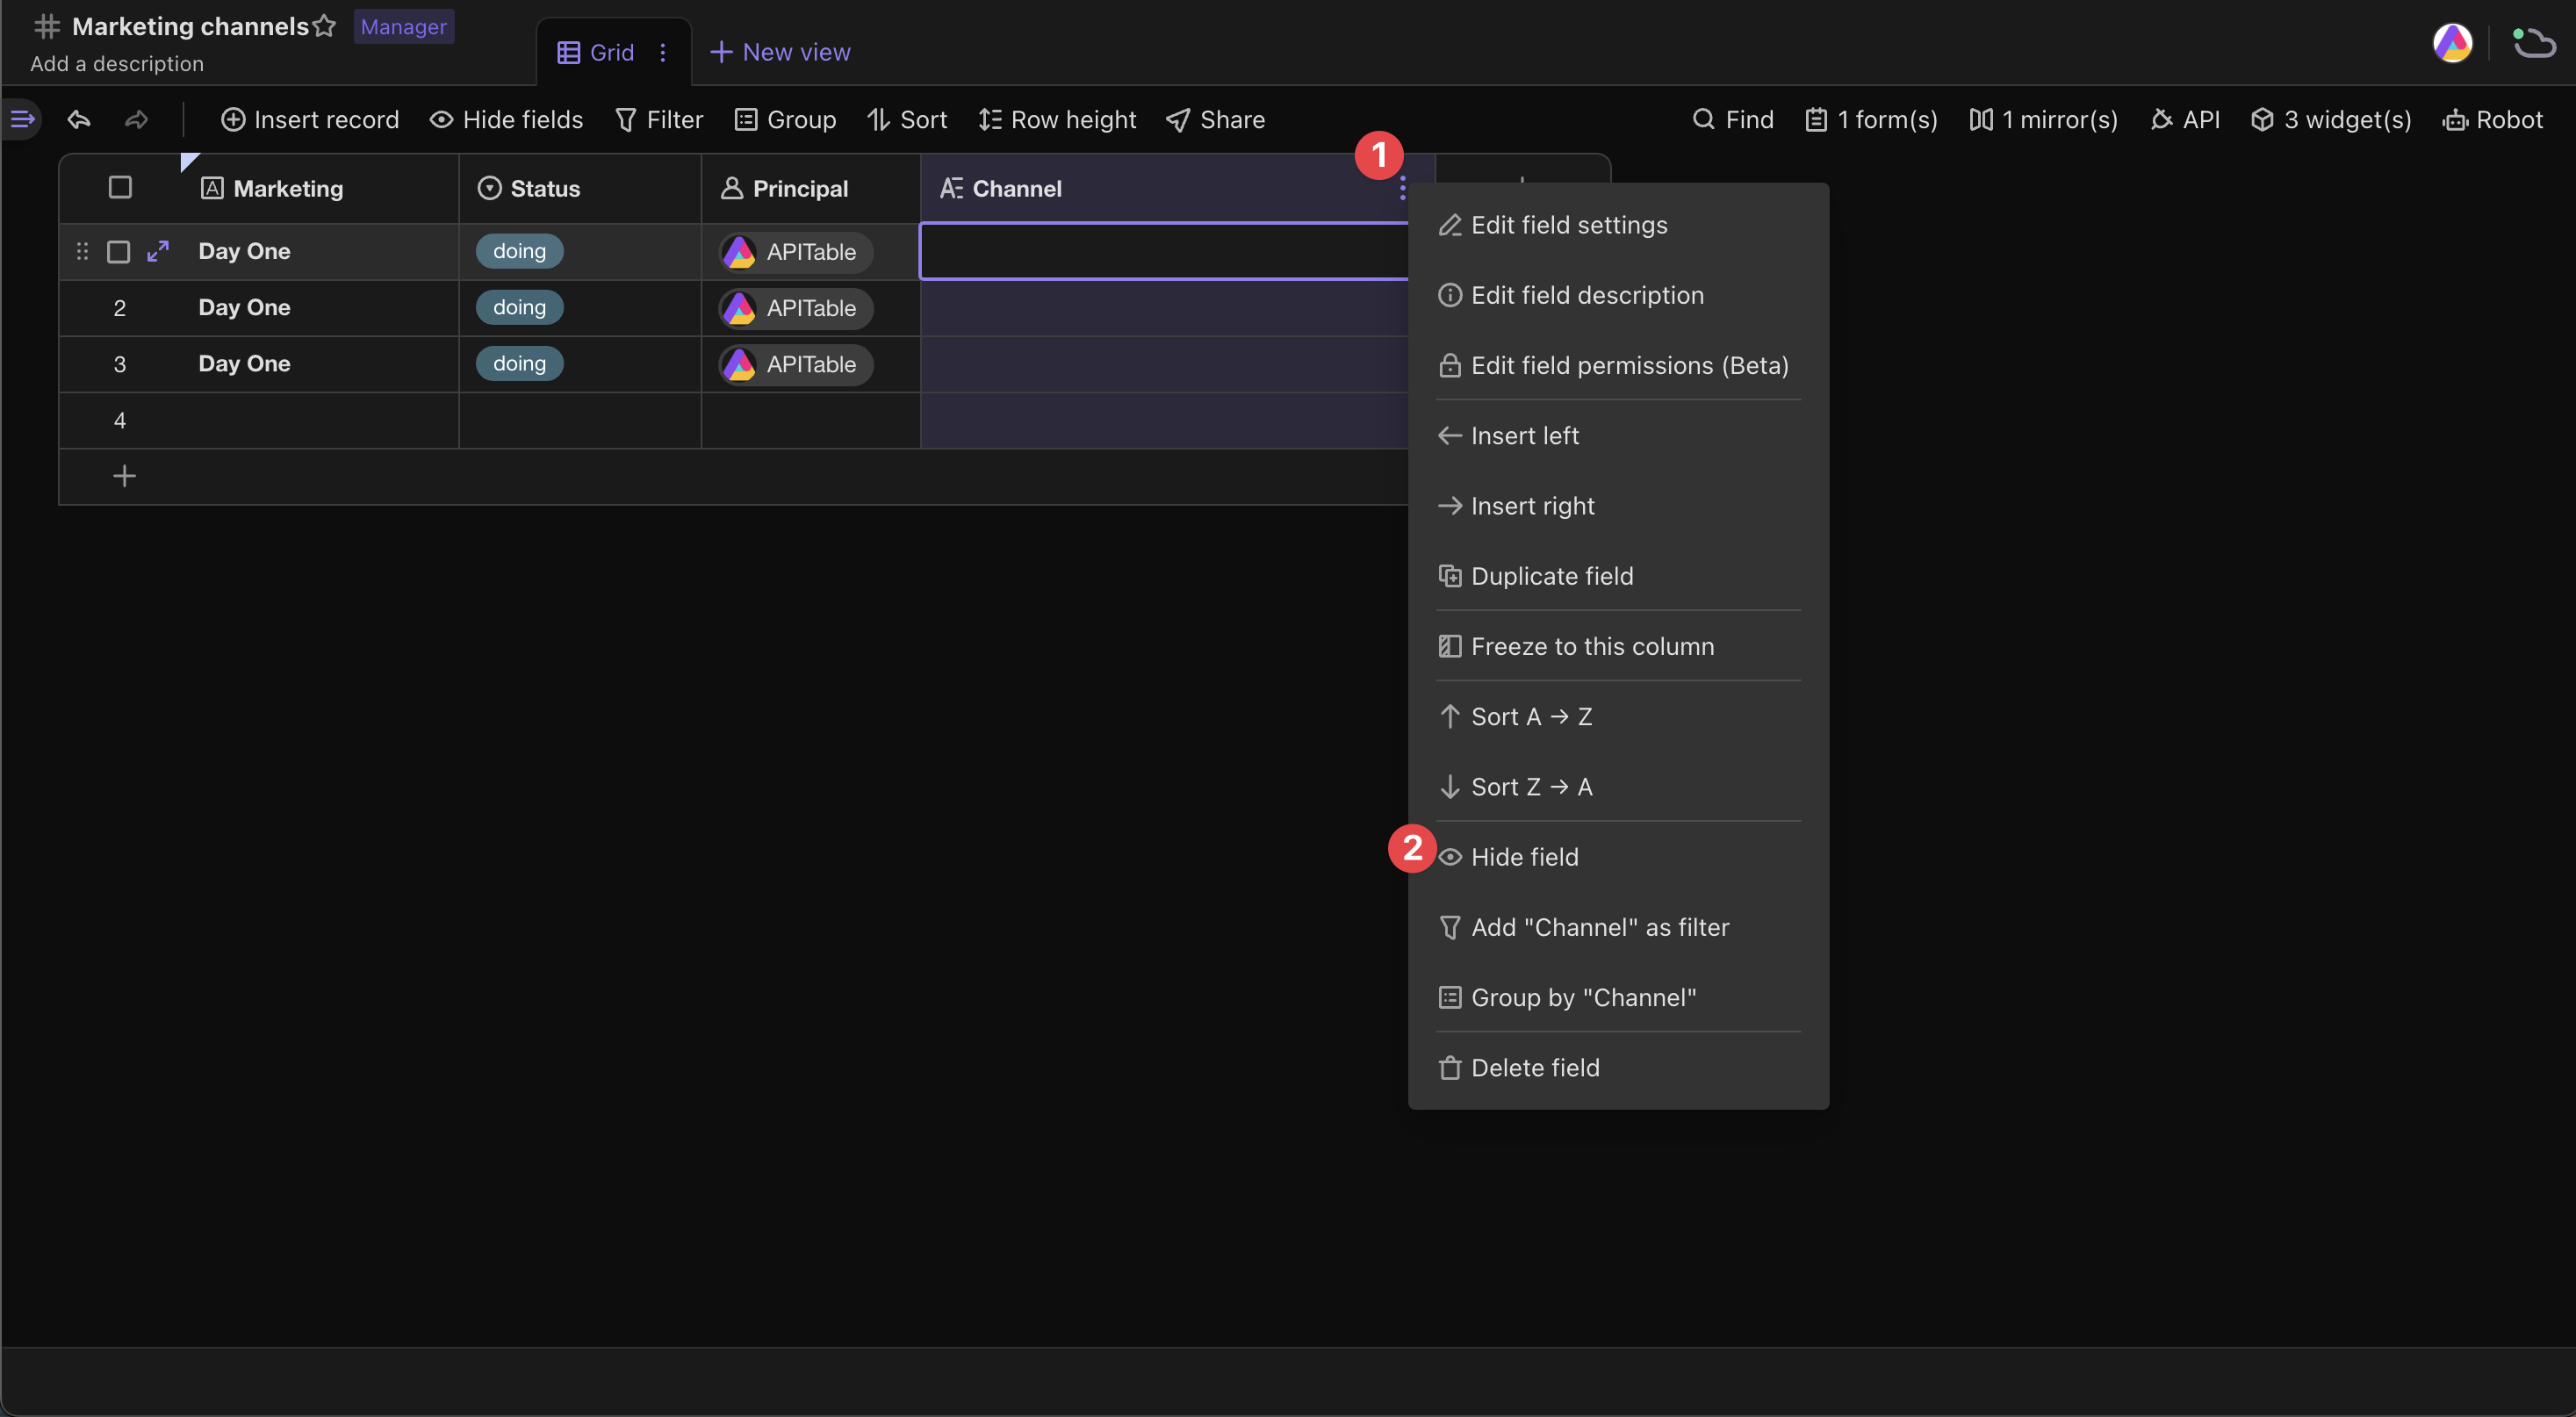
7. Hide the Channel field (optional)
To ensure that the form fillers do not see the "Channel" field, which might interfere with the purpose of the form, you can hide the "Channel" field in the original datasheet.
Q&A
Q: What if I want to generate more than 20 channels?
A: Similarly, you can modify the channel names in the URL according to the following example on the form:
?fldb514S8jyVC=A?fldb514S8jyVC=B?fldb514S8jyVC=C?fldb514S8jyVC=AItable...
Then, copy the generated URLs with different channel parameters and send them to the corresponding channel partners.
Tips
If you want to expand more field types or have visual configuration capabilities, please look forward to our future feature iterations.